Stage 3 - The Motor
NOTE: It could be that your motor was already assembled when you received your Spine. You can still use this step to inspect your motor and understand how Faraday Motion is securing a safe usage of the electric motor.
Step 1 - Mount the Motor Bracket
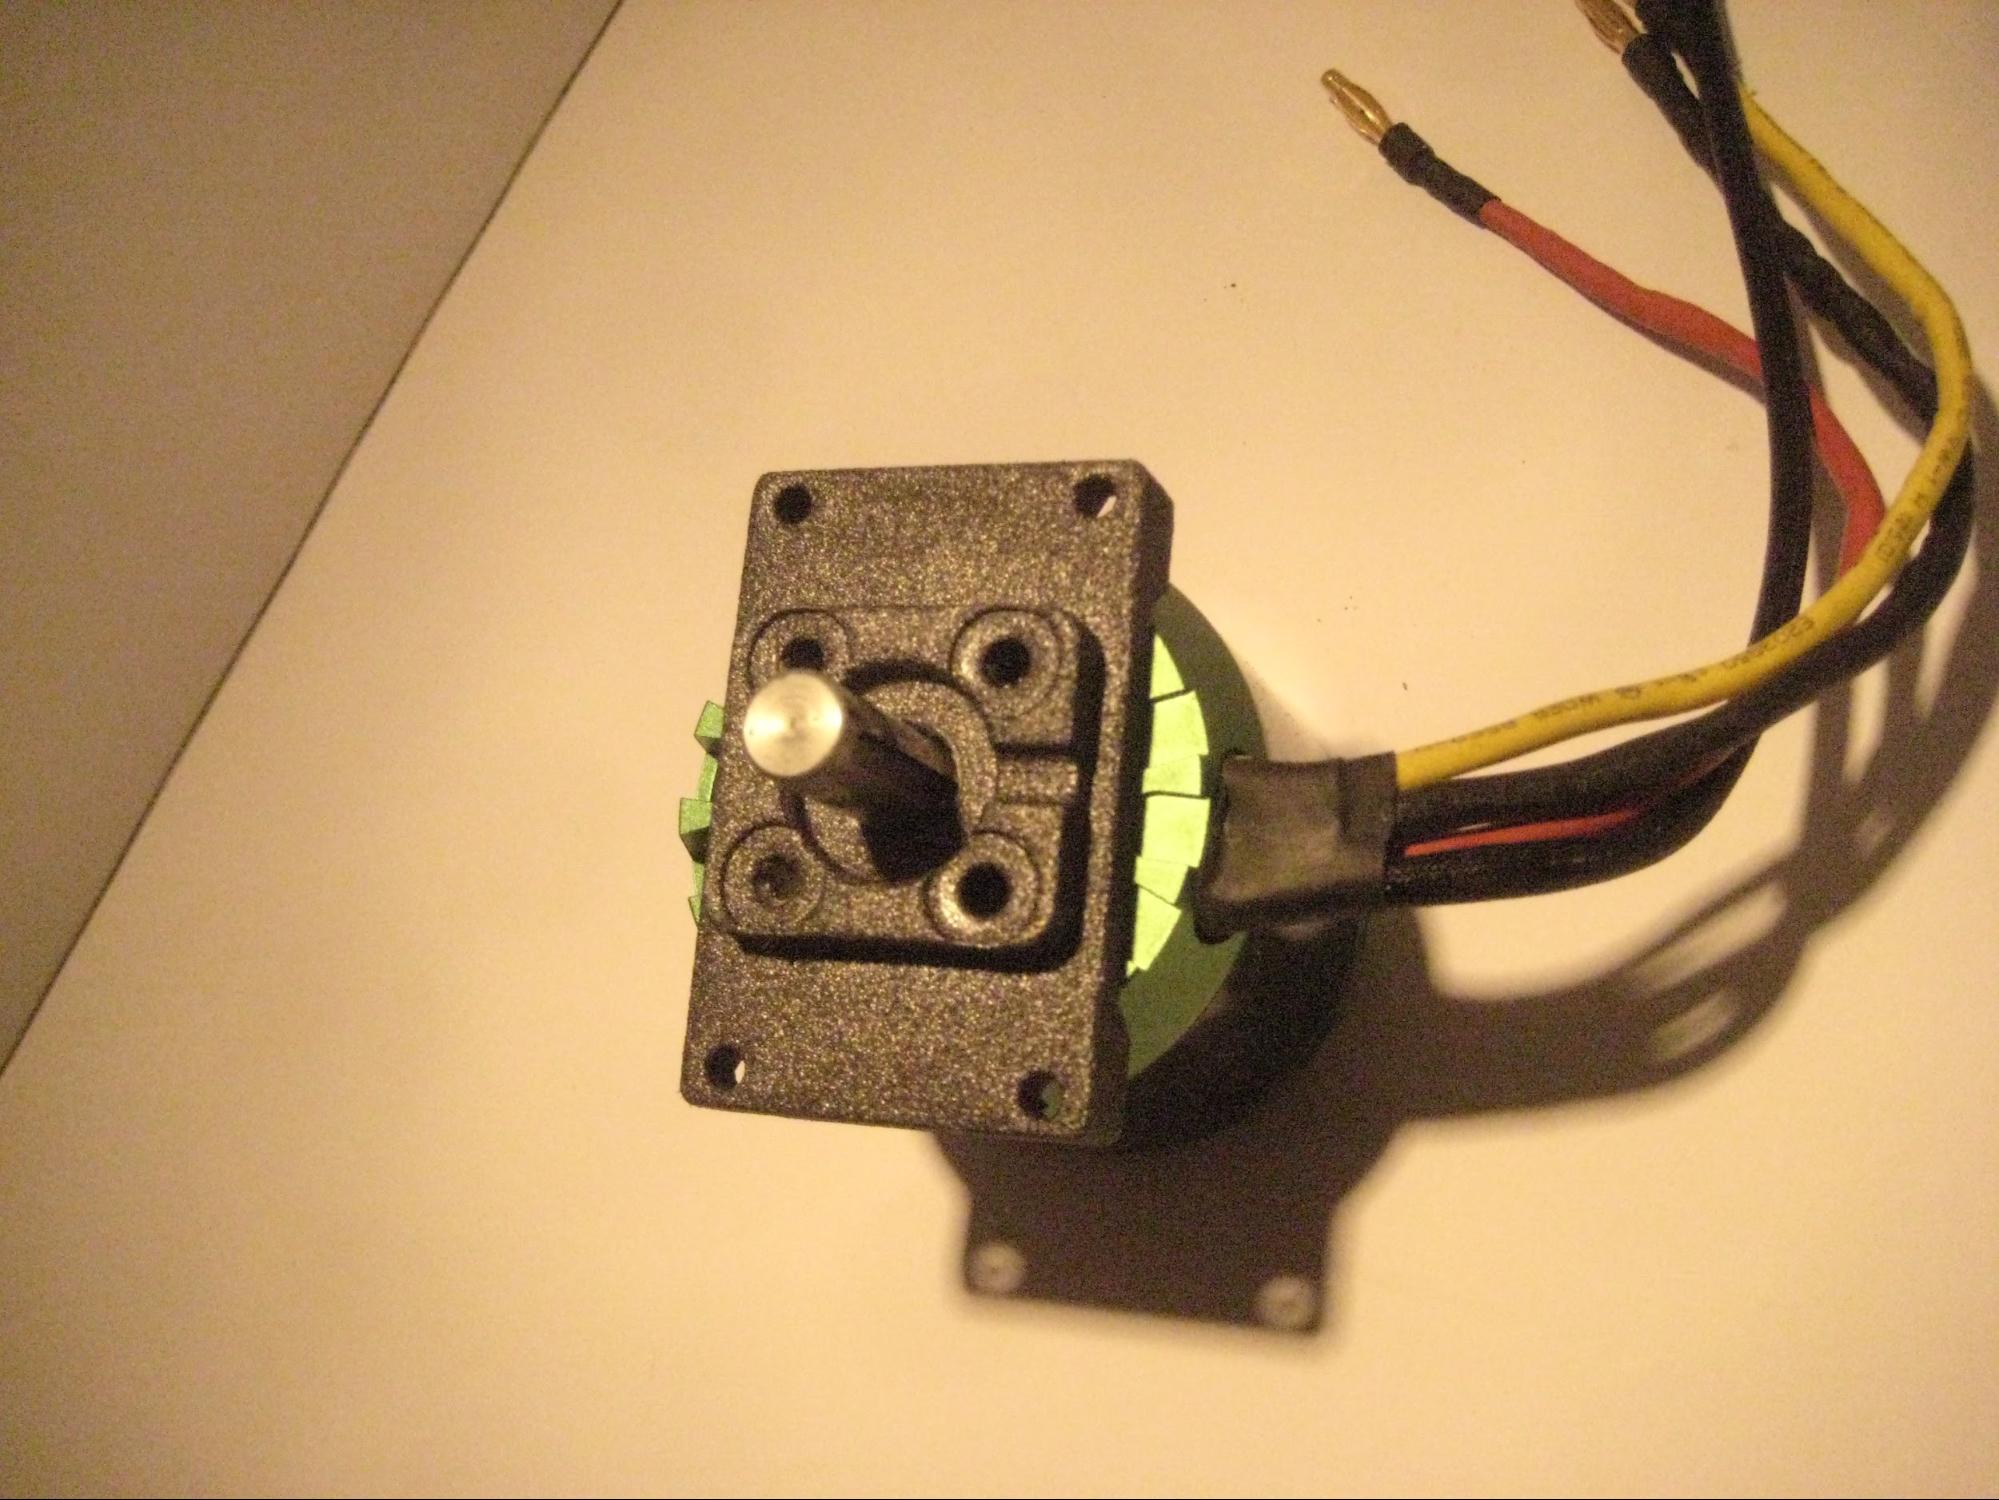
Picture 1.1
Use picture 1.1 as a reference to align the motor and the motor bracket.
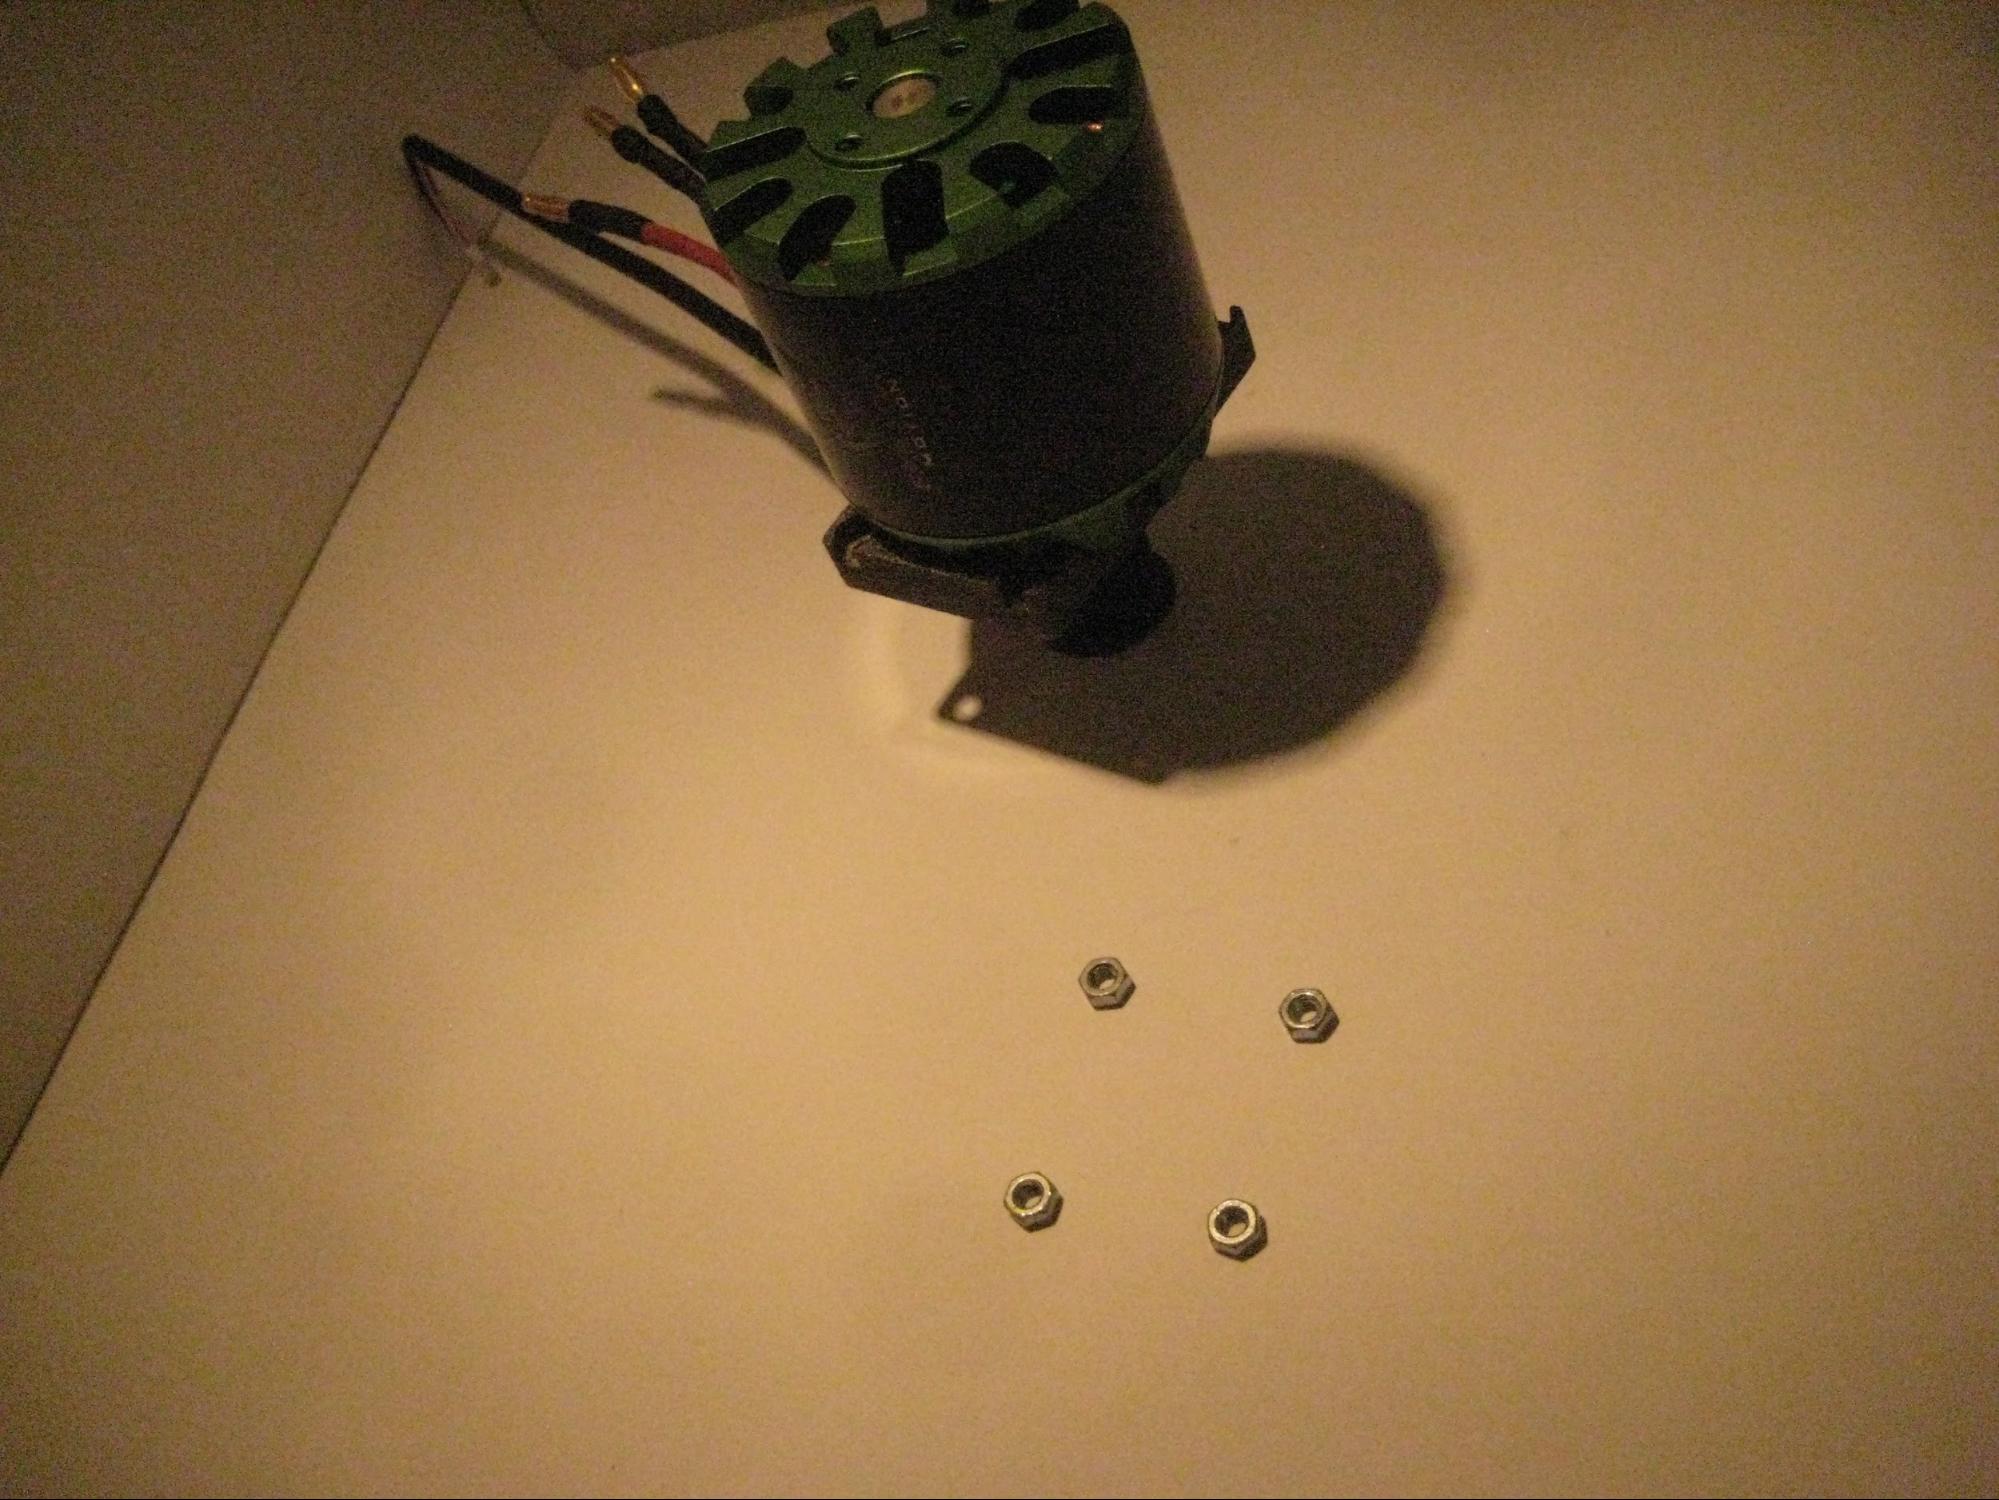
Picture 1.2
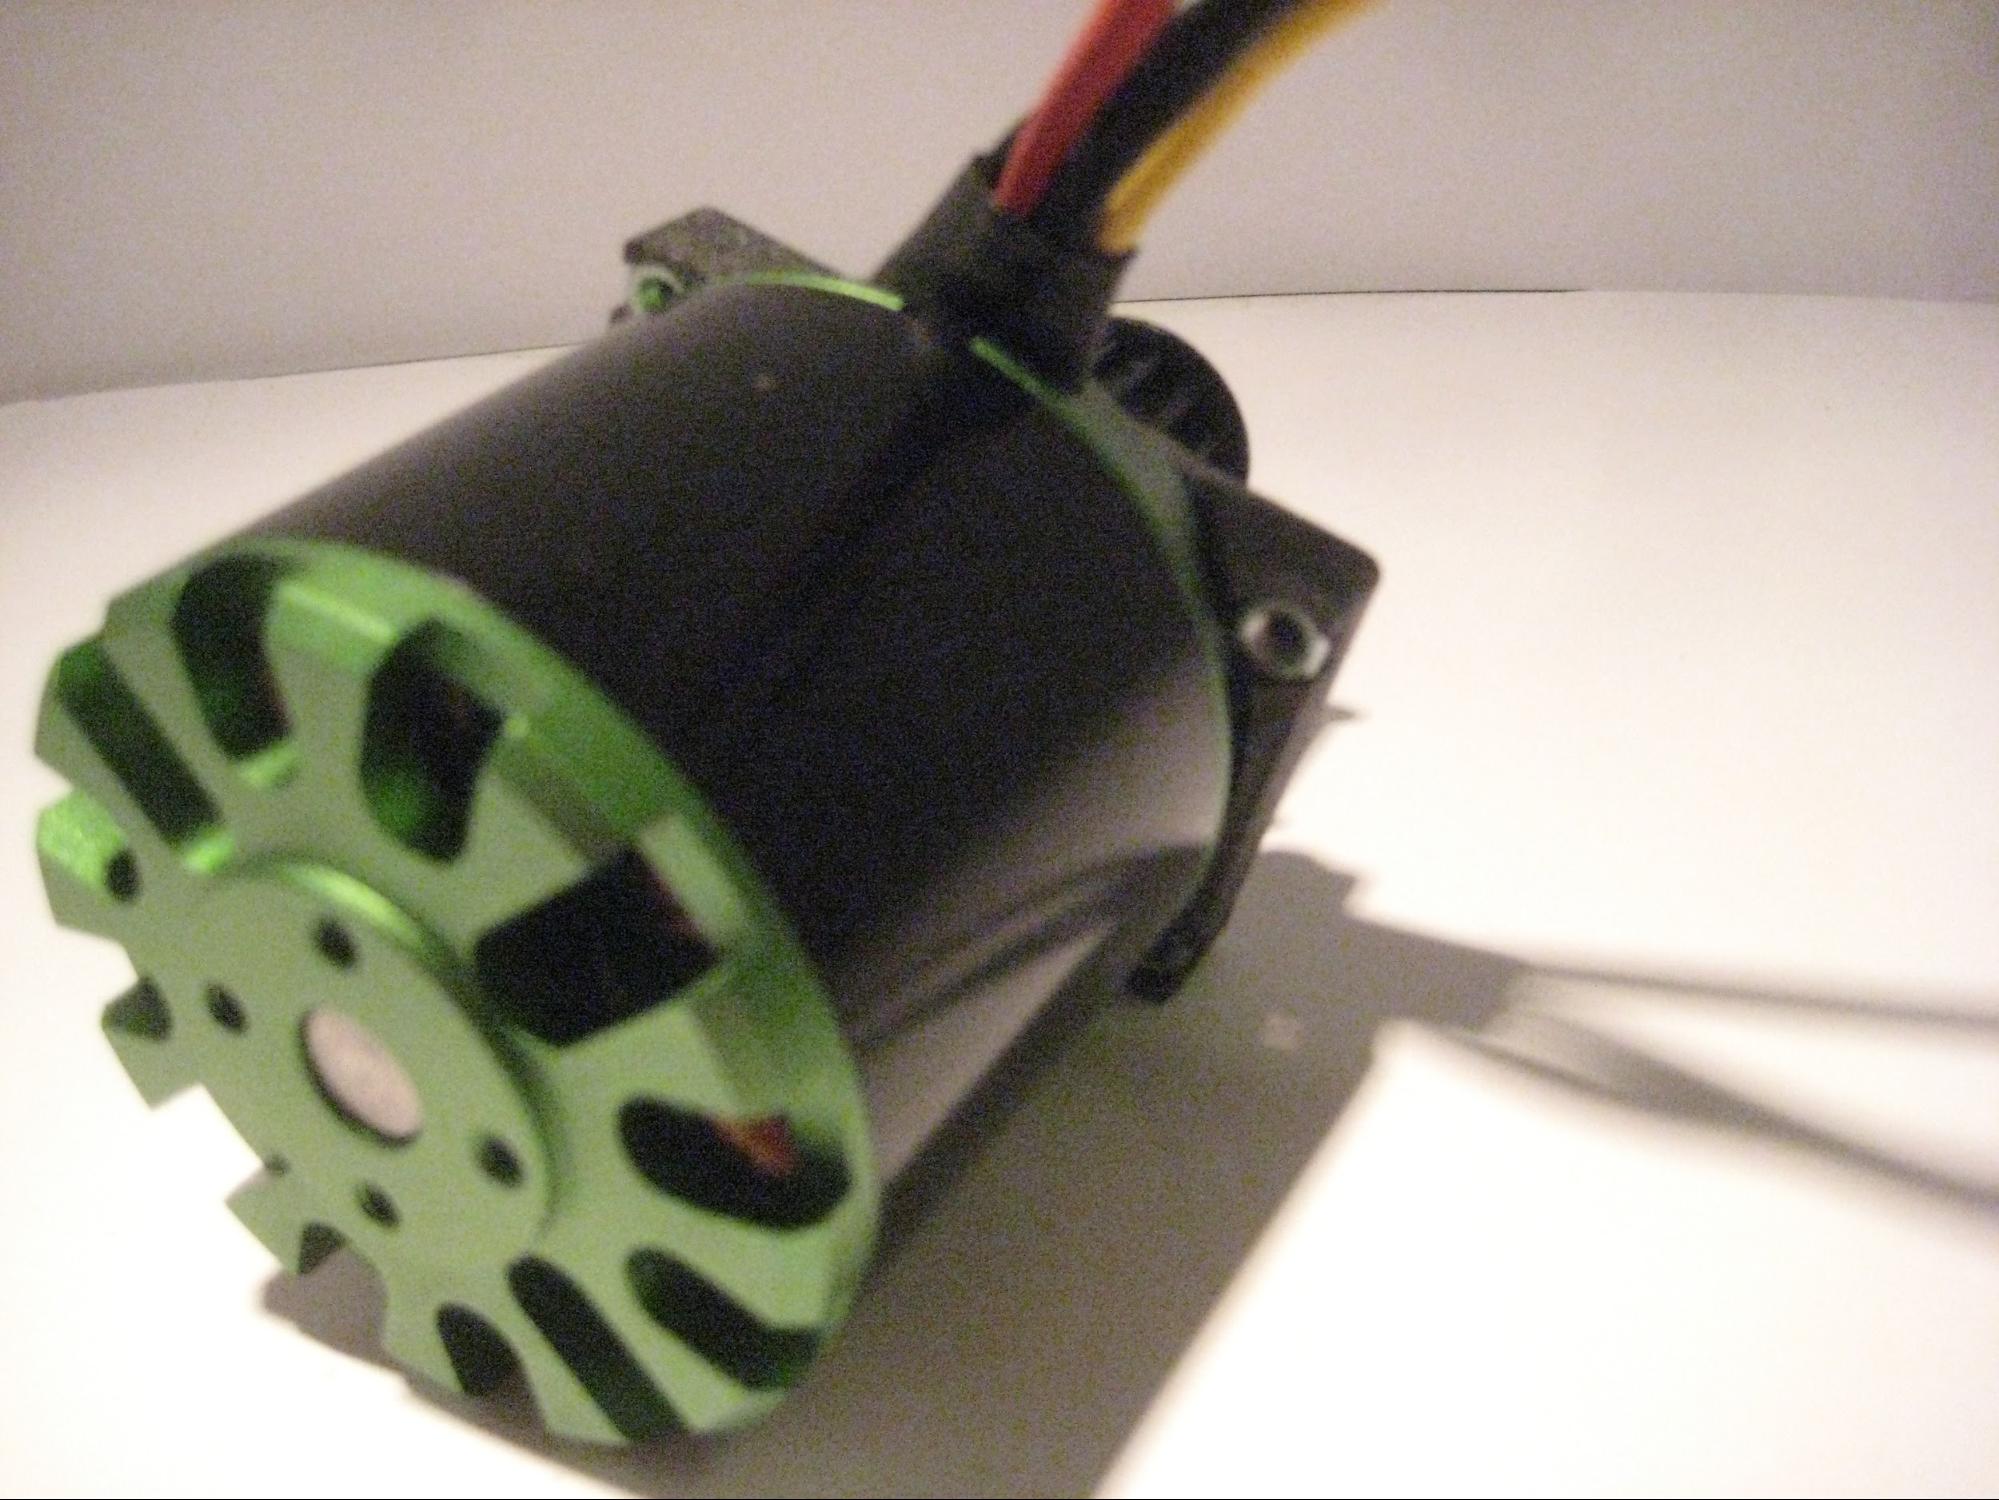
Picture 1.3
Get 4 small knobs and attach them to the back side of the motor bracket as shown in picture 1.2 & 1.3.
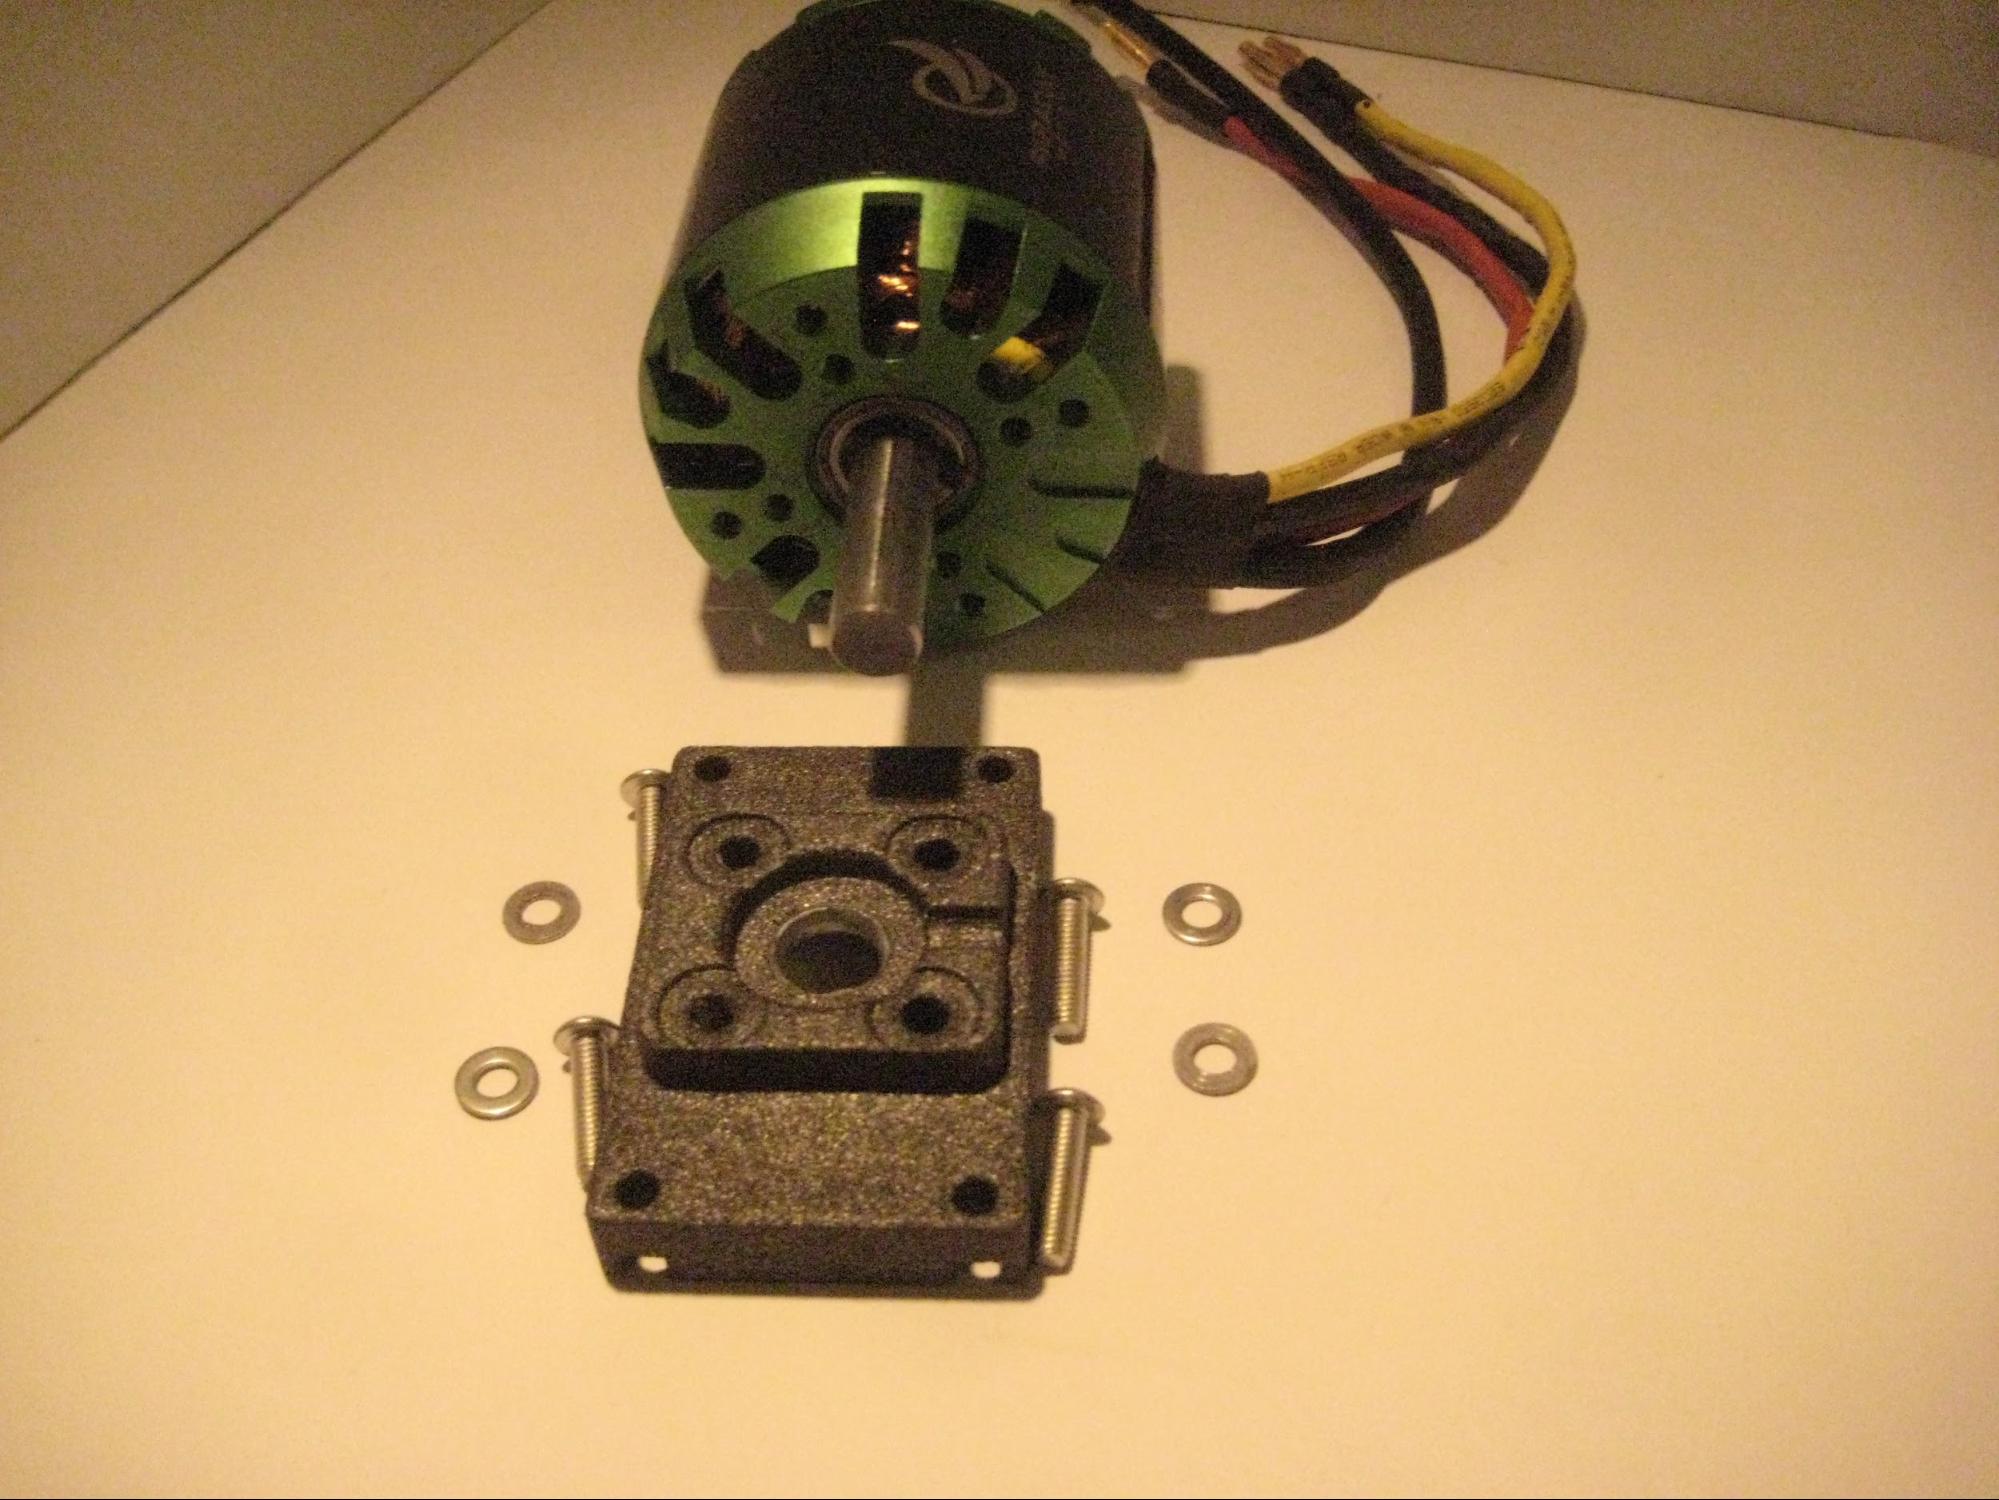
Picture 1.4
Prepare 4 bolts and 4 spacers for the motor bracket (picture 1.4). Align the motor bracket onto the motor as shown in the picture 1.1 (NOTE: that the motor bracket should be position exactly as in the picture).
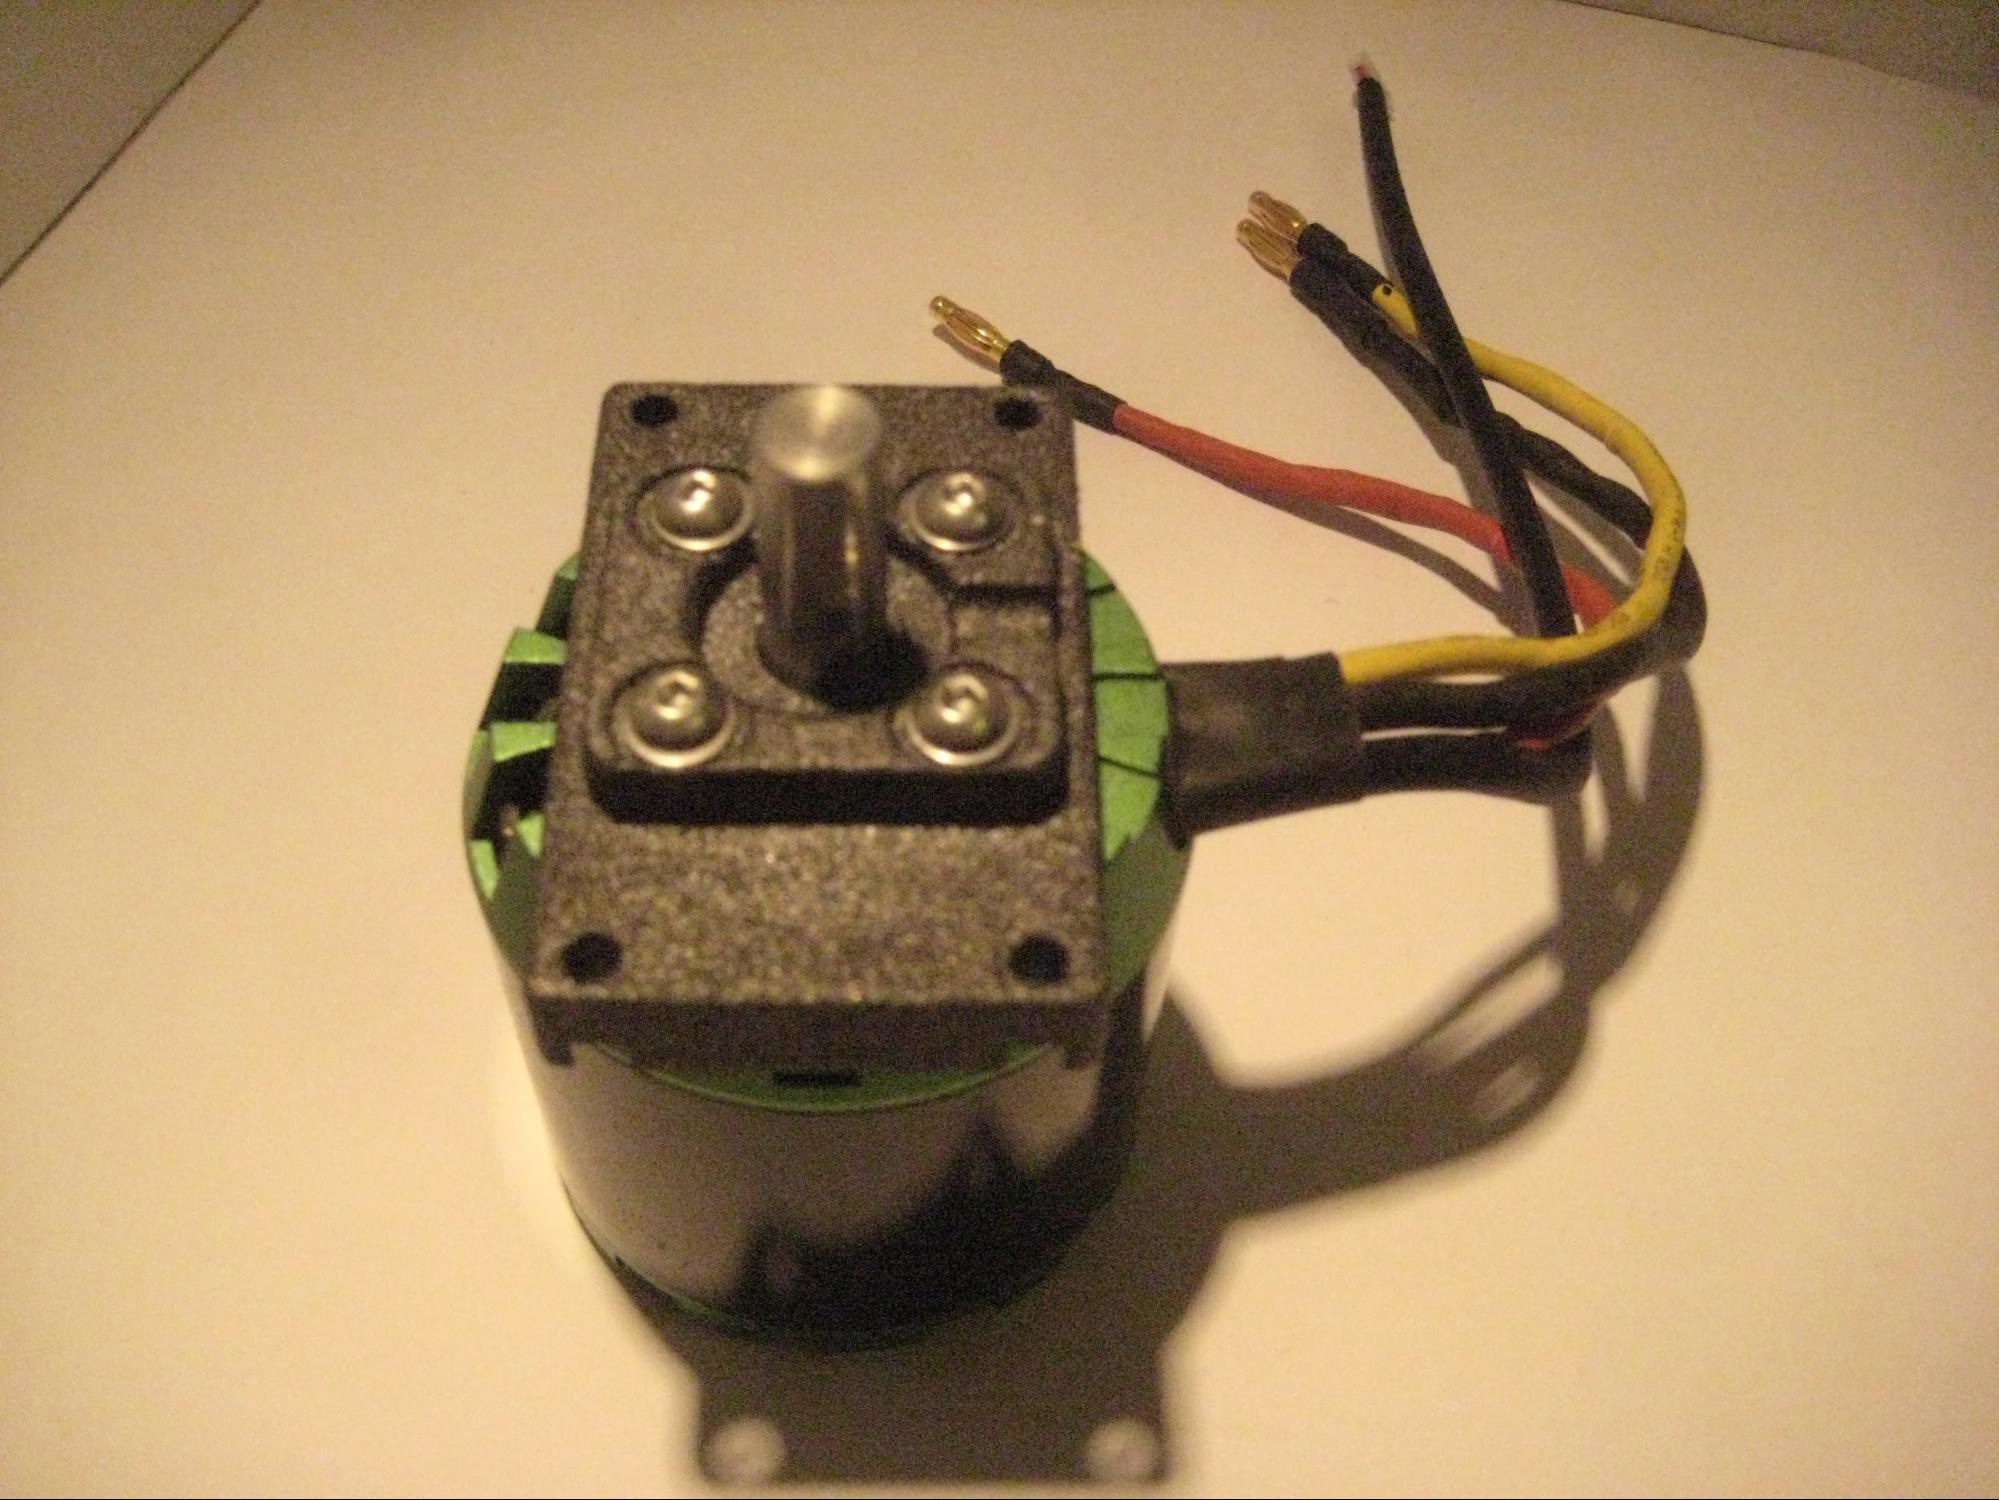
Picture 1.5
Place one drop (a very small amount) of Loctite on the tip of each bolt before screwing the motor bracket onto the motor. Now your motor should look like the one in picture 1.5.
Step 2 - Mount the Pulley
Prepare the pulley and the metal fixture (picture 2.1).
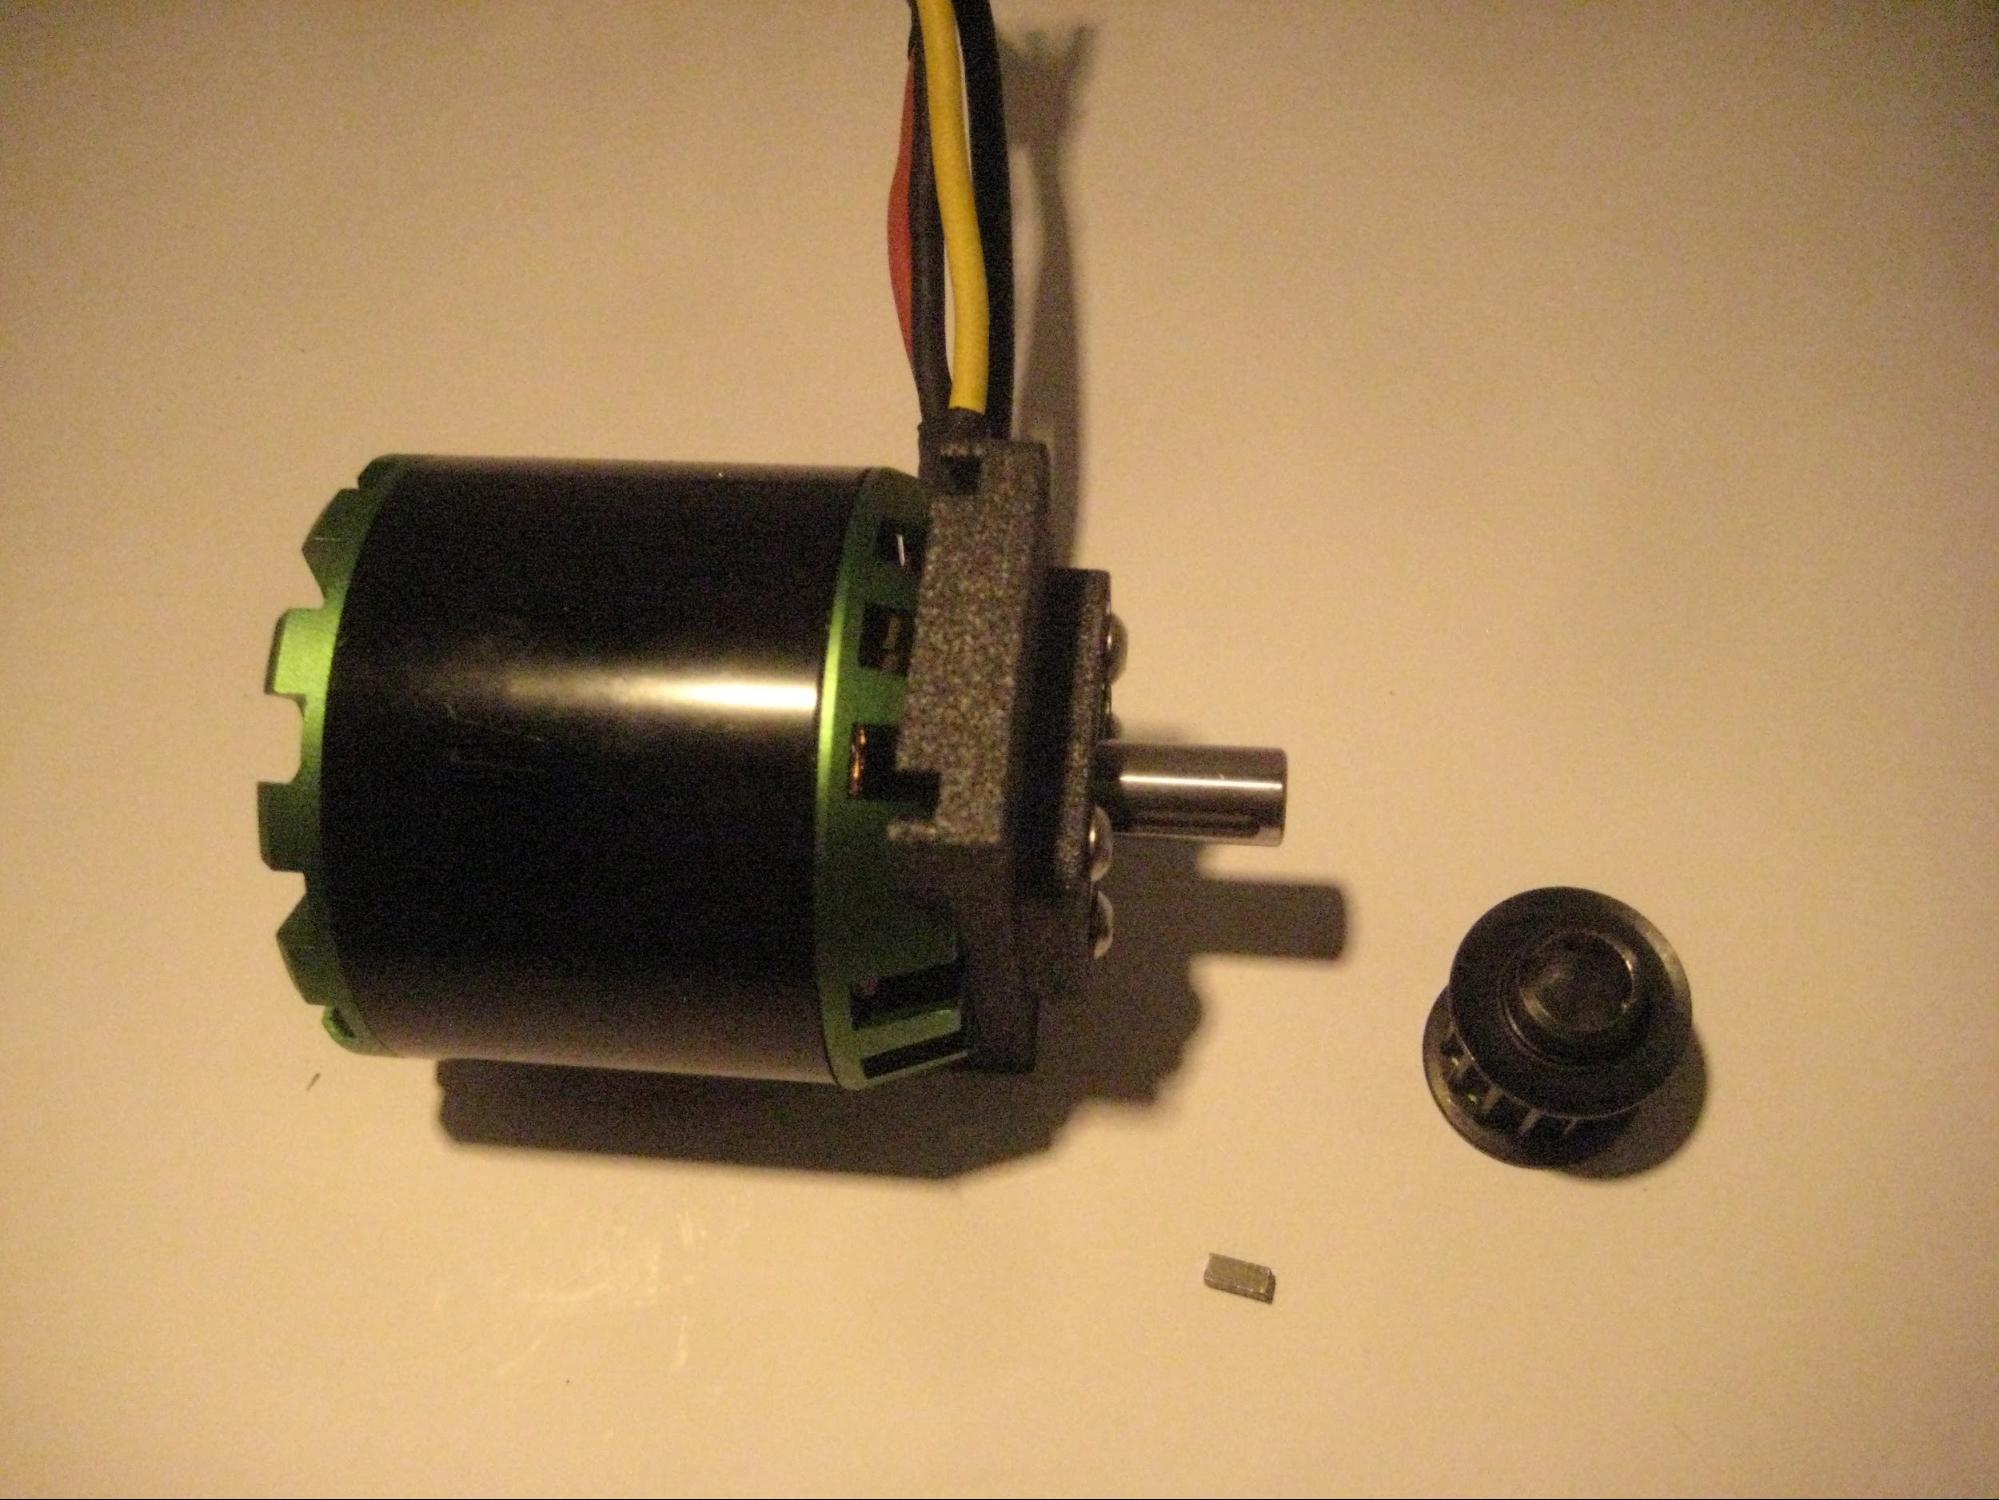
Picture 2.1
Prepare the pulley and the metal fixture (picture 2.1).
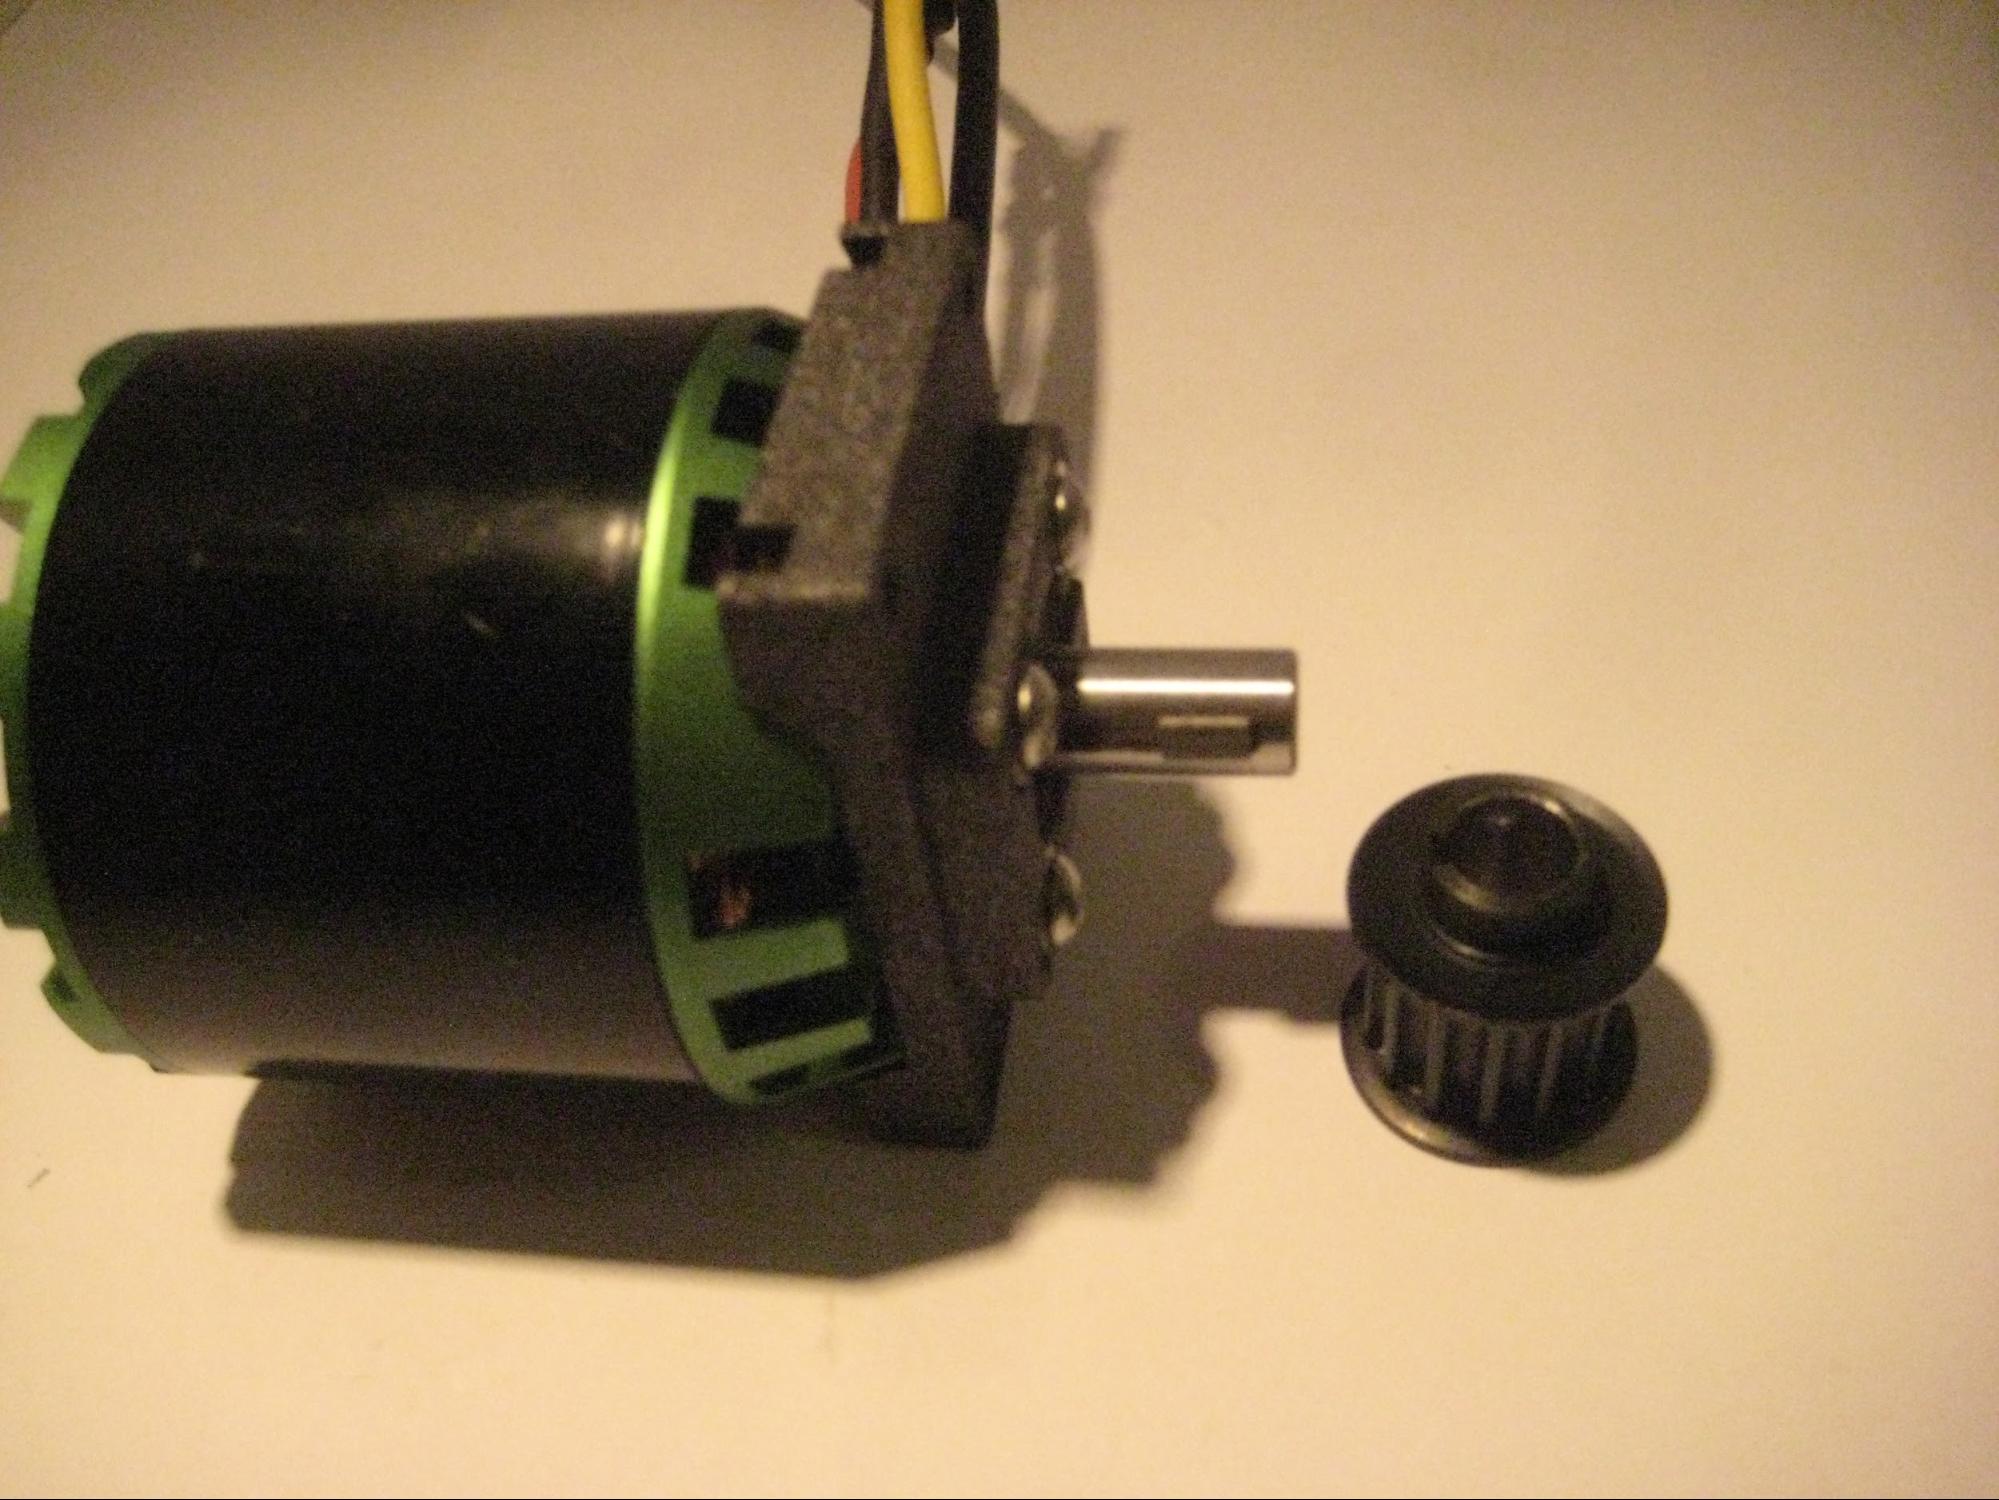
Picture 2.2
Use a drop (a very small amount) of Loctite on the metal fixture. Now attach it to the motor axle as shown in picture 2.2.
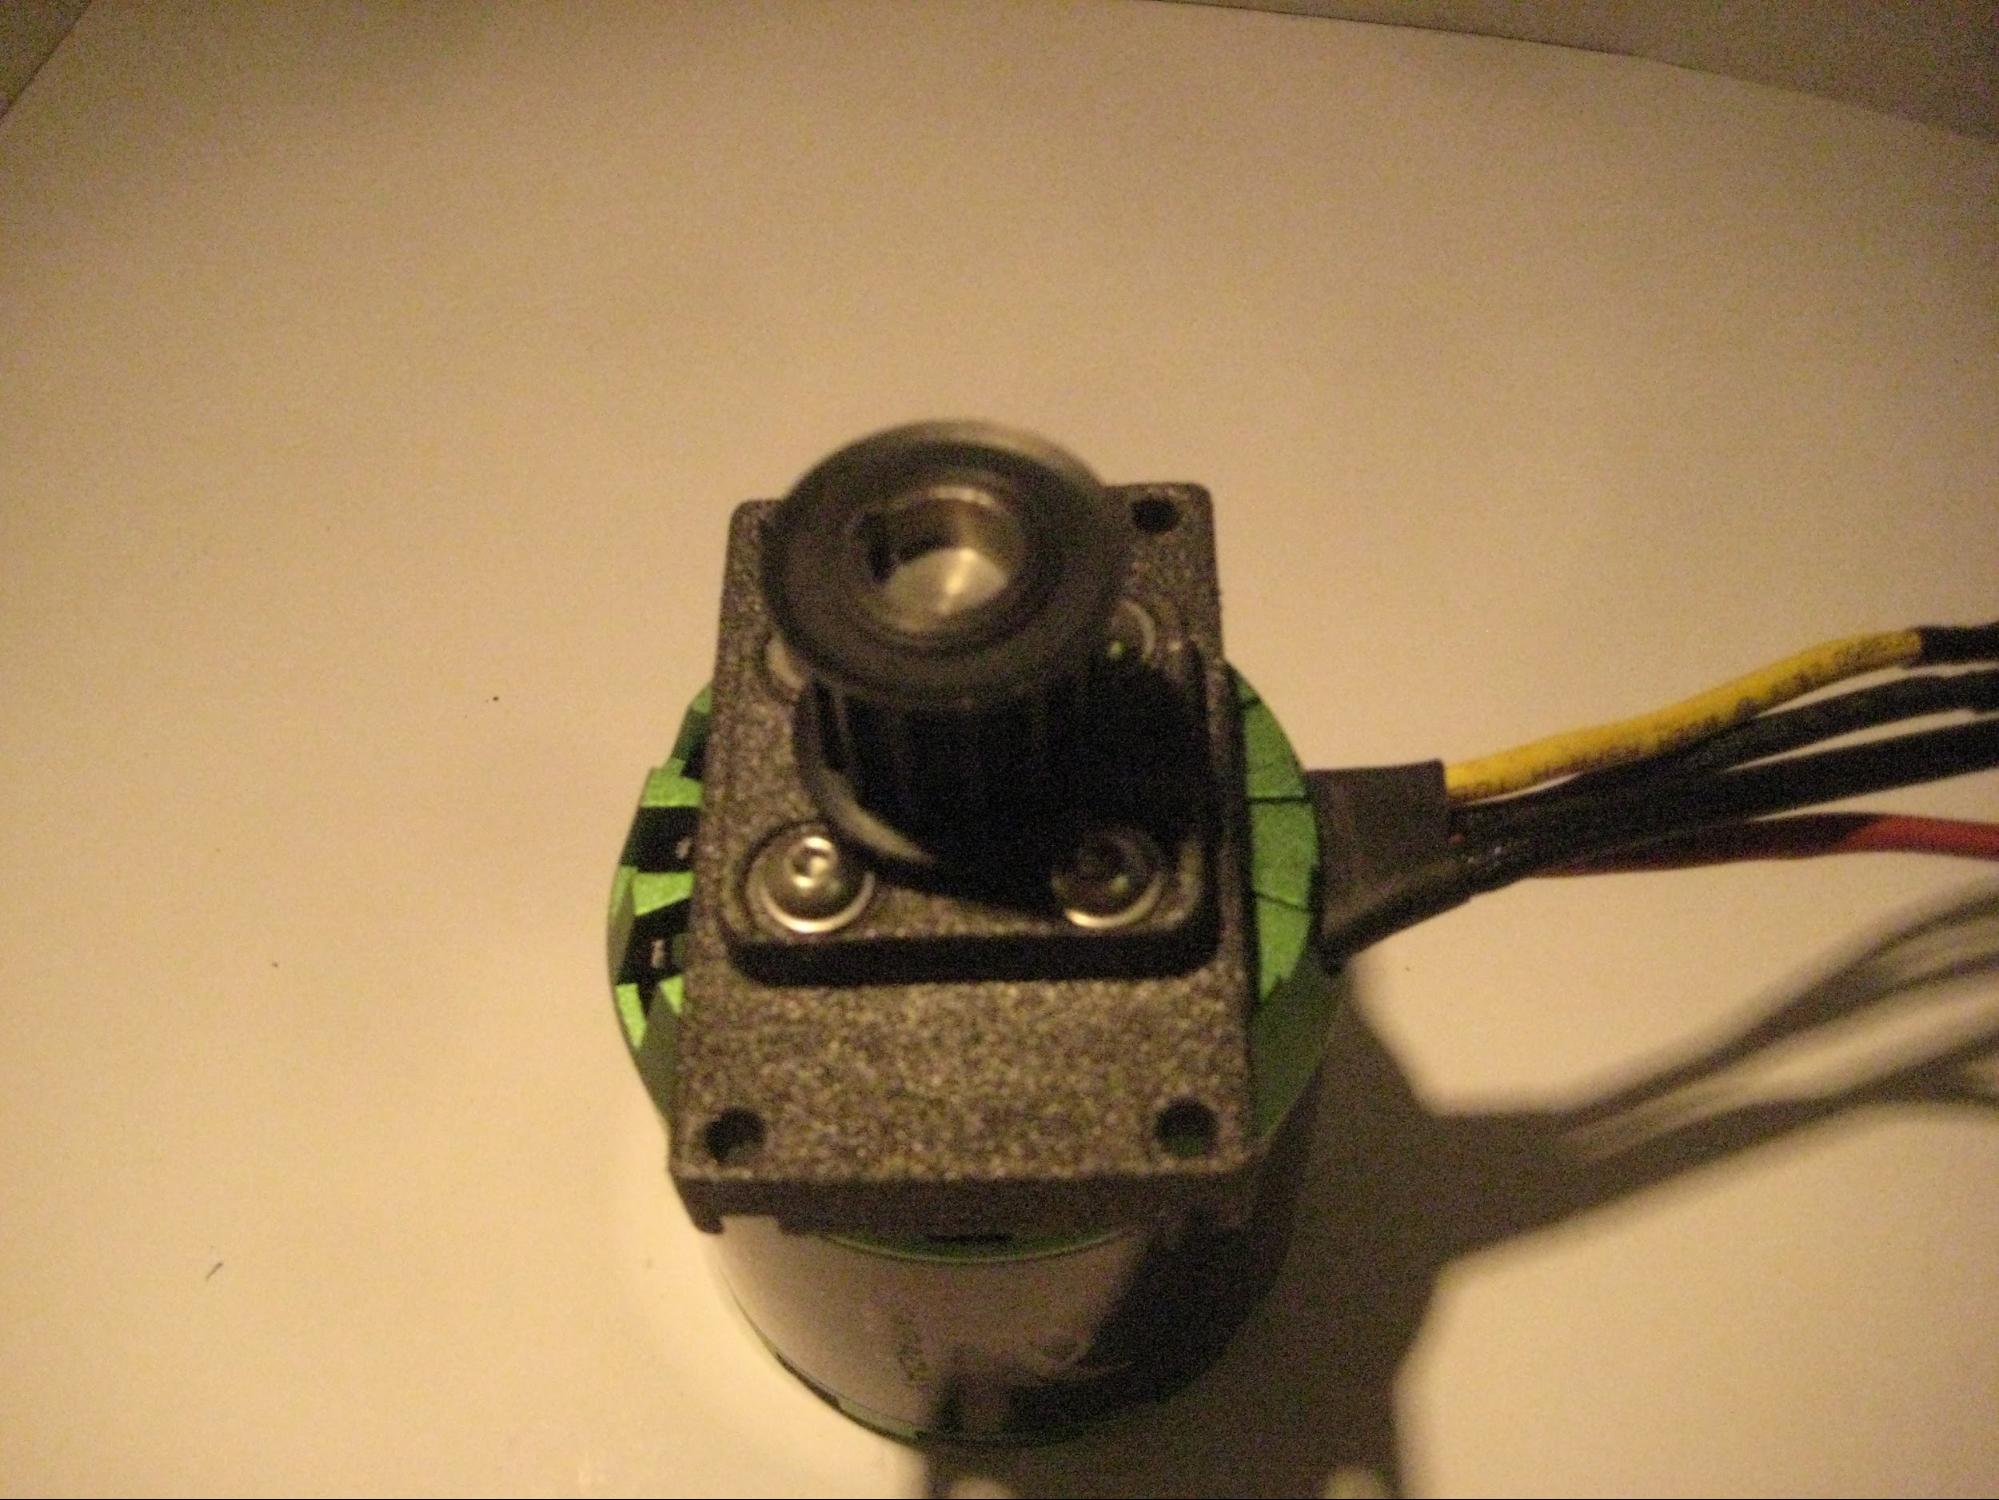
Picture 2.3
Now attach the pulley onto the motor axle. It should fit perfectly as there is only one position for it to go inside (picture 2.3).
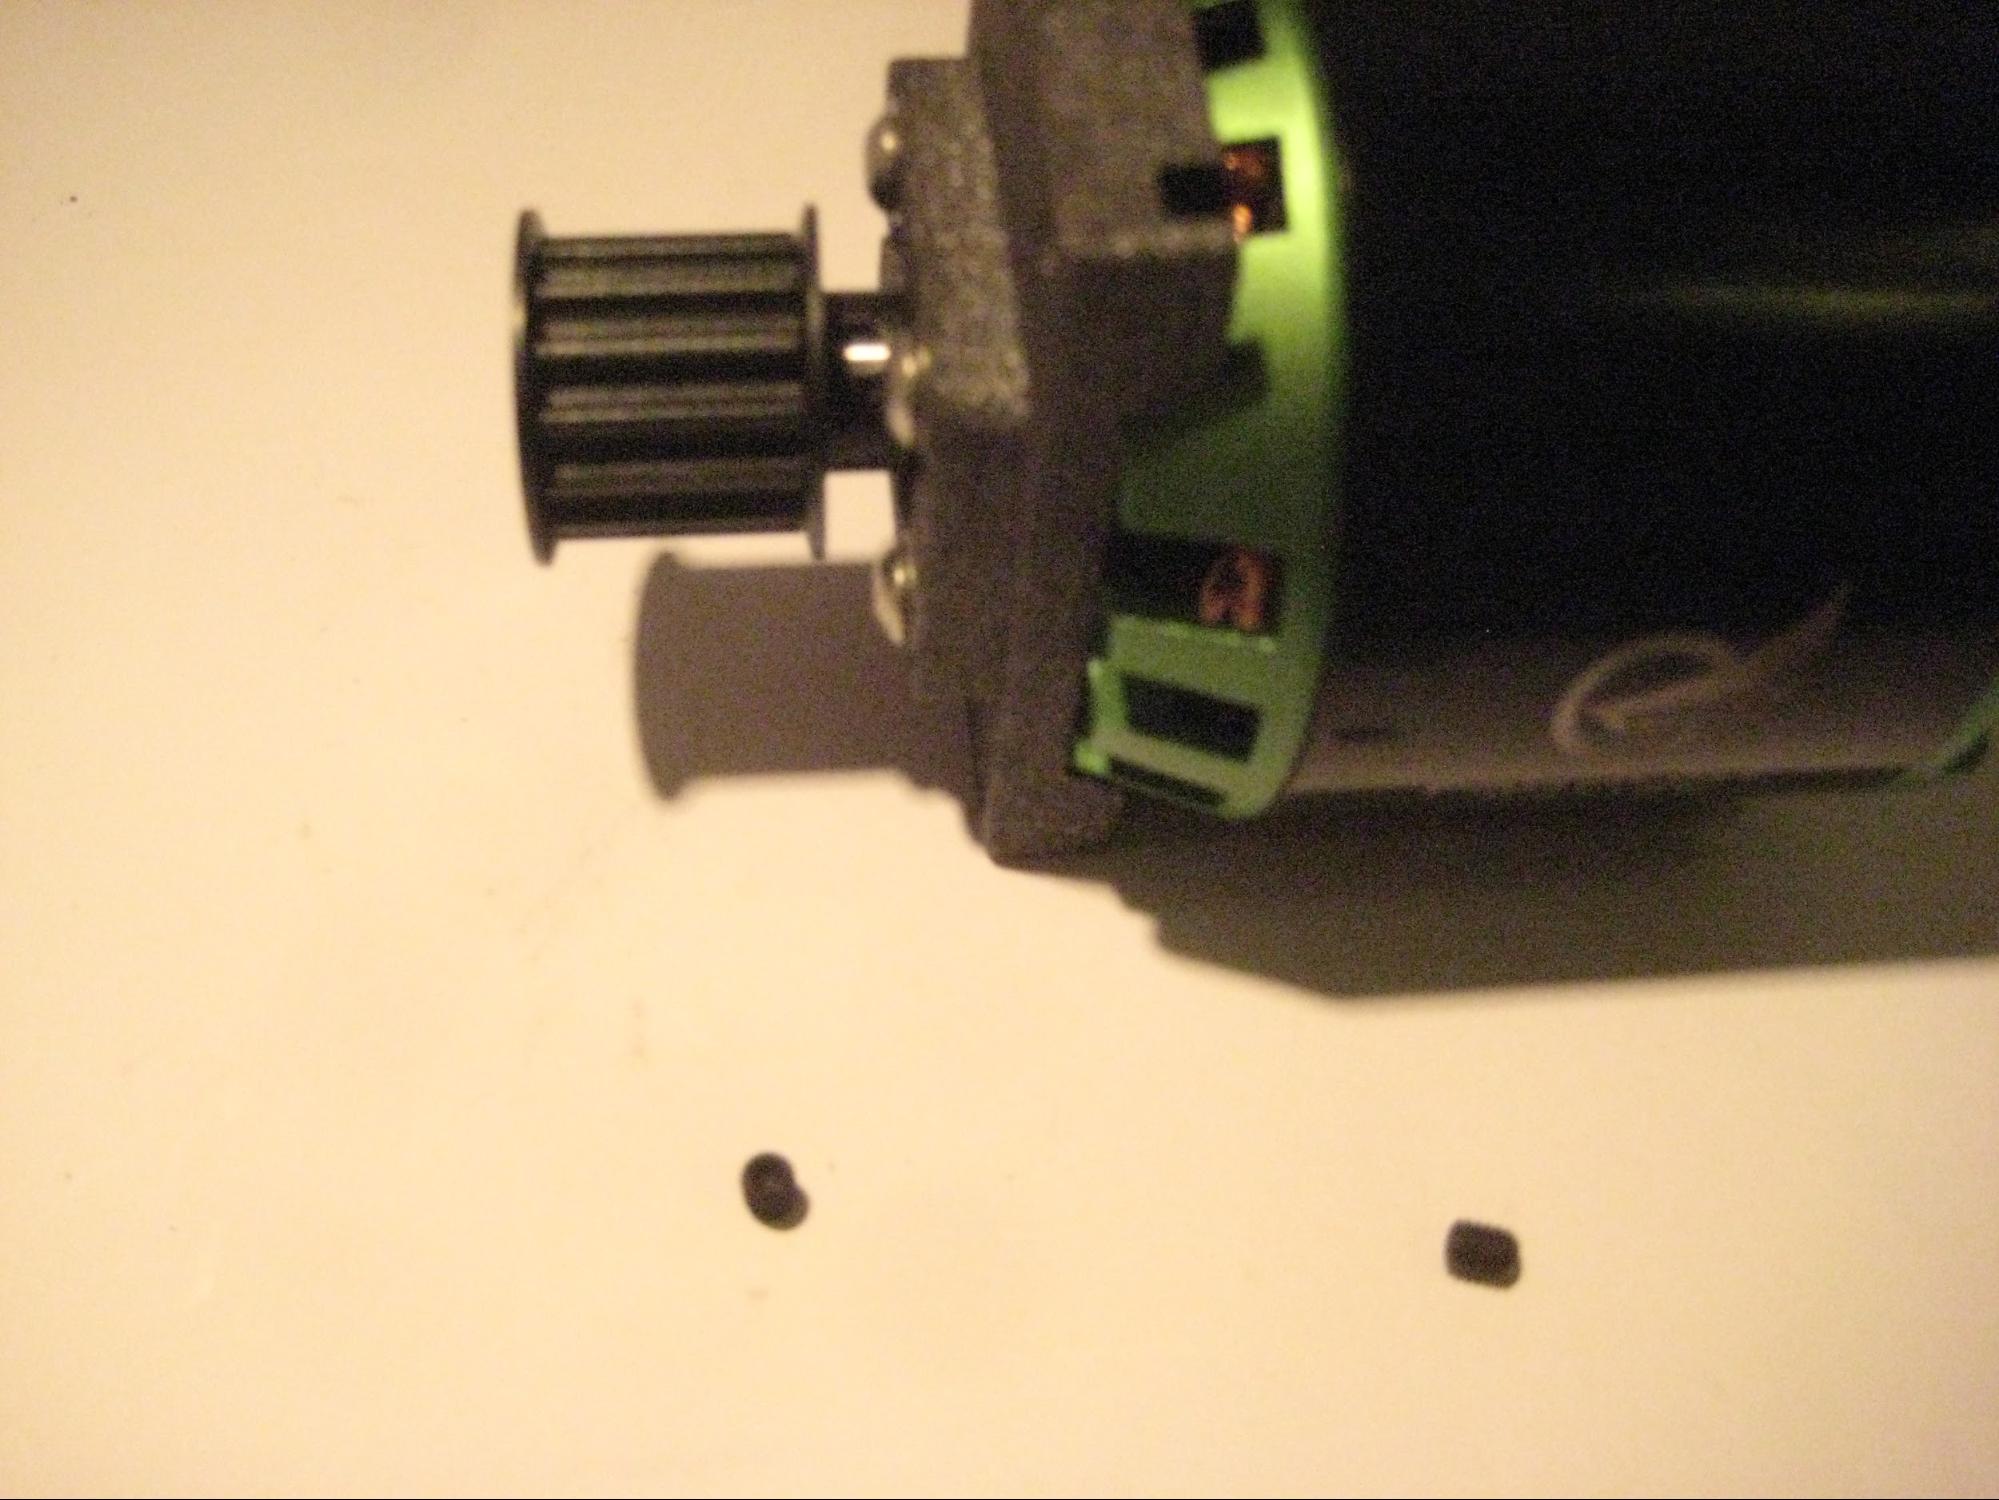
Picture 2.4
Push the pulley all the way in and use the two pulley screws to fixate the pulley onto the motor axle as shown in picture 2.4.
Updated less than a minute ago
