Stage 4 - The Brackets
In this stage you will attach the axle that you have assemble in the first stage to the two brackets that will have the electronics box and the motor attached to.
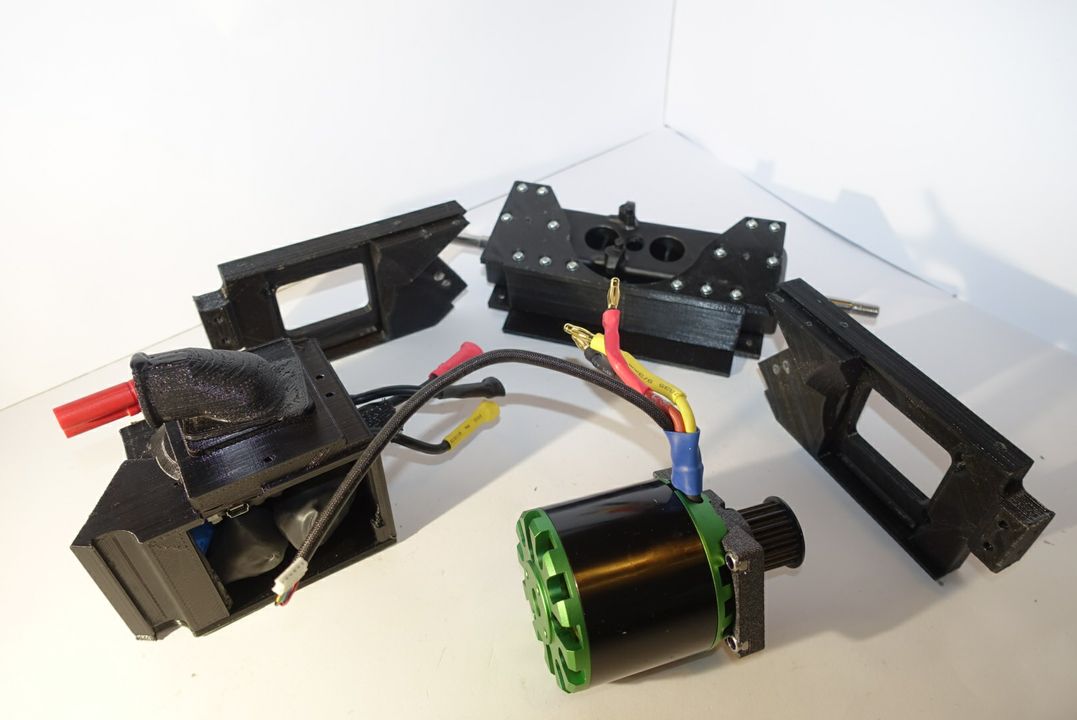
NOTE: Use the above picture to make sure you mount the right piece to the right bracket. This way you will avoid having your motor and electronics box having switched positions.
Step 1 - Attach the Electronics Box
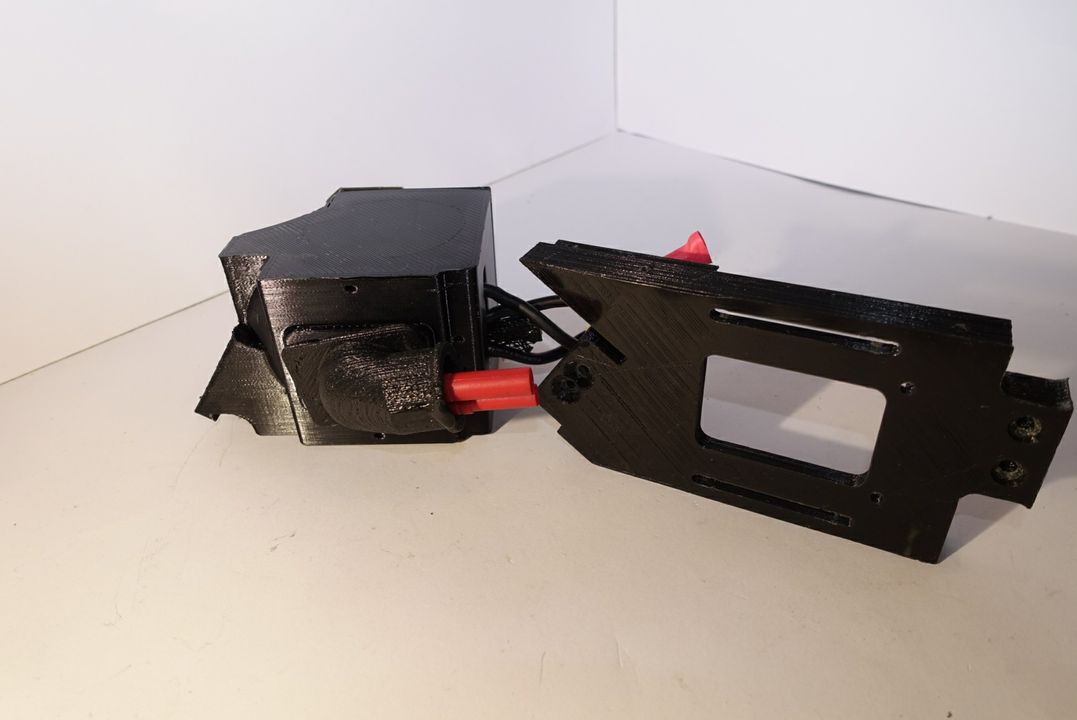
Picture 1.1
Prepare the required parts as shown in the picture 1.1.
NOTE: It is important to position the electronics box in such a way that the cables are coming out on the bracket side that does not have a sharp edge (picture 1.1 & 1.2).
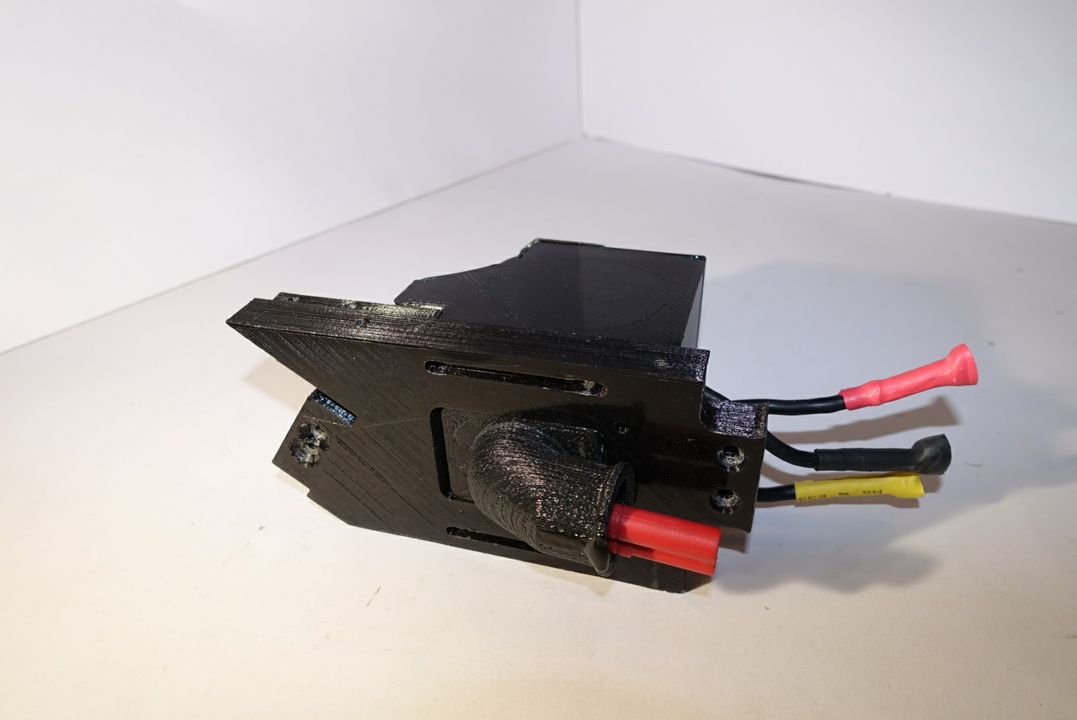
Picture 1.2
Slide the electronics box into the inner side of the bracket so that you have result similar to picture 1.2.
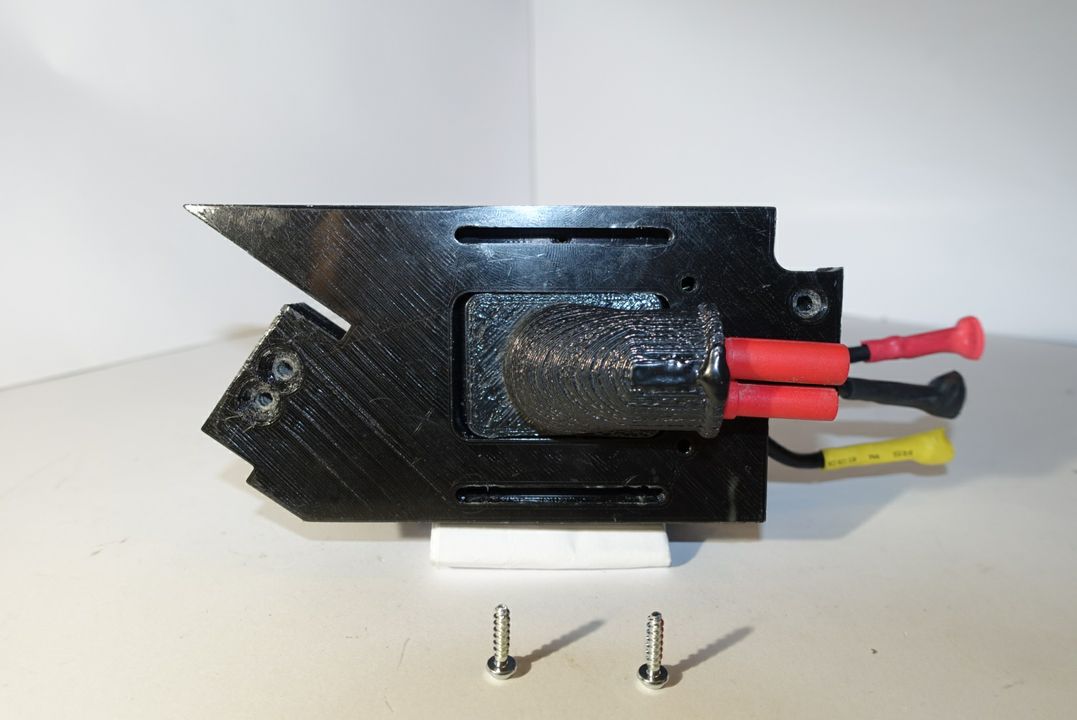
Picture 1.3
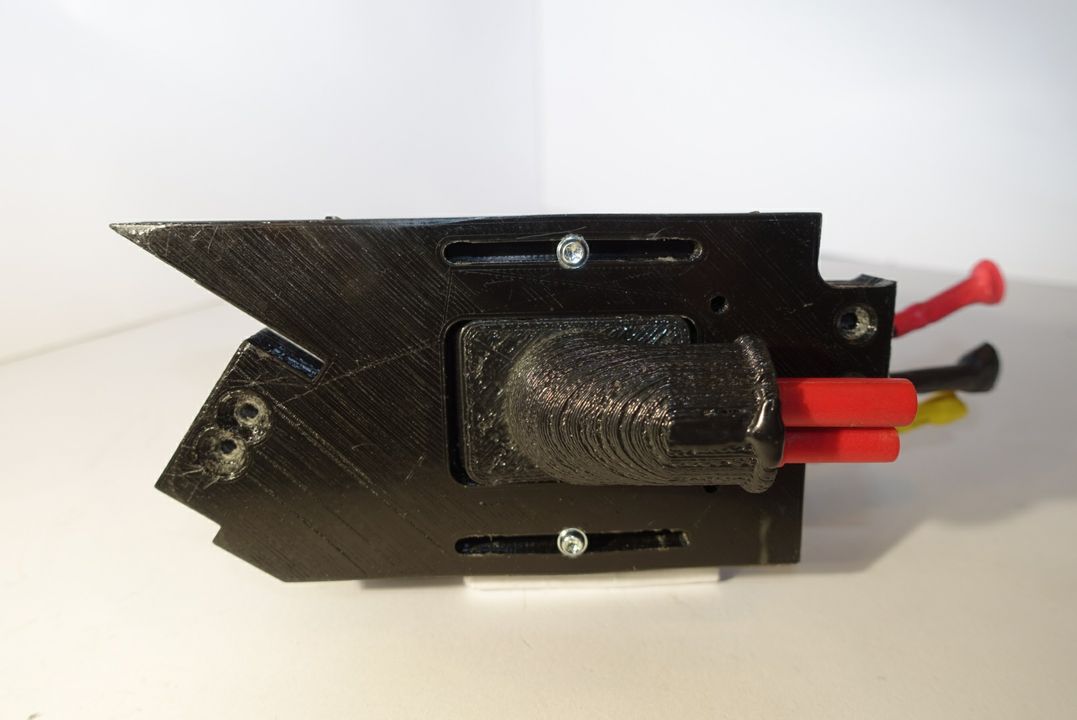
Picture 1.4
Using the 2 XS screws fixate the electronics box onto the left bracket as shown in pictures 1.3 & 1.4.
Step 2 - Attach the Motor
Remember that the cables should be placed in the side of the right bracket where there is NOT a sharp edge.
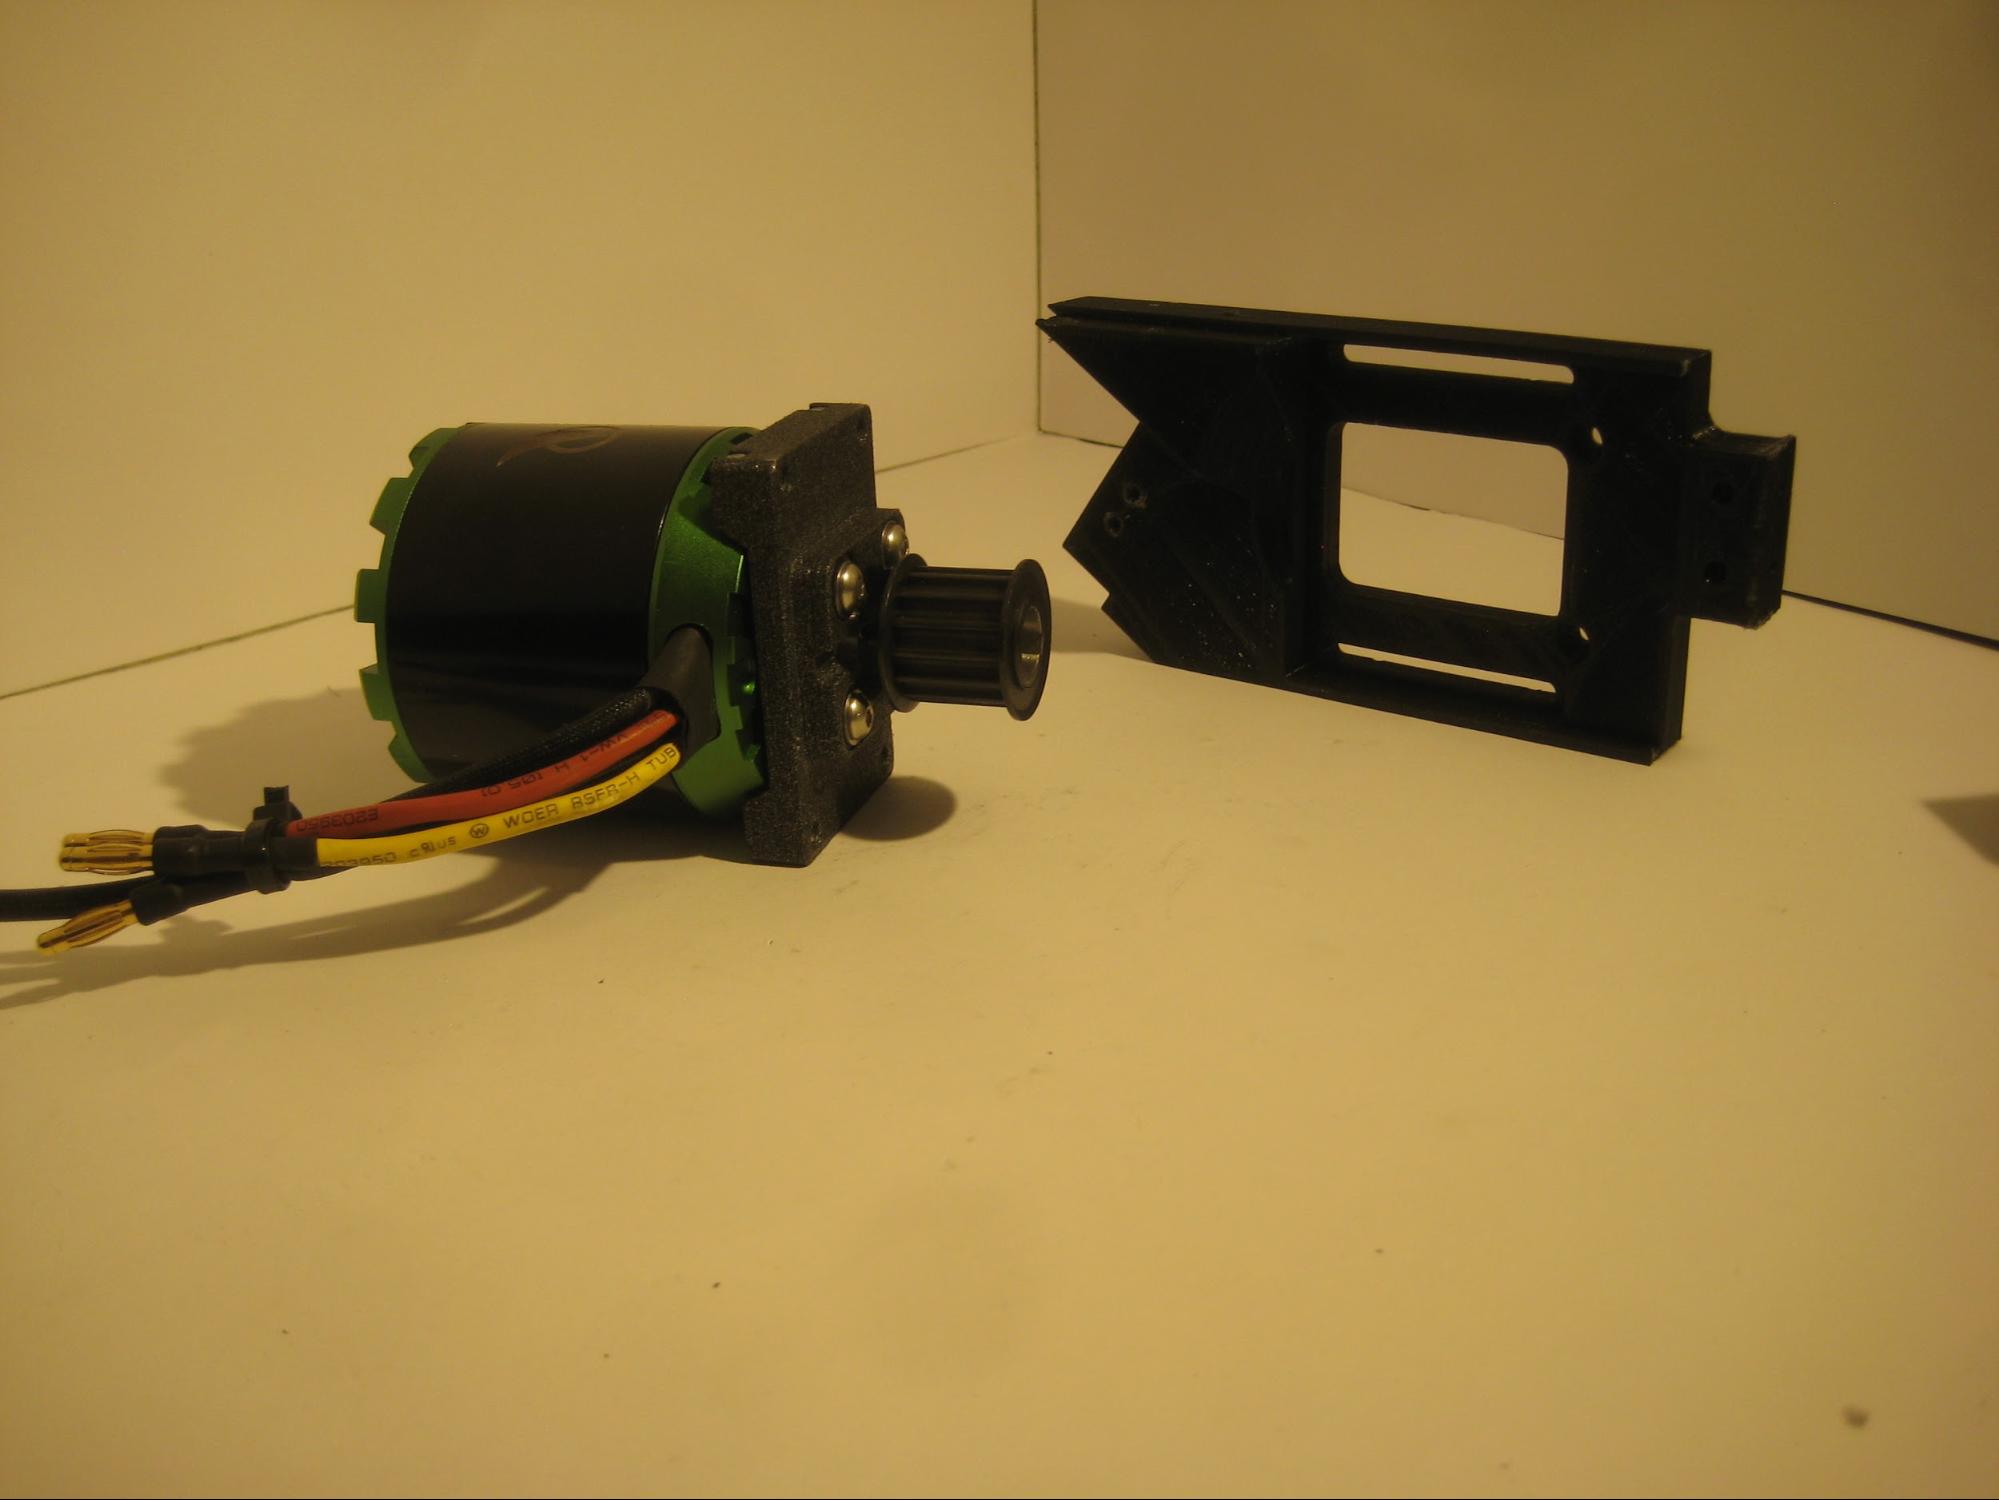
Picture 2.1
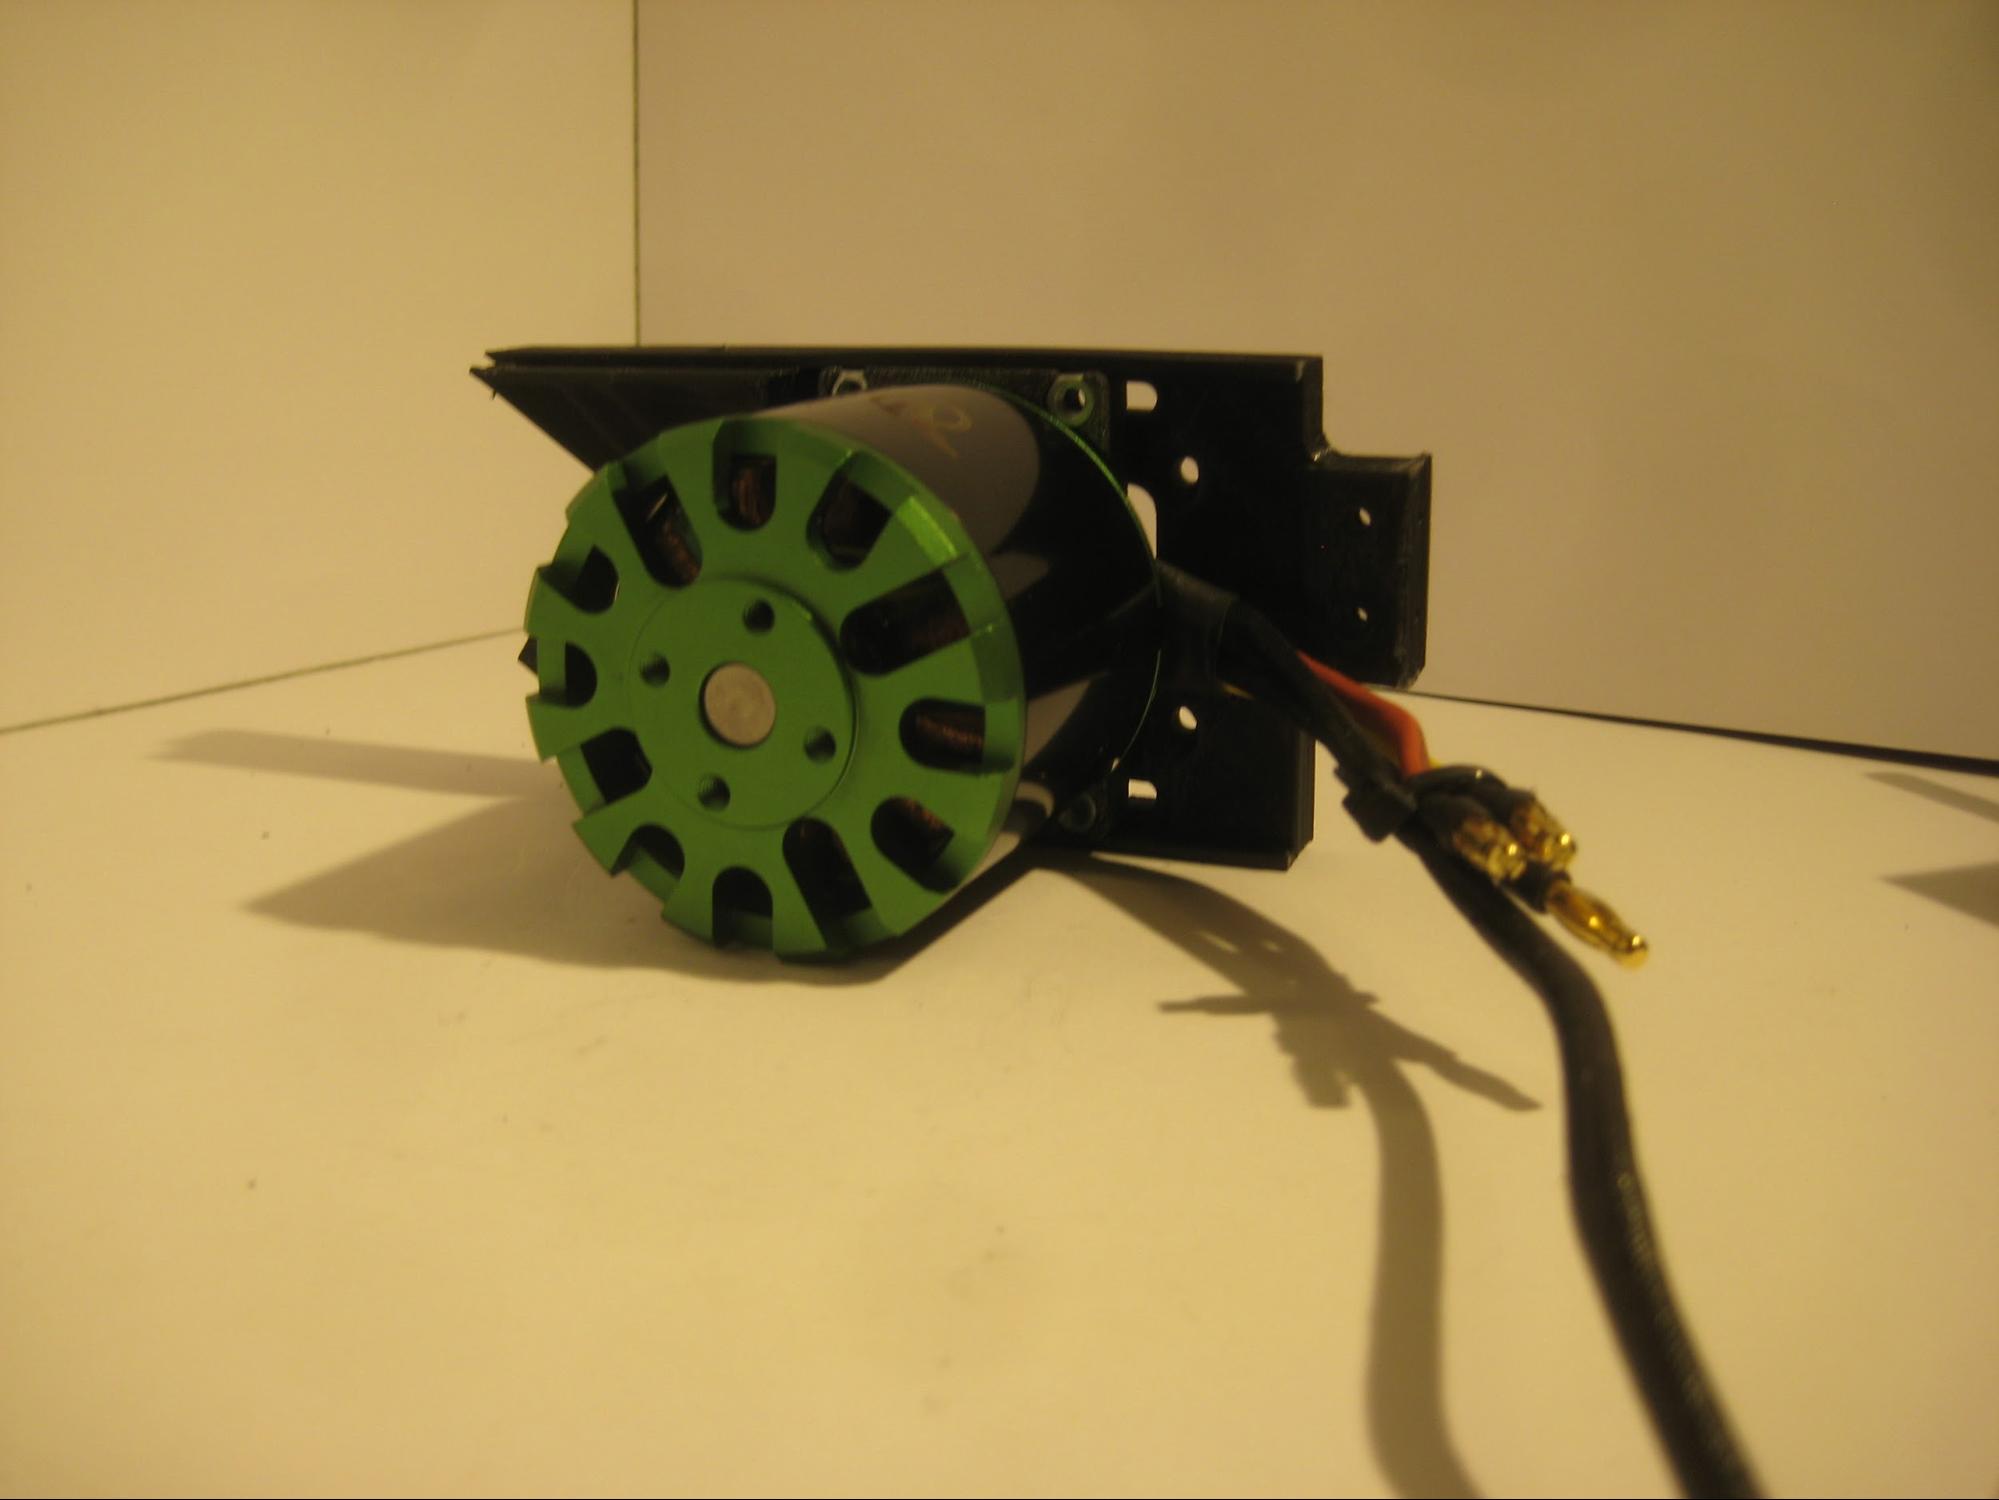
Picture 2.2
First push the motor unit into the inside part of the right bracket as shown in pictures 2.1 & 2.2 so that you get a similar result.
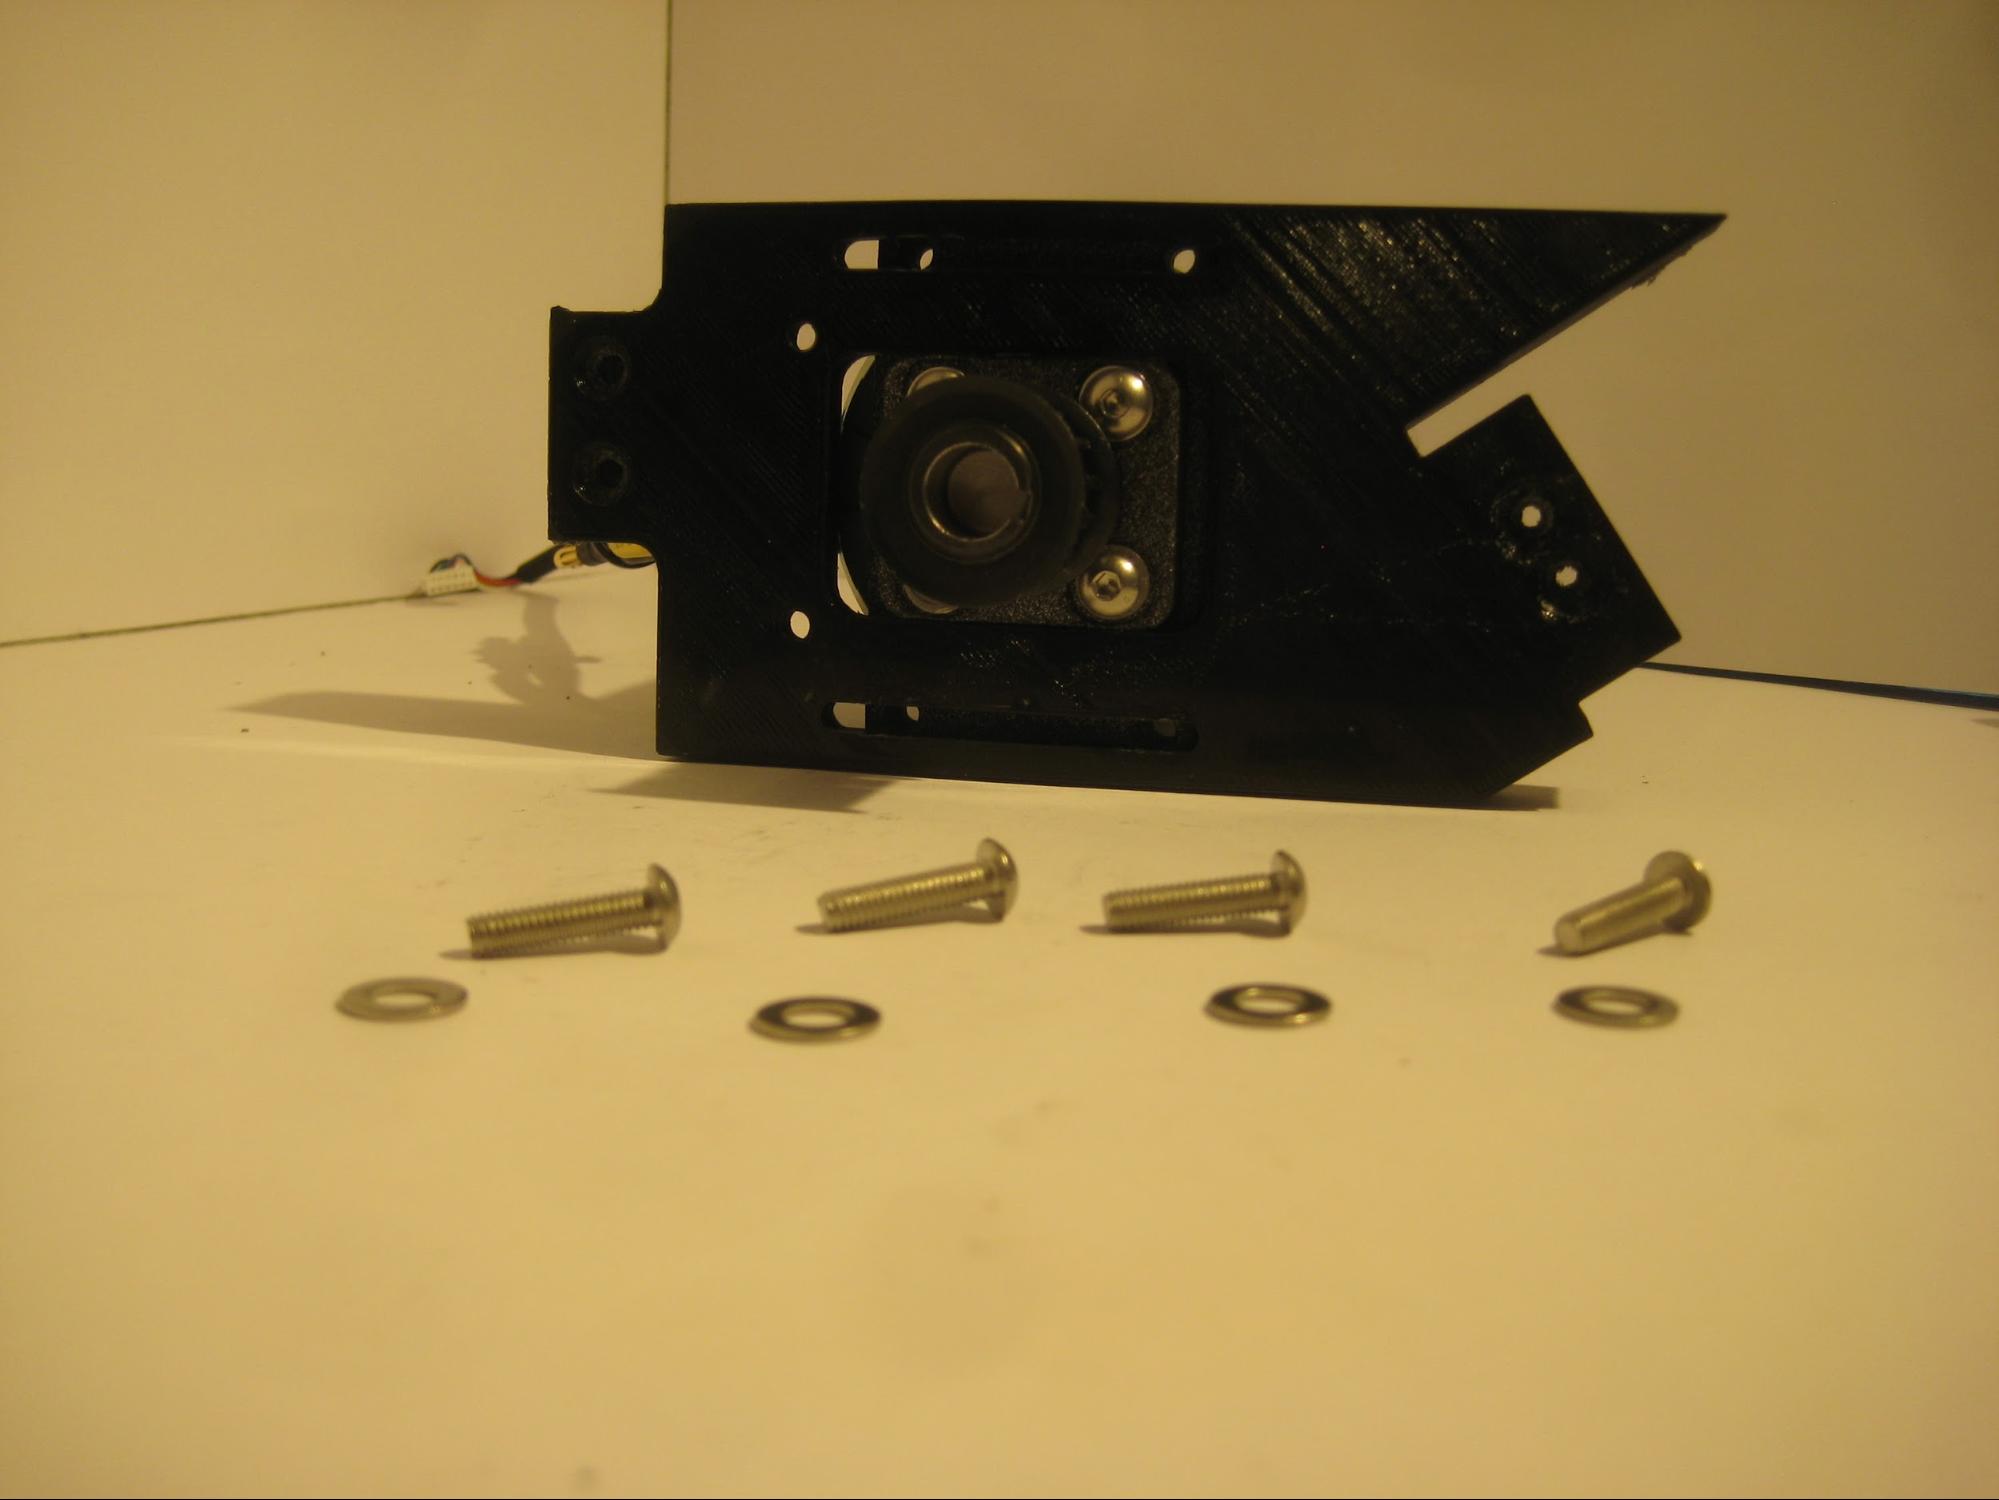
Picture 2.3
Note in Spine Version 1.1 you do not need the spacers as the bolts have them on already.
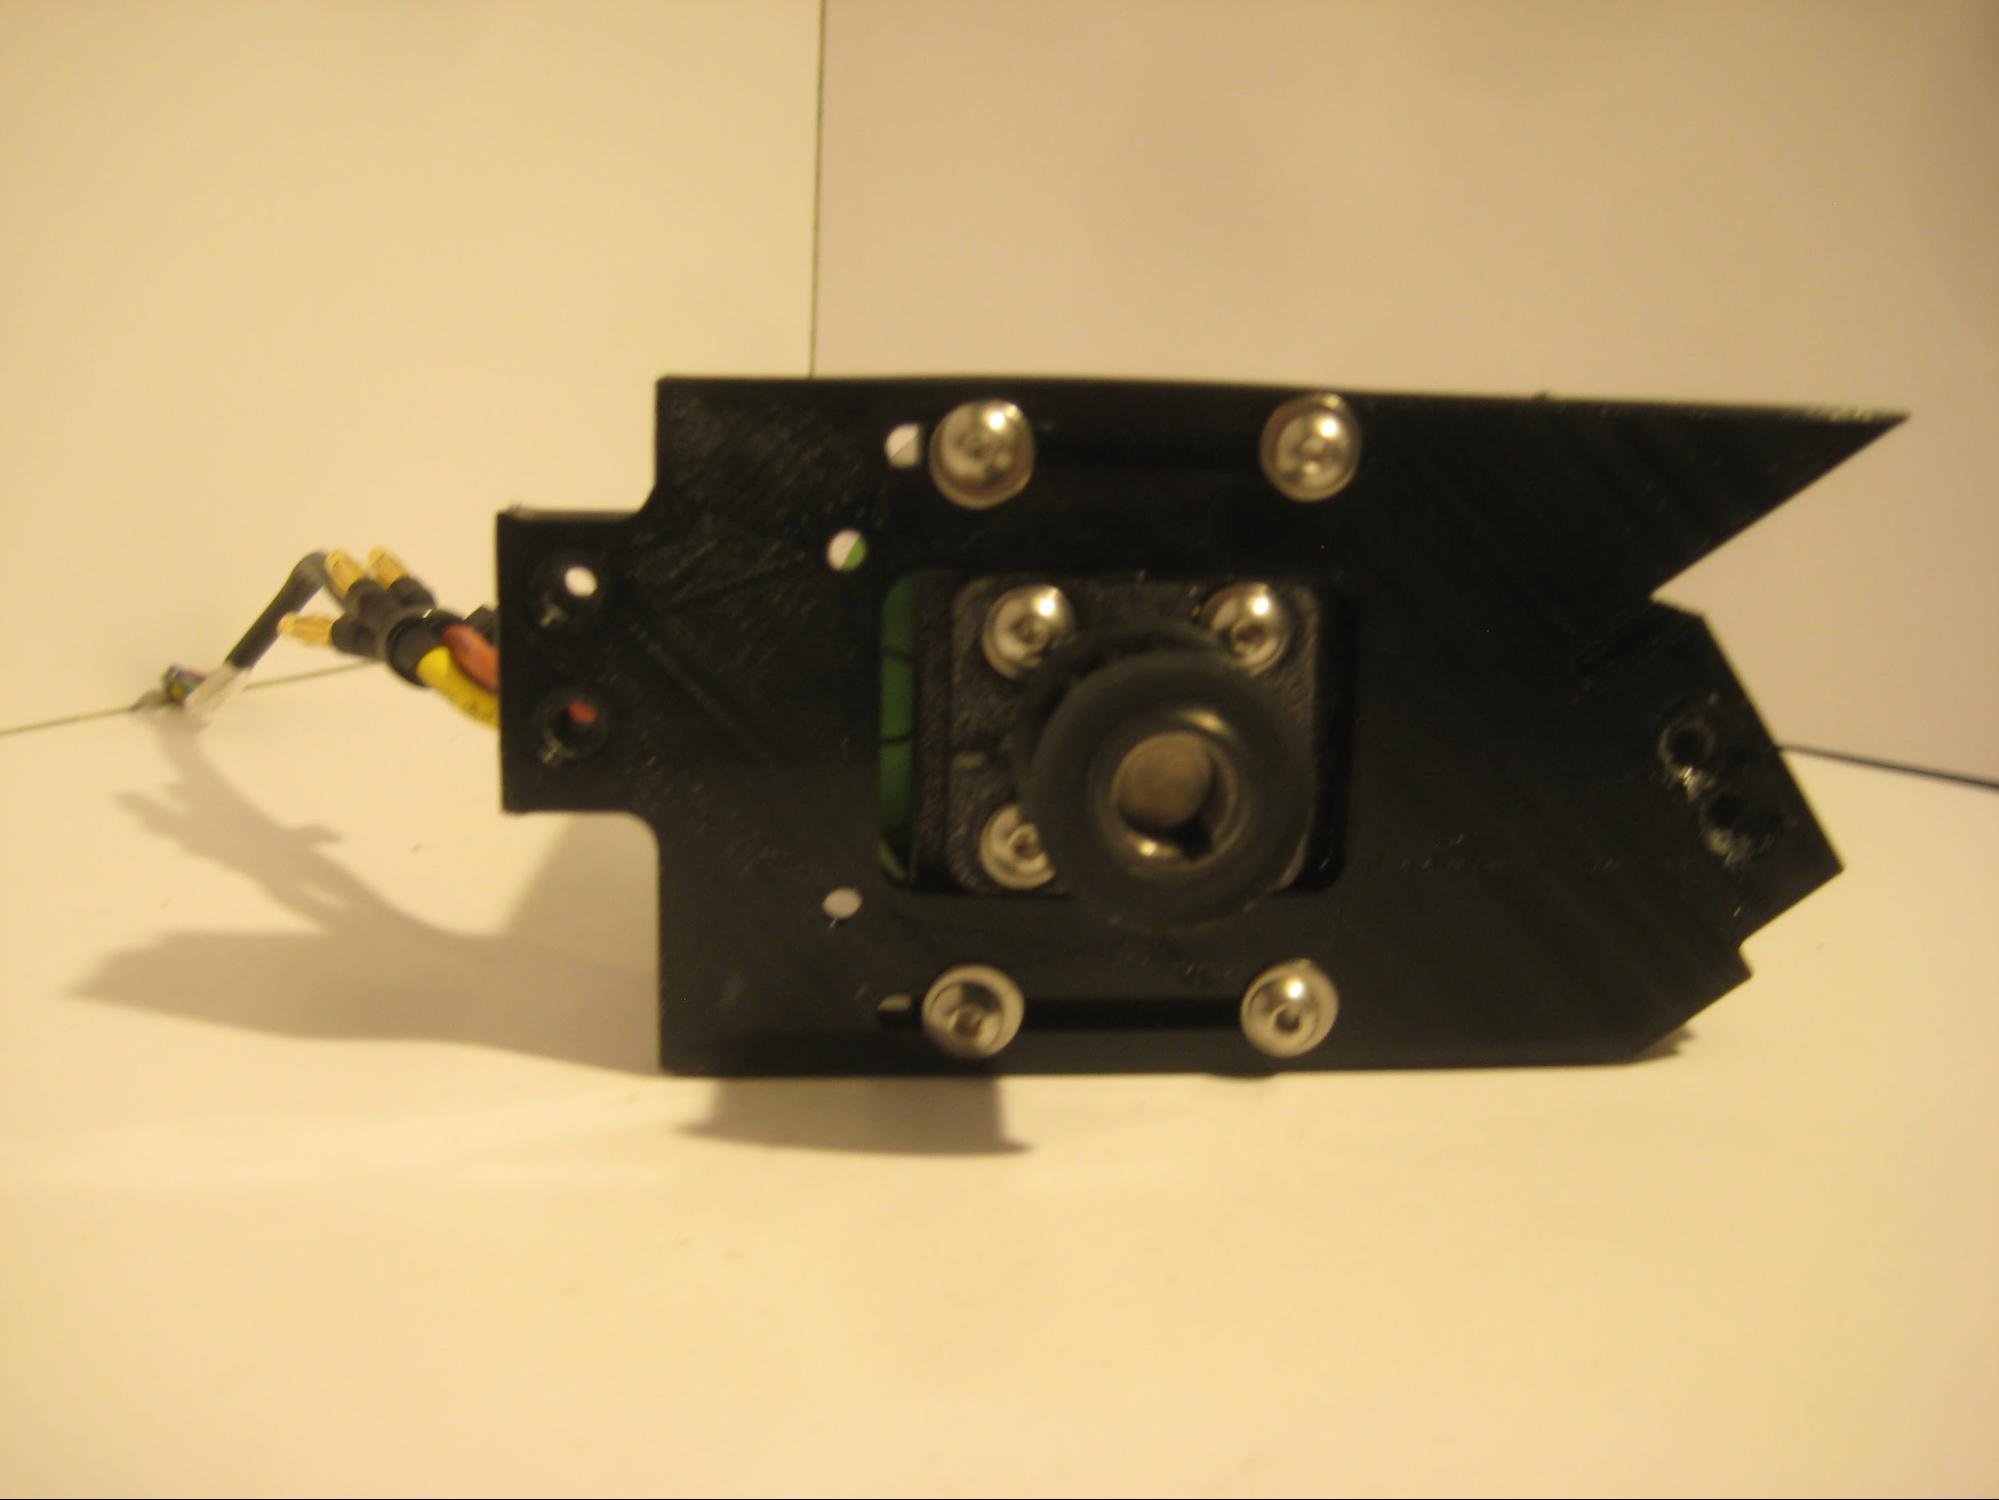
Picture 2.4
Use 4 bolts to fixate the motor onto the the bracket as shown in pictures 2.3 & 2.4.
Updated less than a minute ago
