Stage 7 - The Deck
In this stage you will be mounting the Spine Box onto the deck.
Required Parts:
- 4 Wheels
- 1 Gear
- 5 L Screws
- 4 Shocks
- 2 XL Bolts and 2 Large nuts
- 1 Motor Belt
- 4 Wheel nuts
- 1 Spacer (optional, sometimes required for correct spacing of belt)
Step 1 - Mount the Gear onto the Wheel
Picture 1.1
Picture 1.2
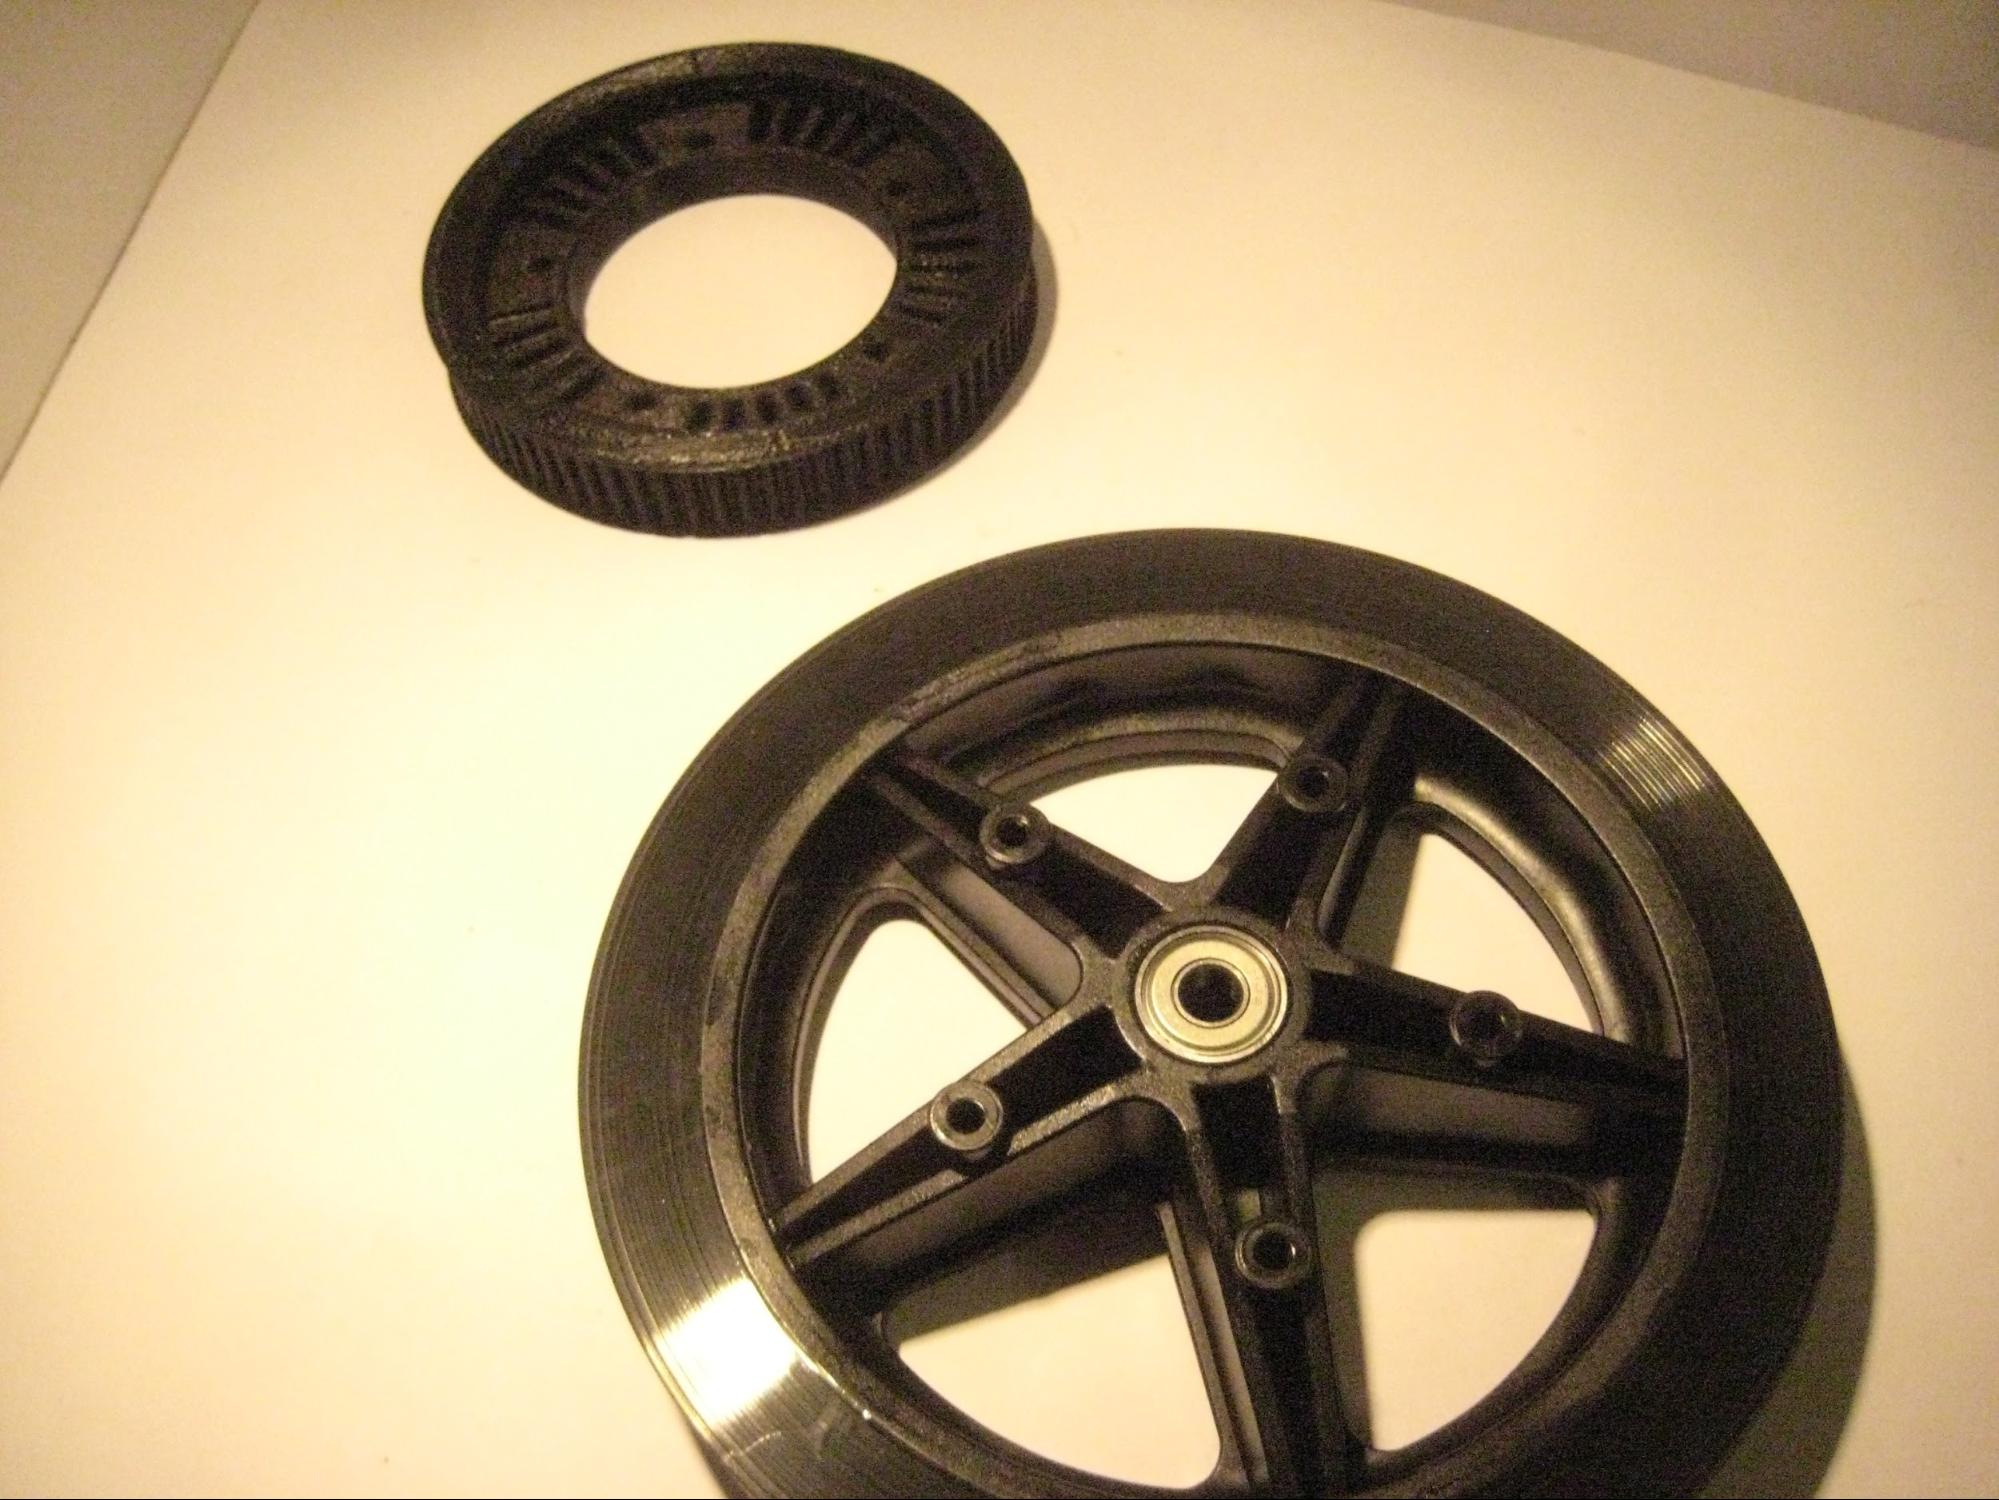
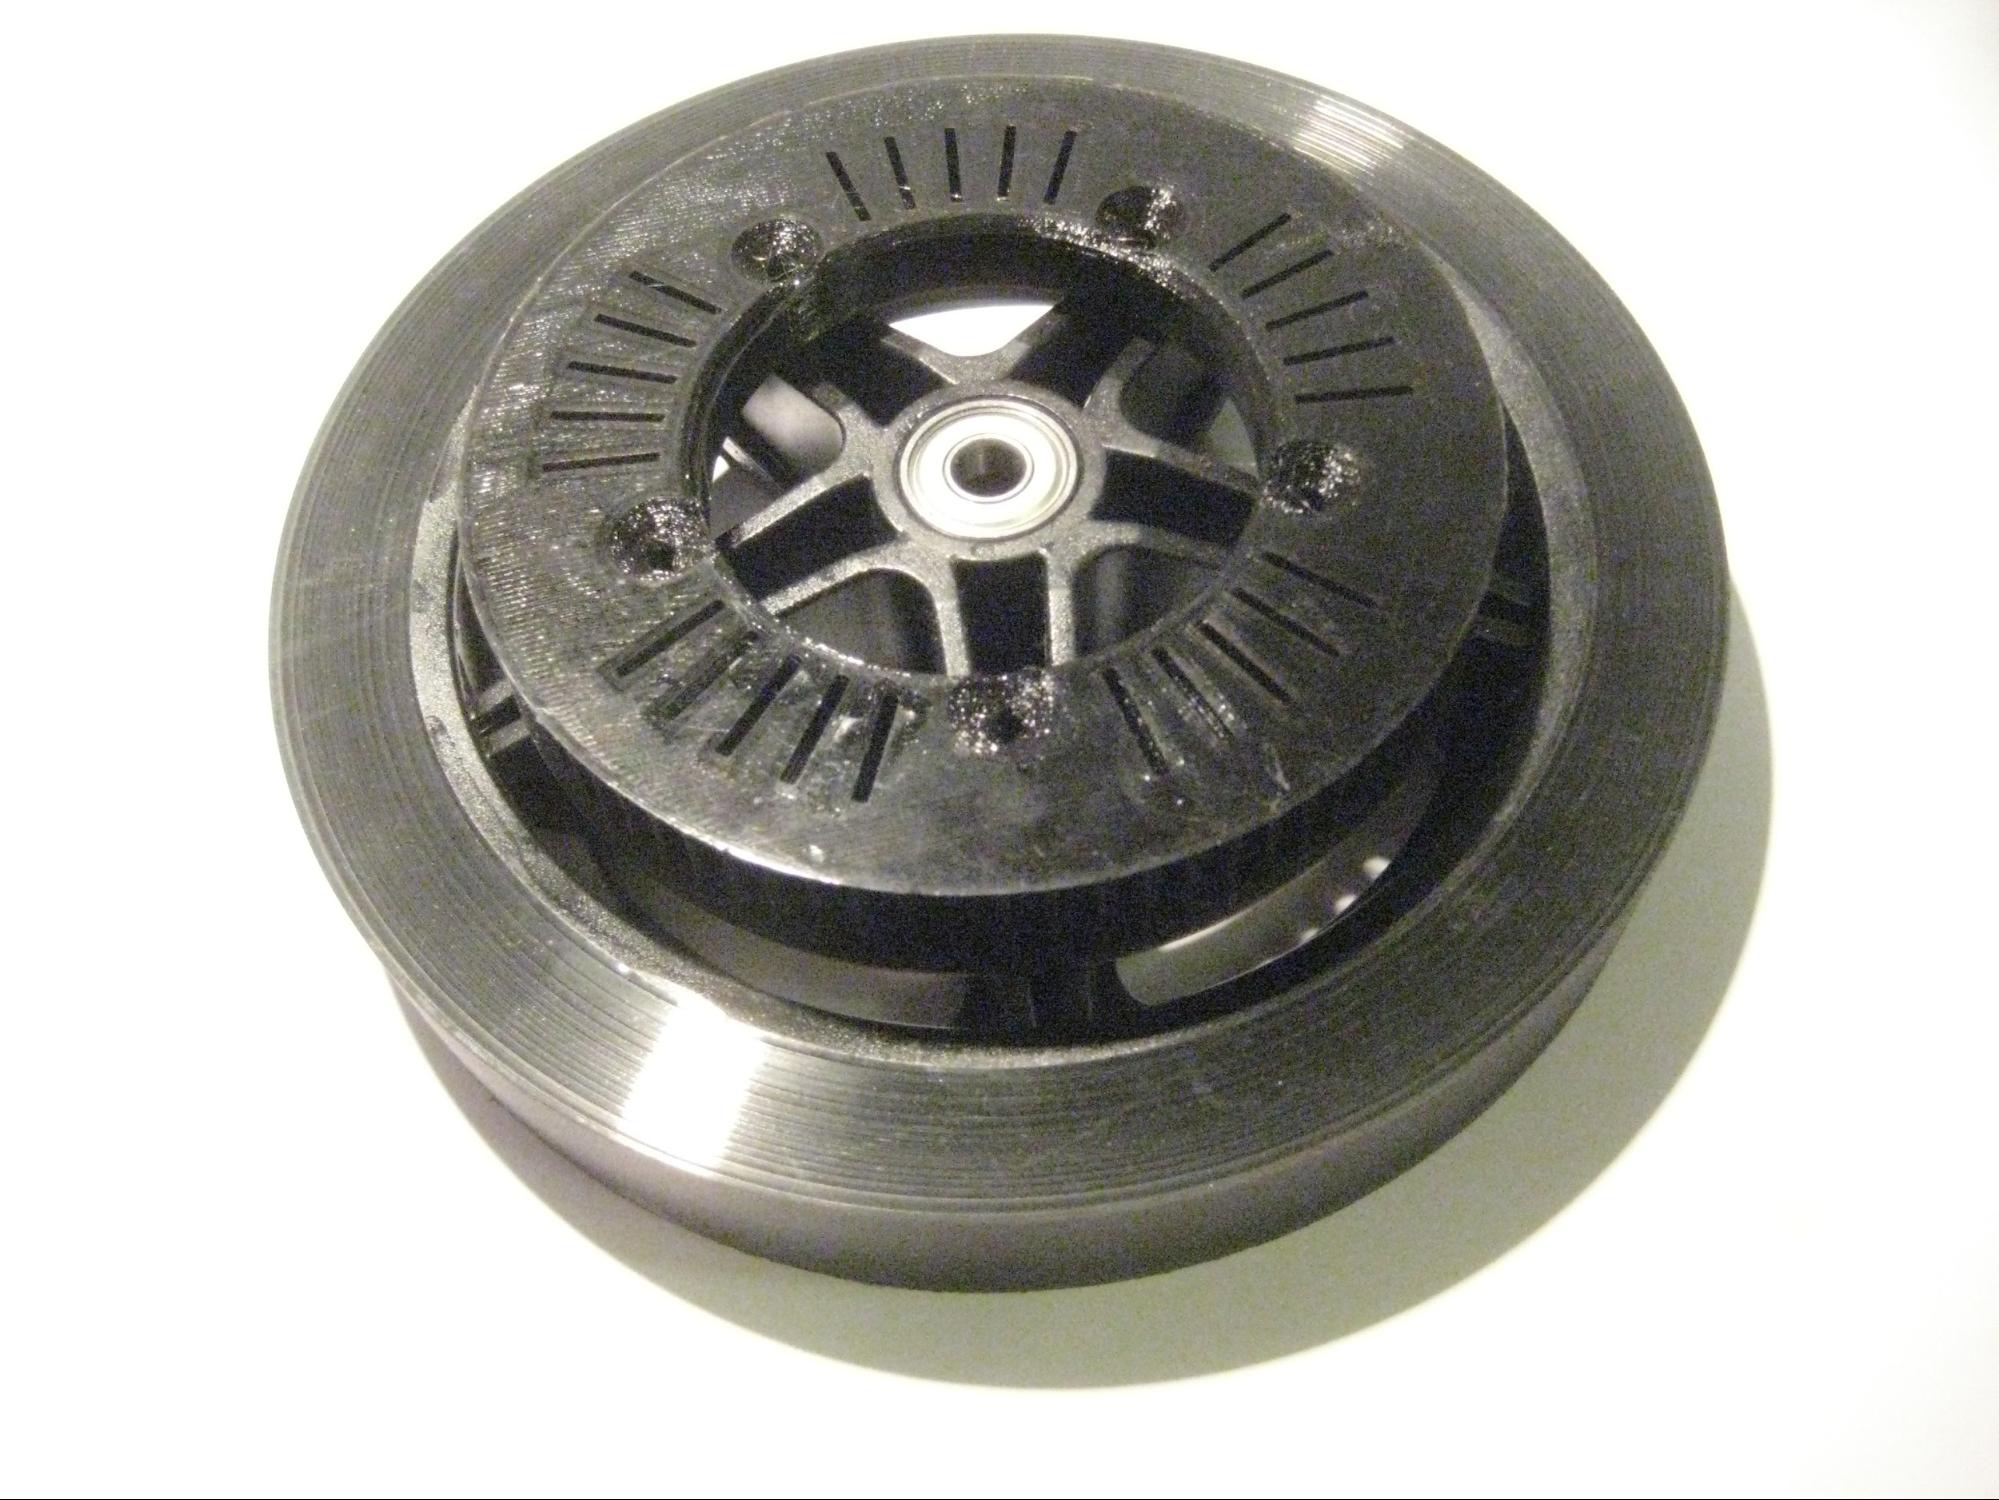
Picture 1.1 shows the gear and the back wheel onto which you will attach the gear. First align the gear onto the wheel so the screw holes of the gear correspond to screw holes of the wheel (picture 1.2).
Picture 1.3
Picture 1.4
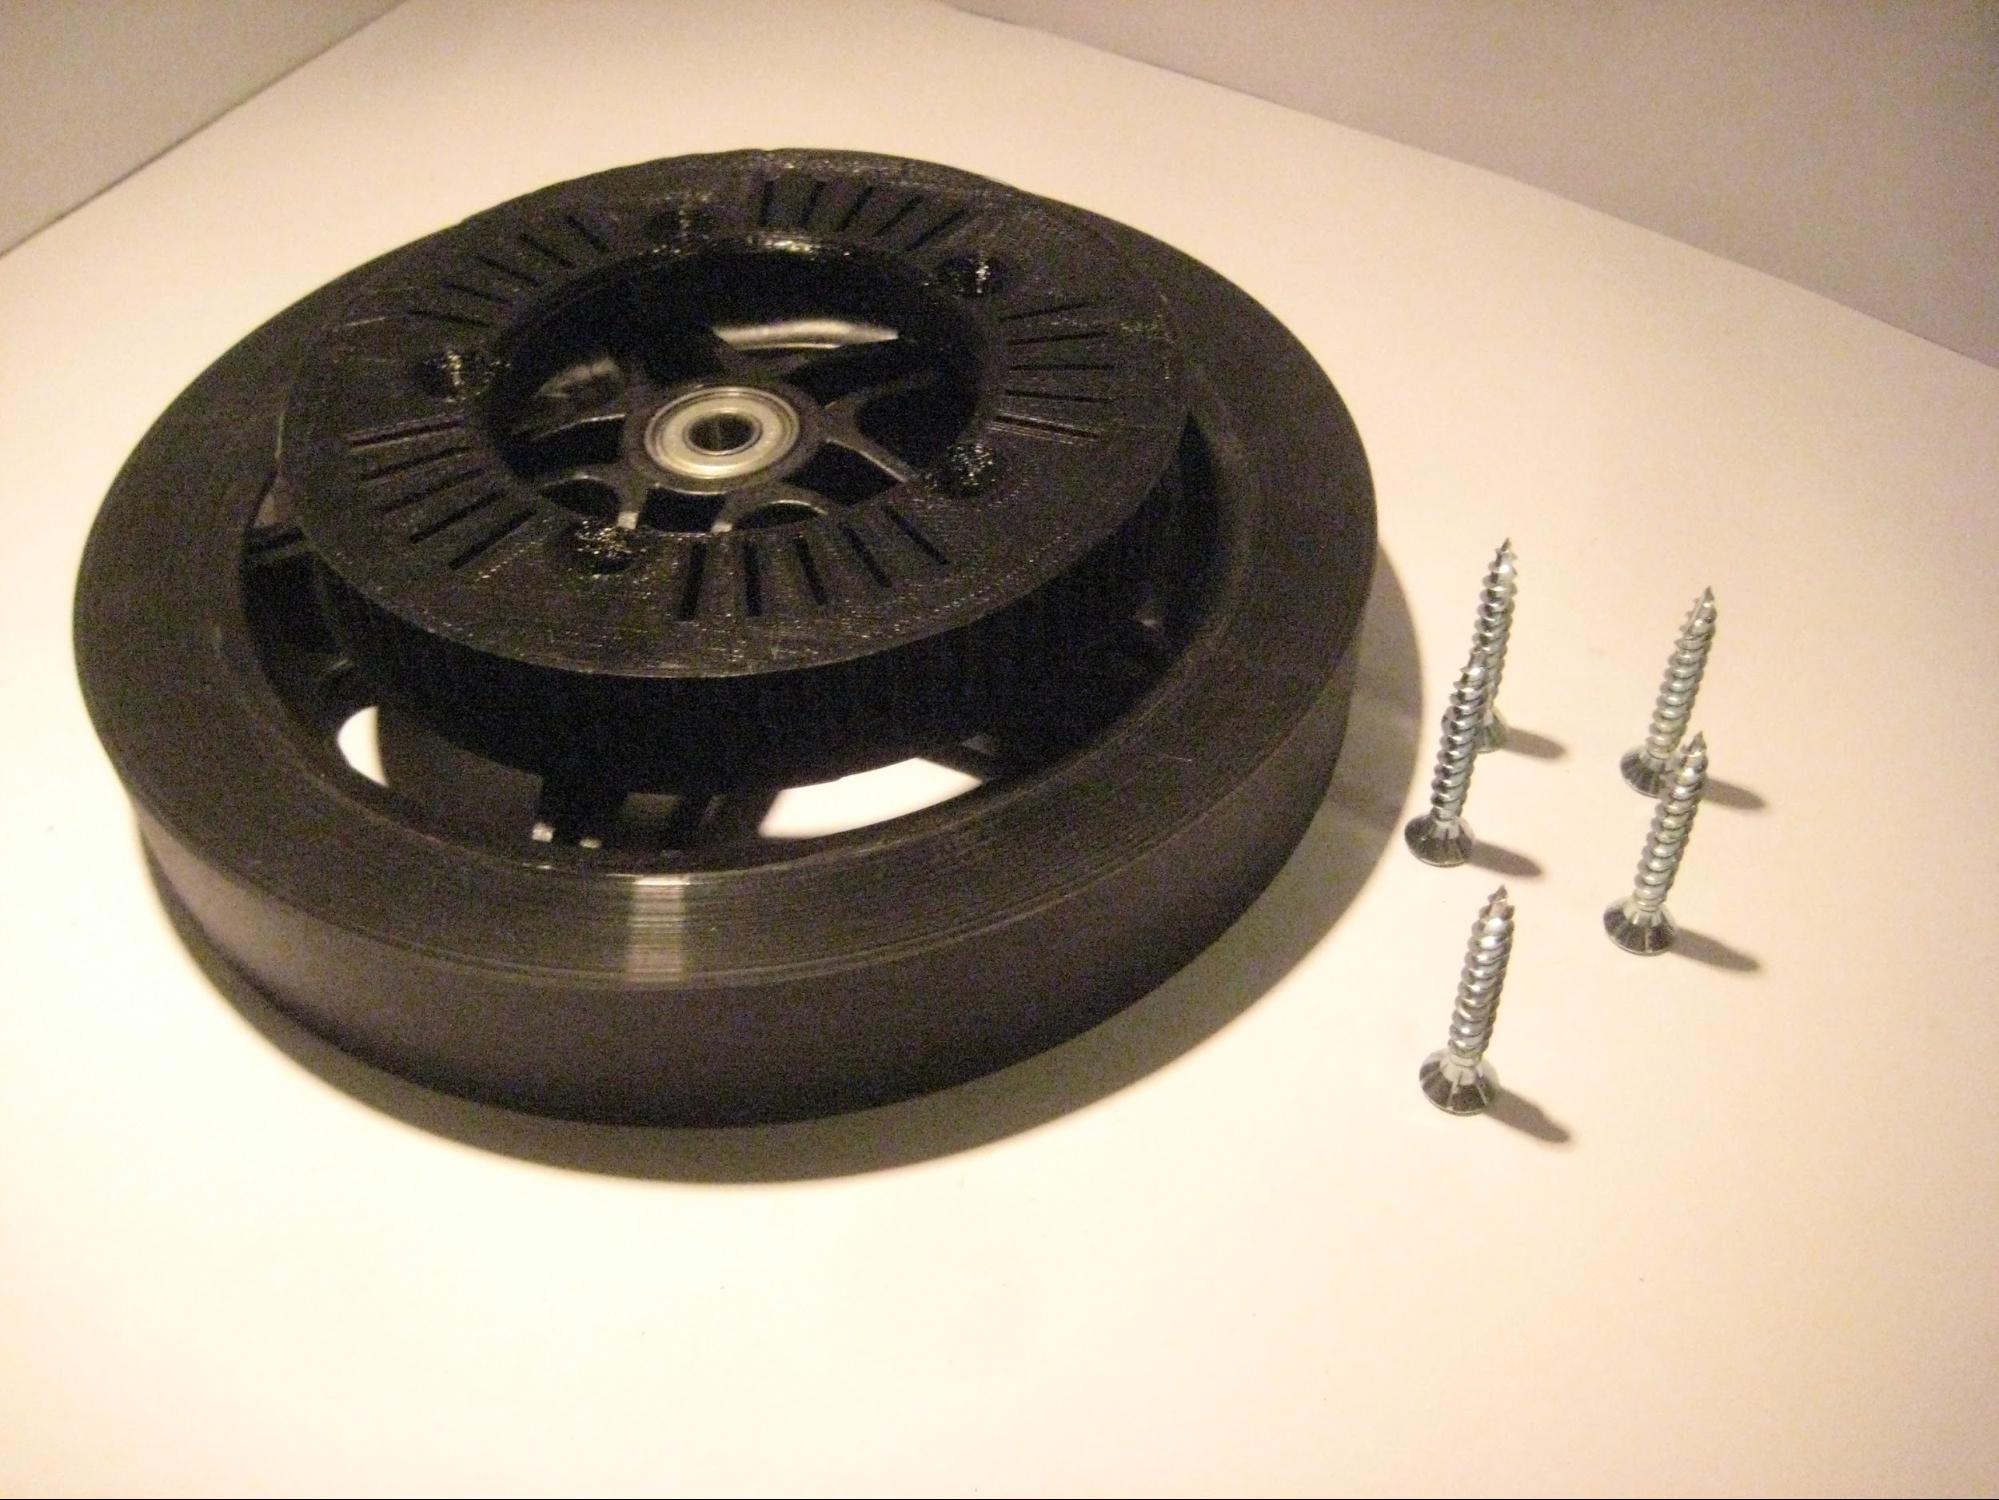
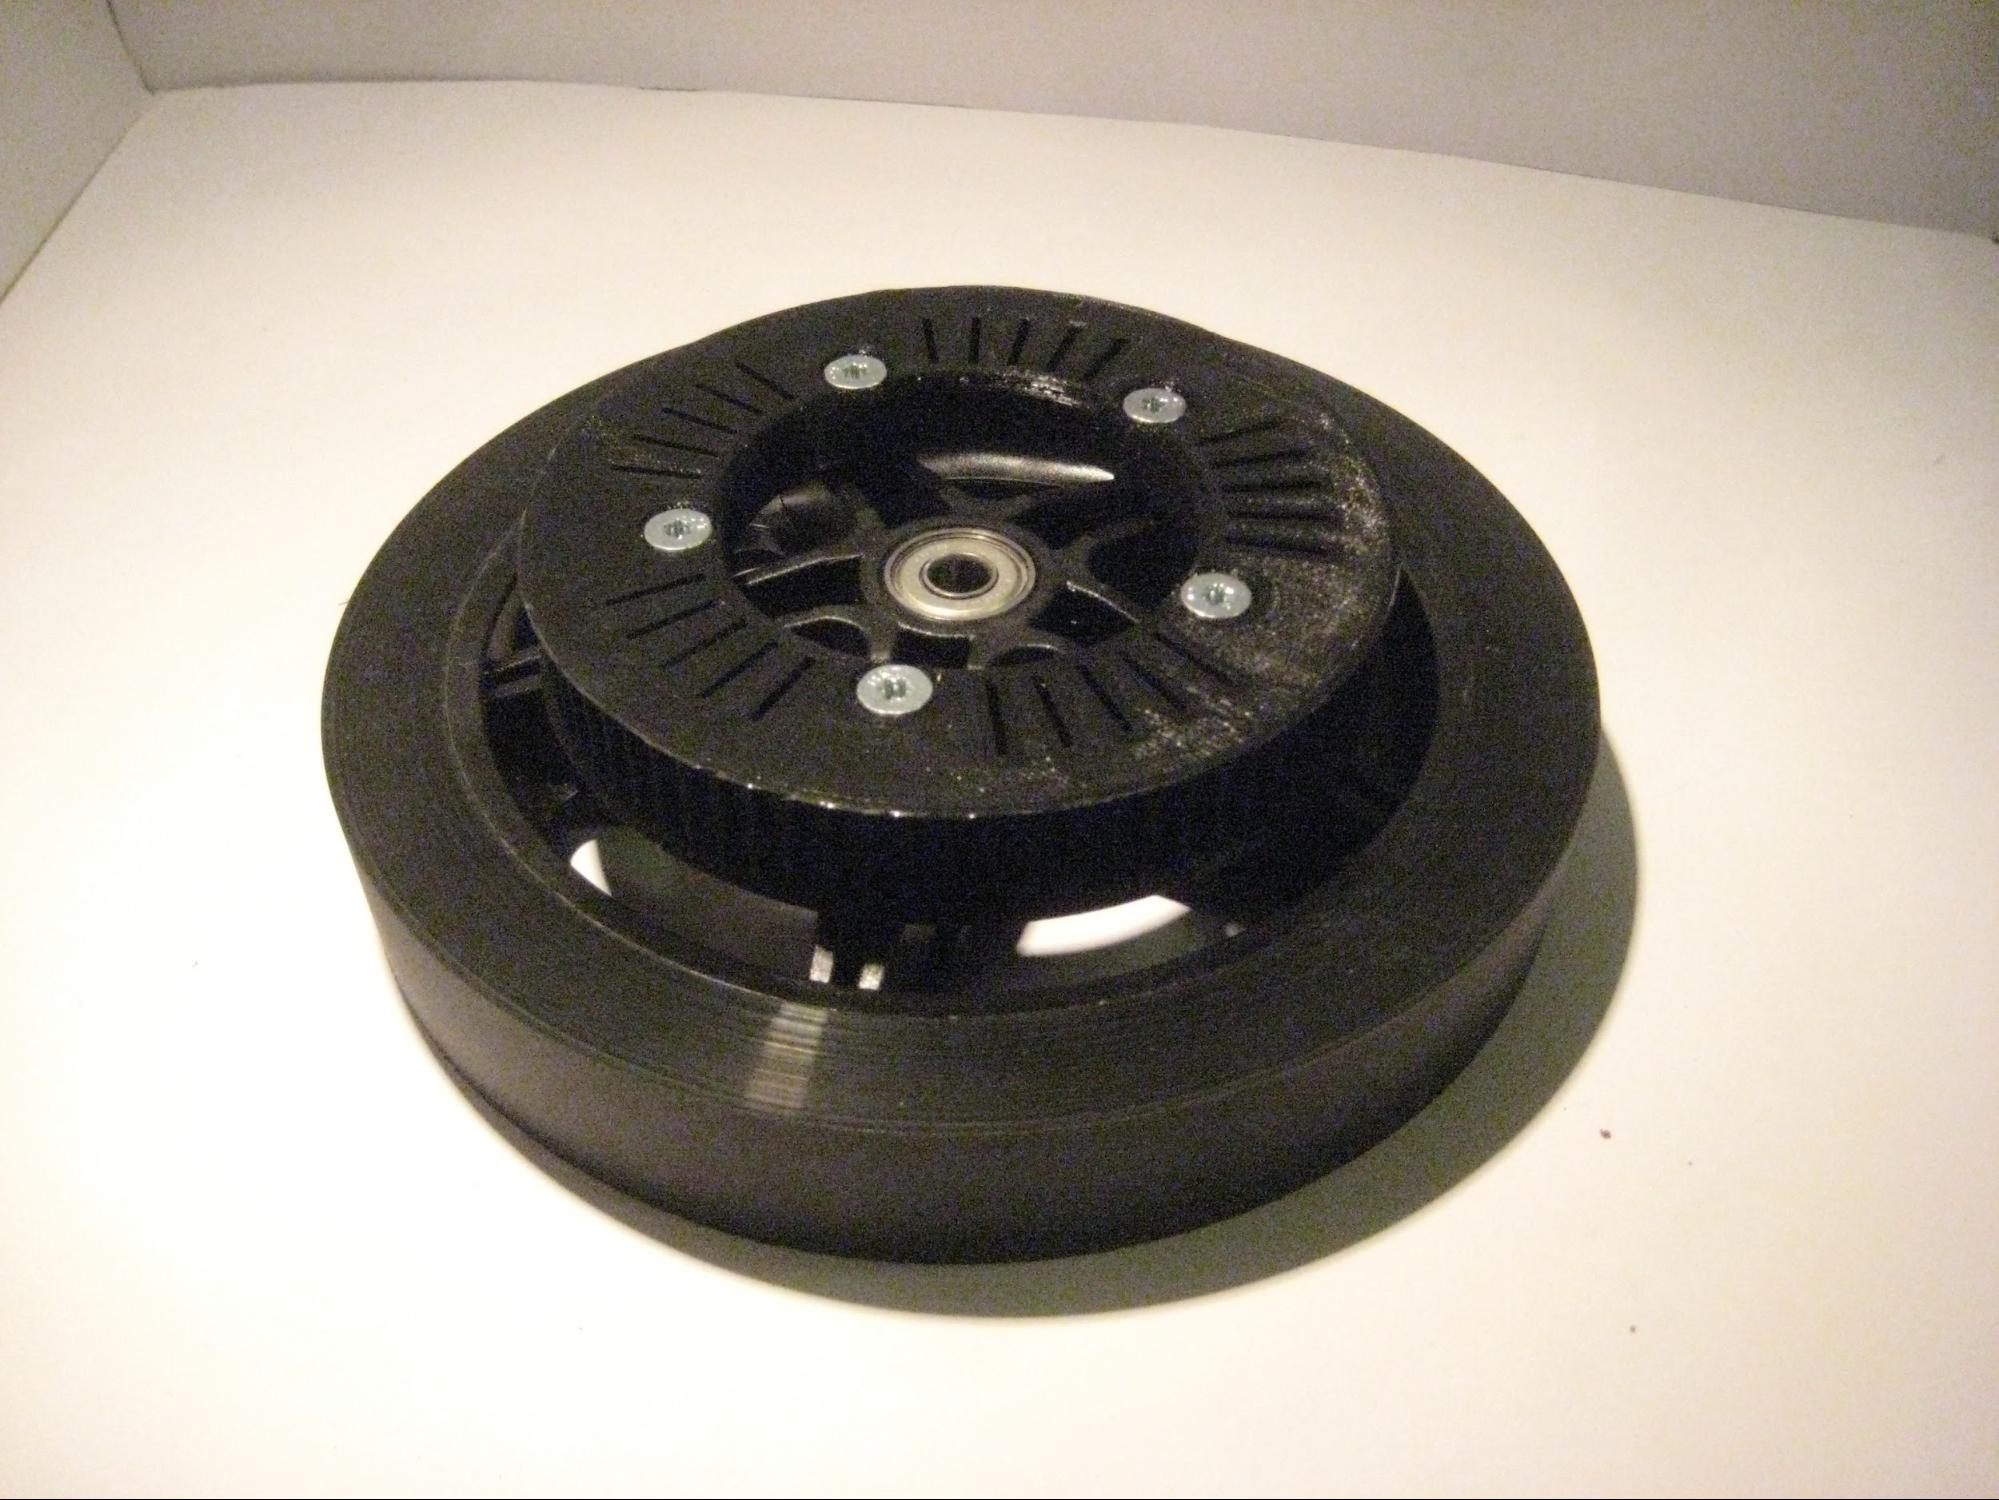
Now use 5 L screws to screw fixate the gear onto the wheel (picture 1.3). Tighten the screws manually to ensure firmness (picture 1.4)
Step 2 - Mount the Spine Box onto the Decks Back side
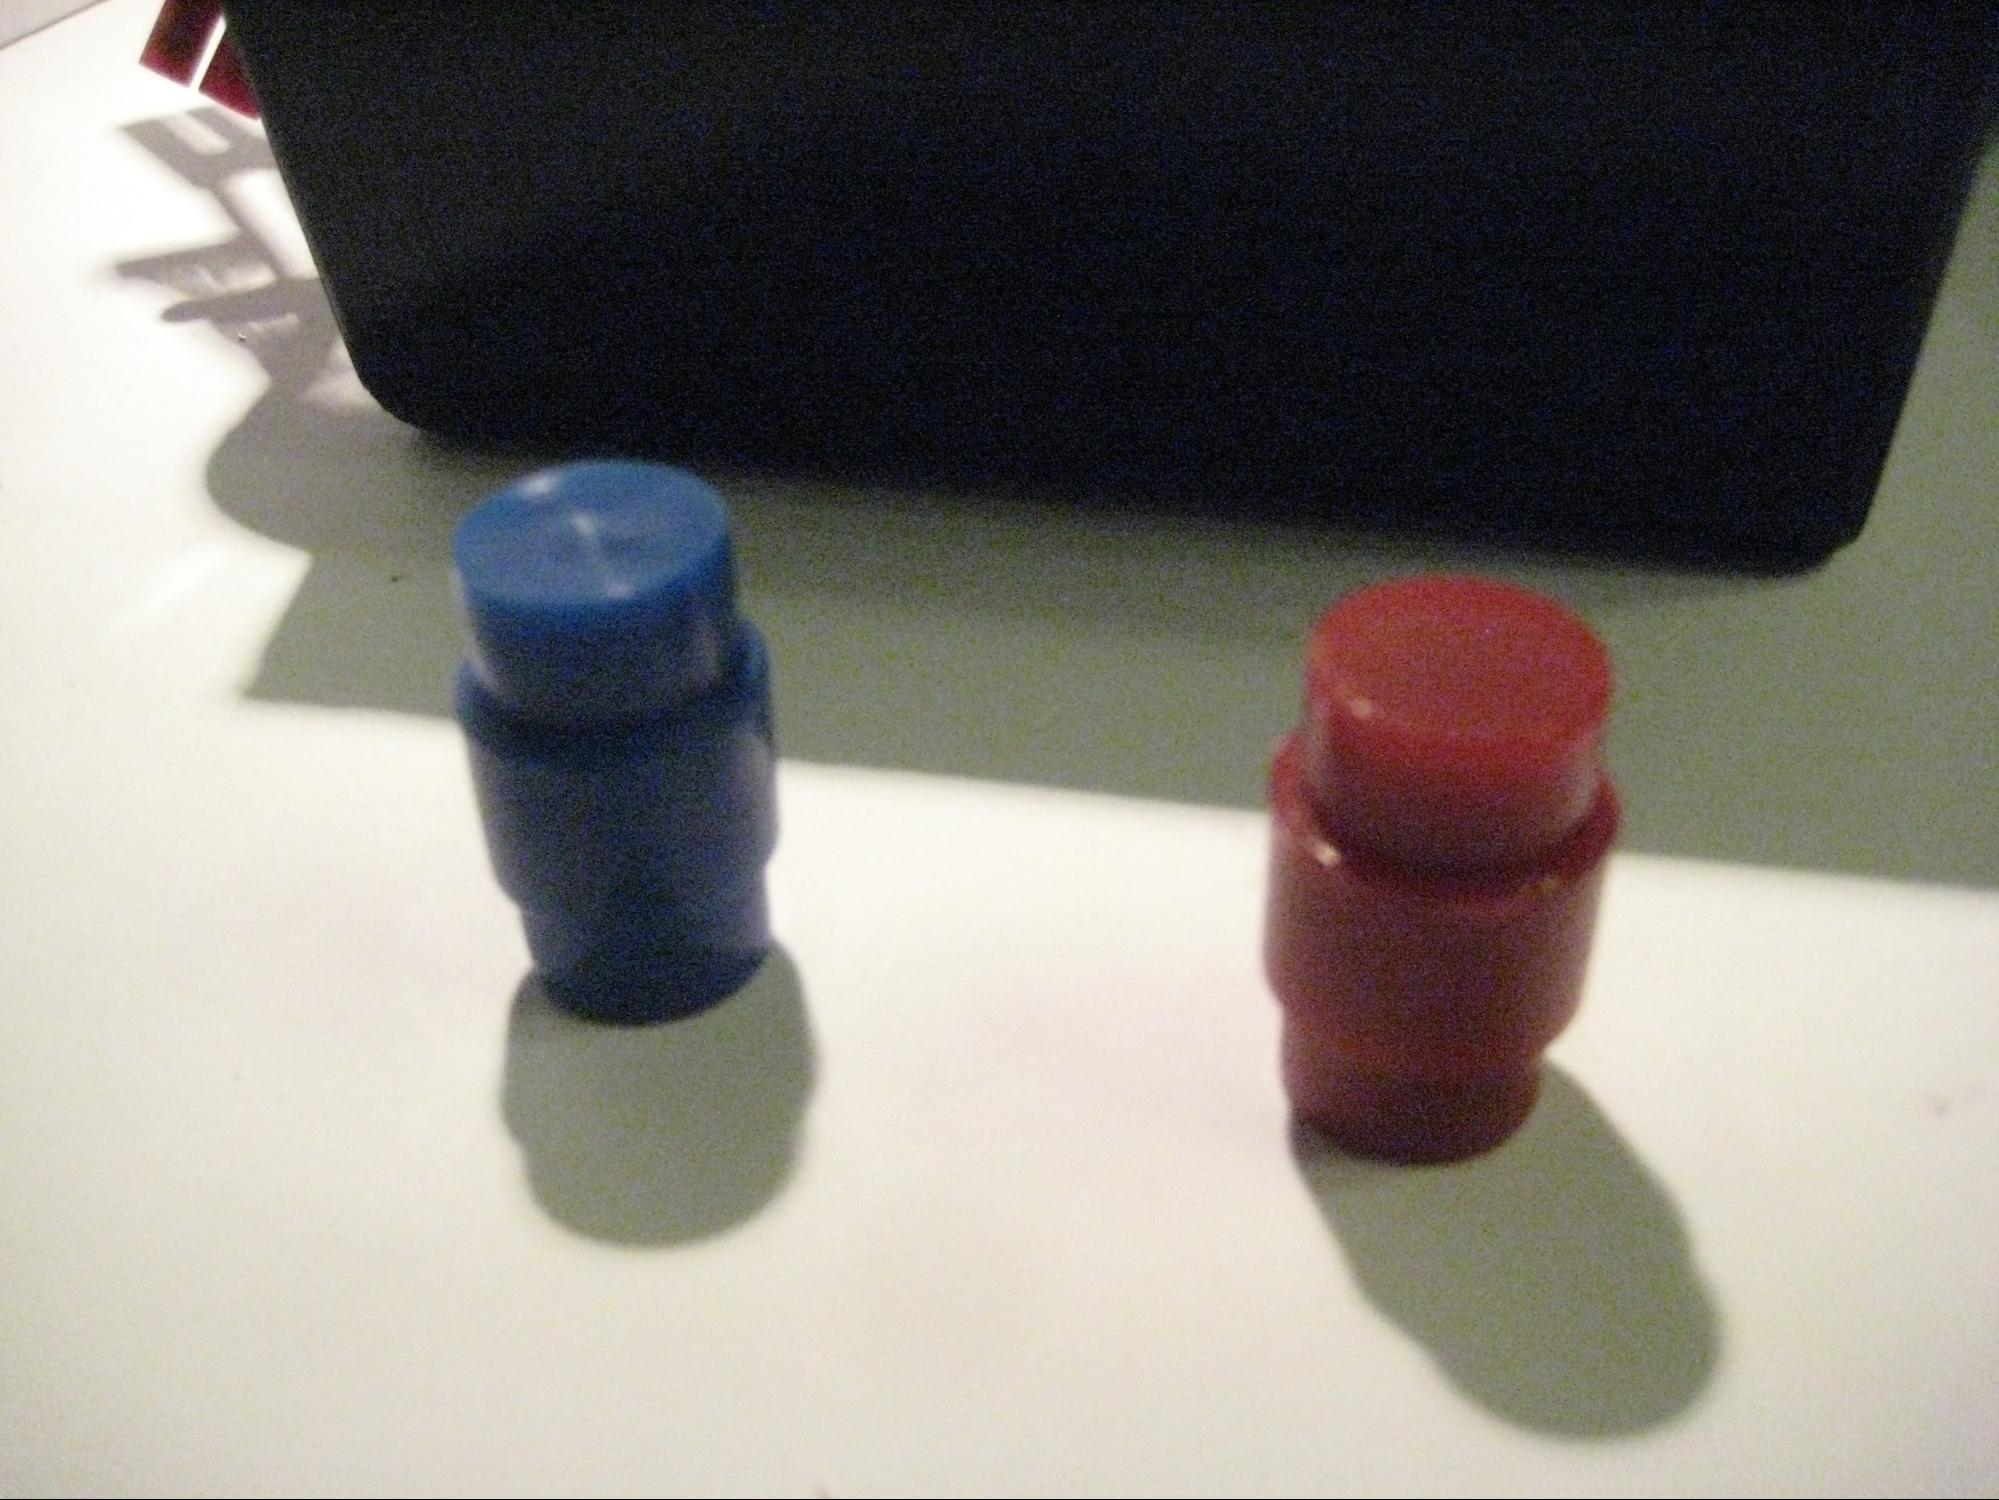
Picture 2.1
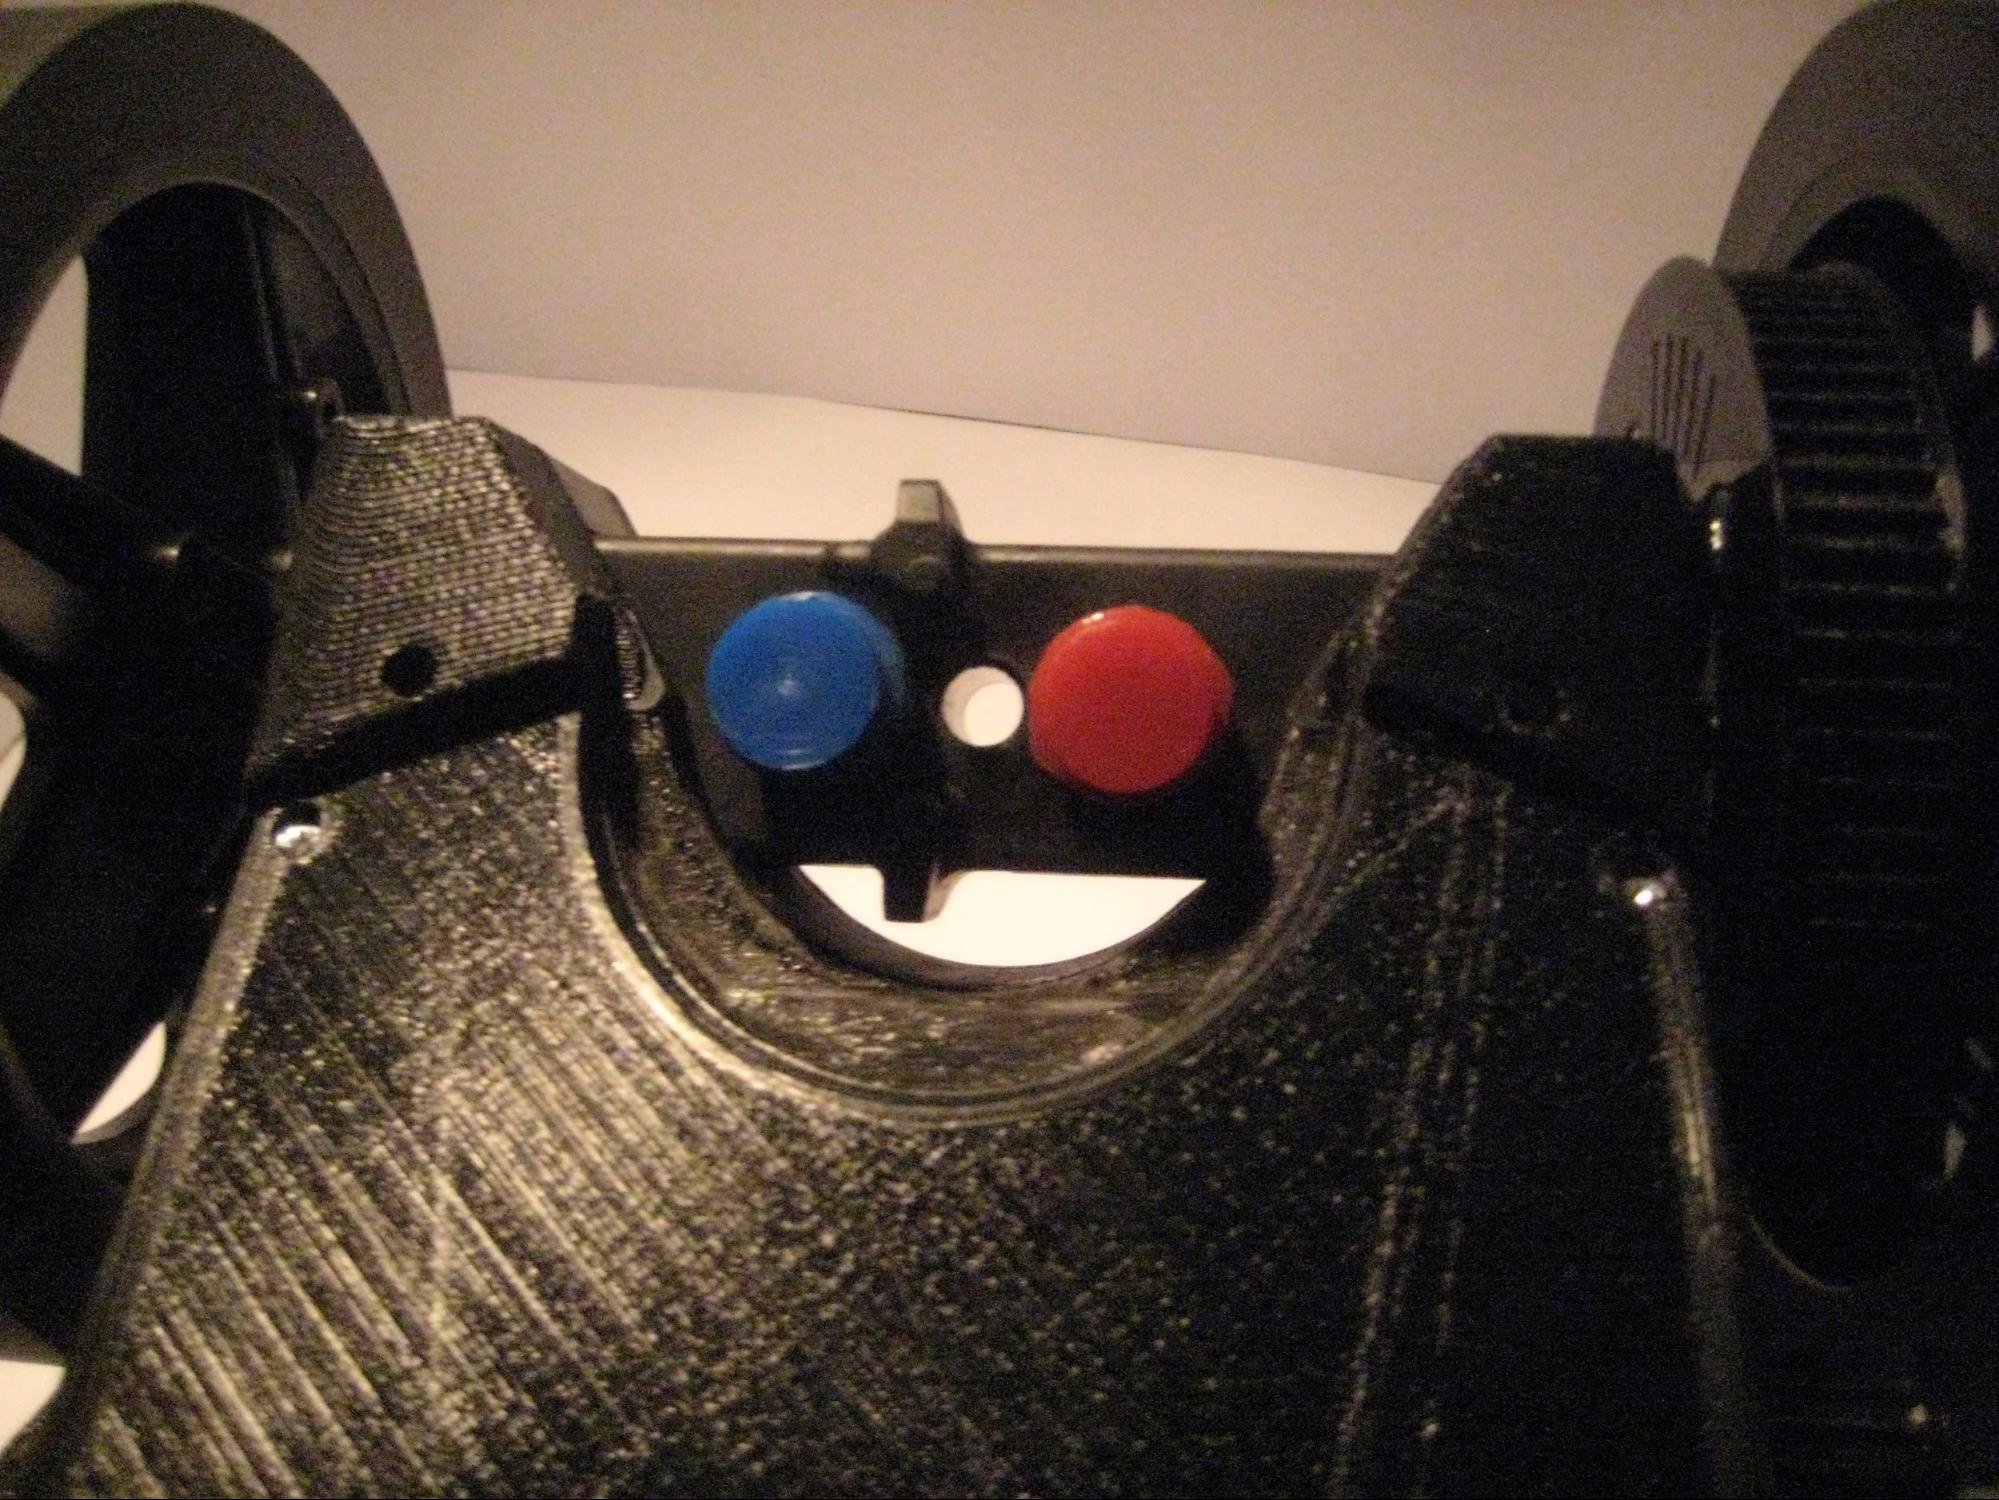
Picture 2.2
NOTE: Instead of the blue shock use a black one in the back
Take 2 shocks (1 black and 1 red) as in picture 2.1 and attach them to the axle of your Spine box (picture 2.2).
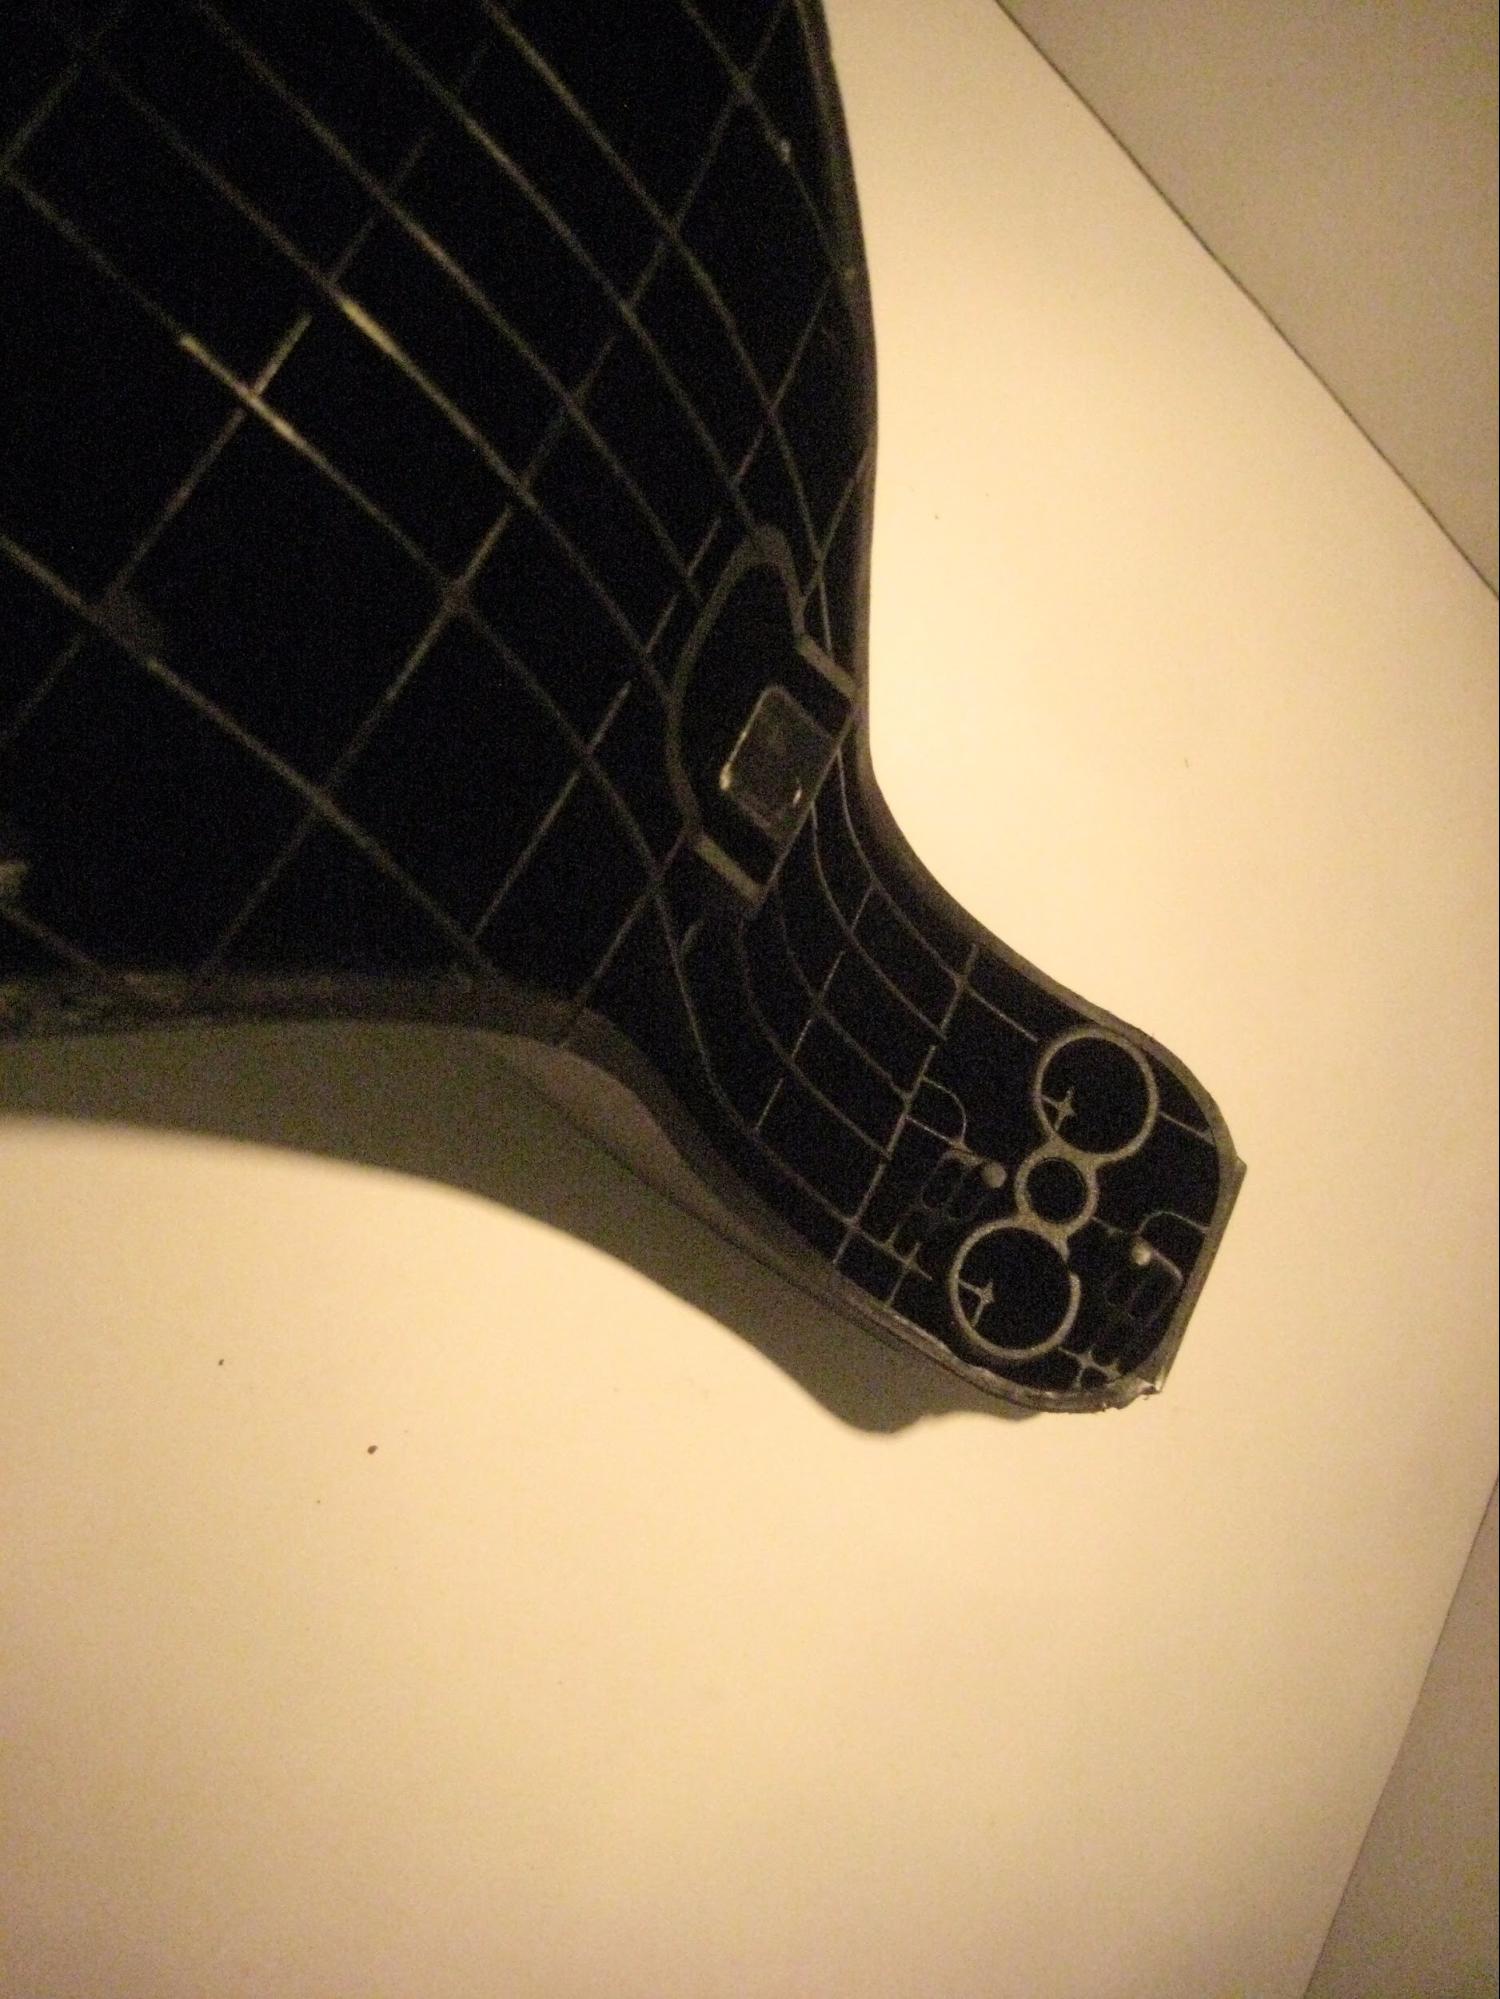
Picture 2.3
As you can see in the picture 2.3 the deck has a compartment for those shocks as well. Use one blue and one red for your front shock configuration.
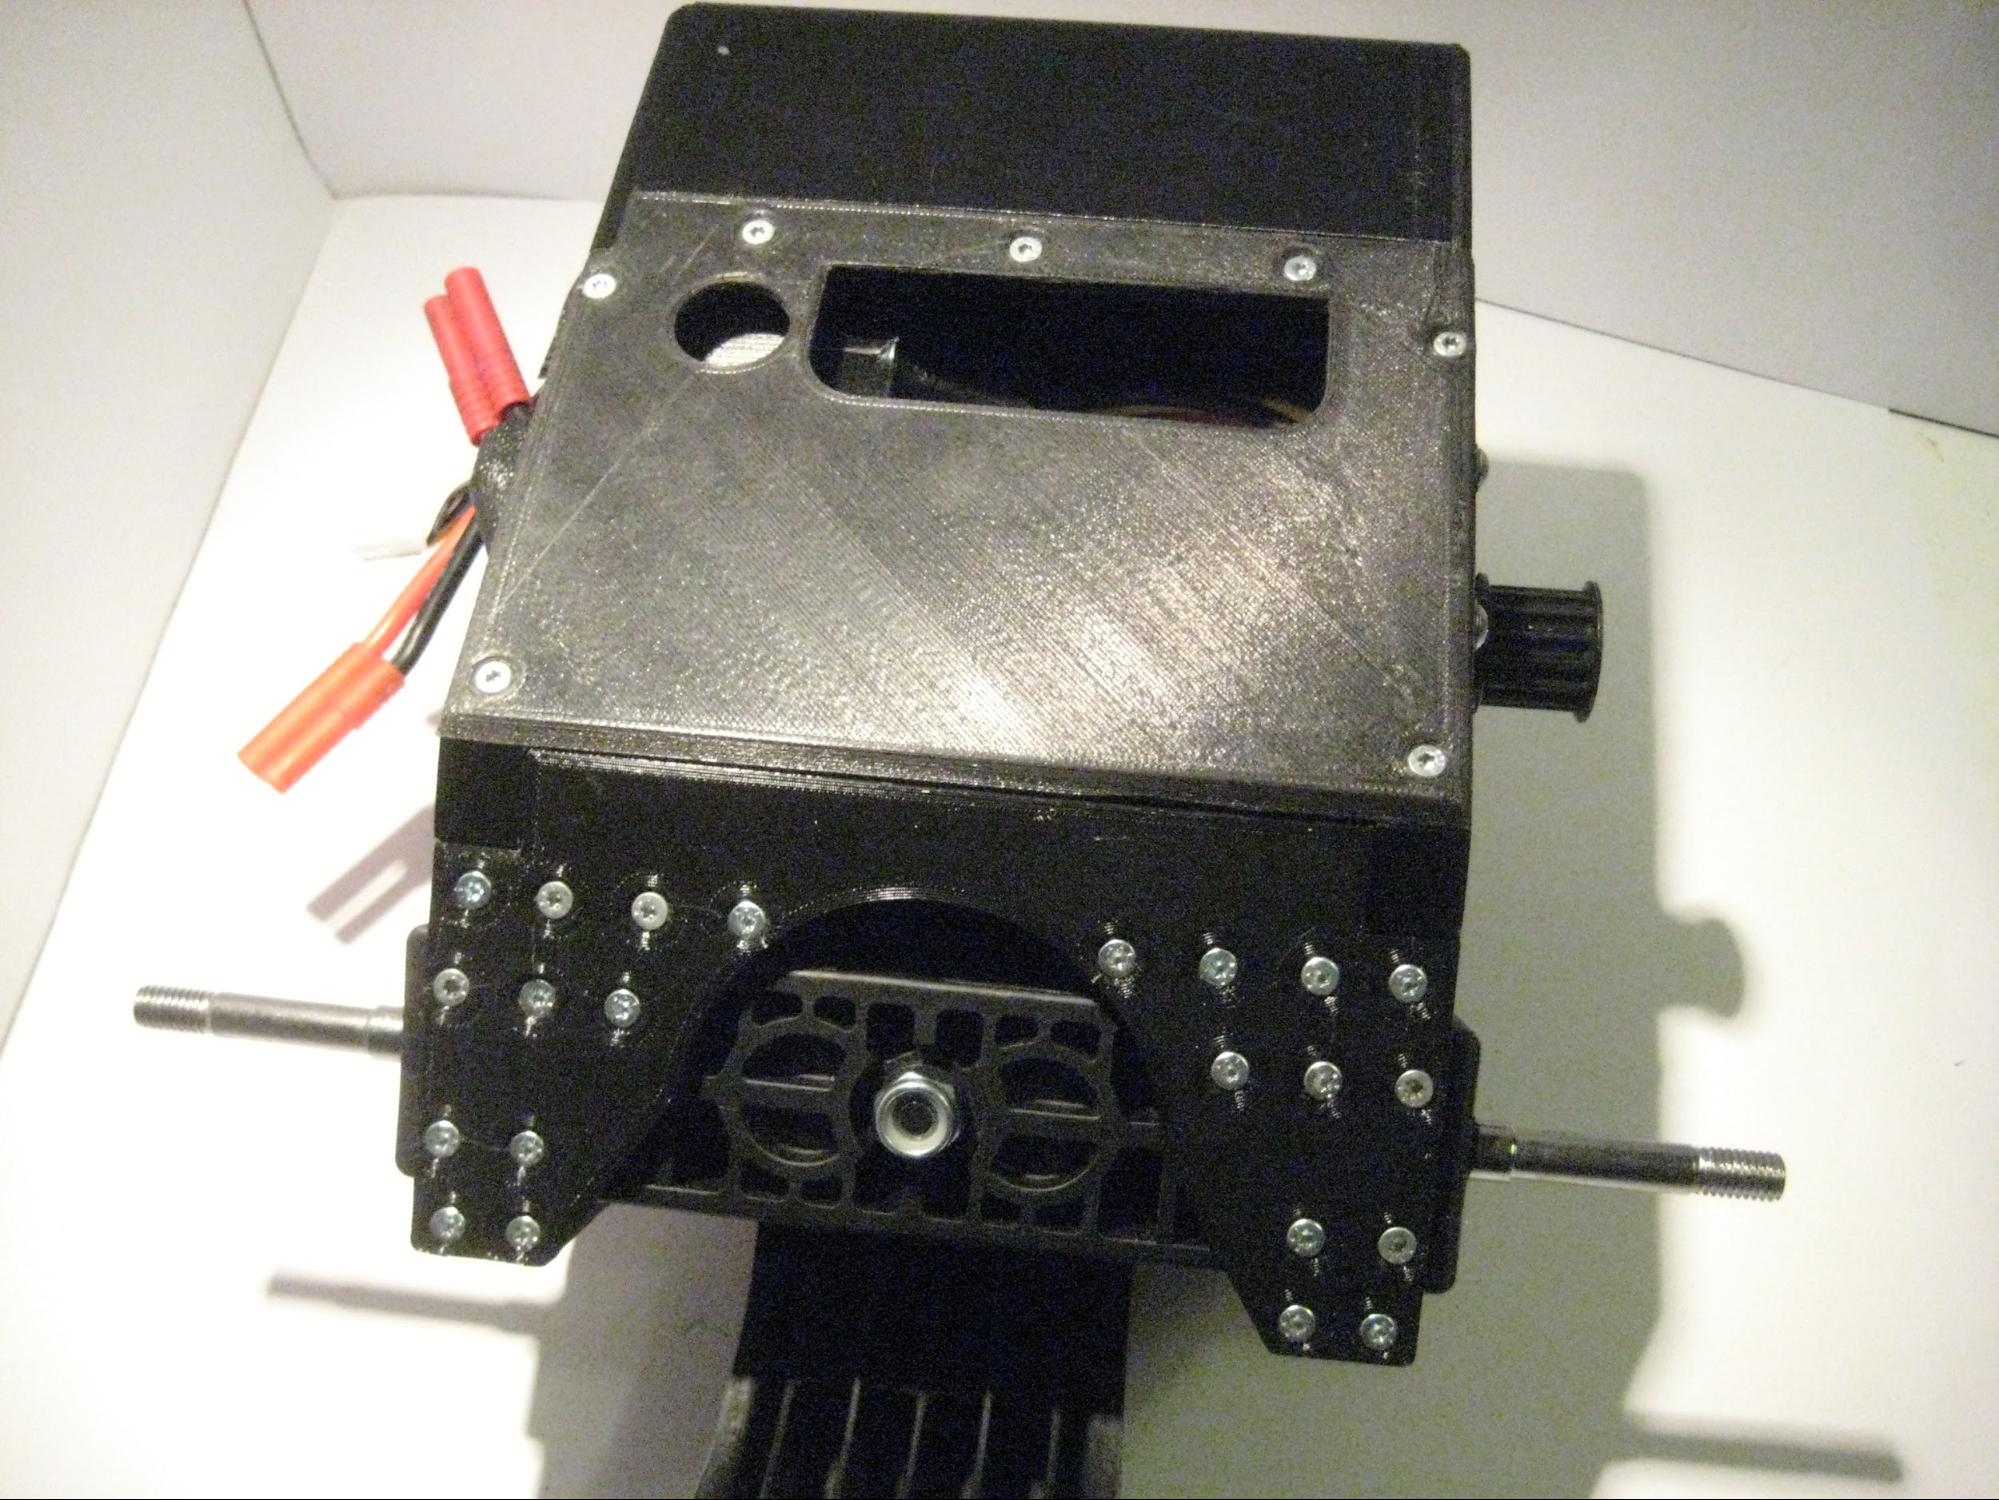
Picture 2.3
Picture 2.4
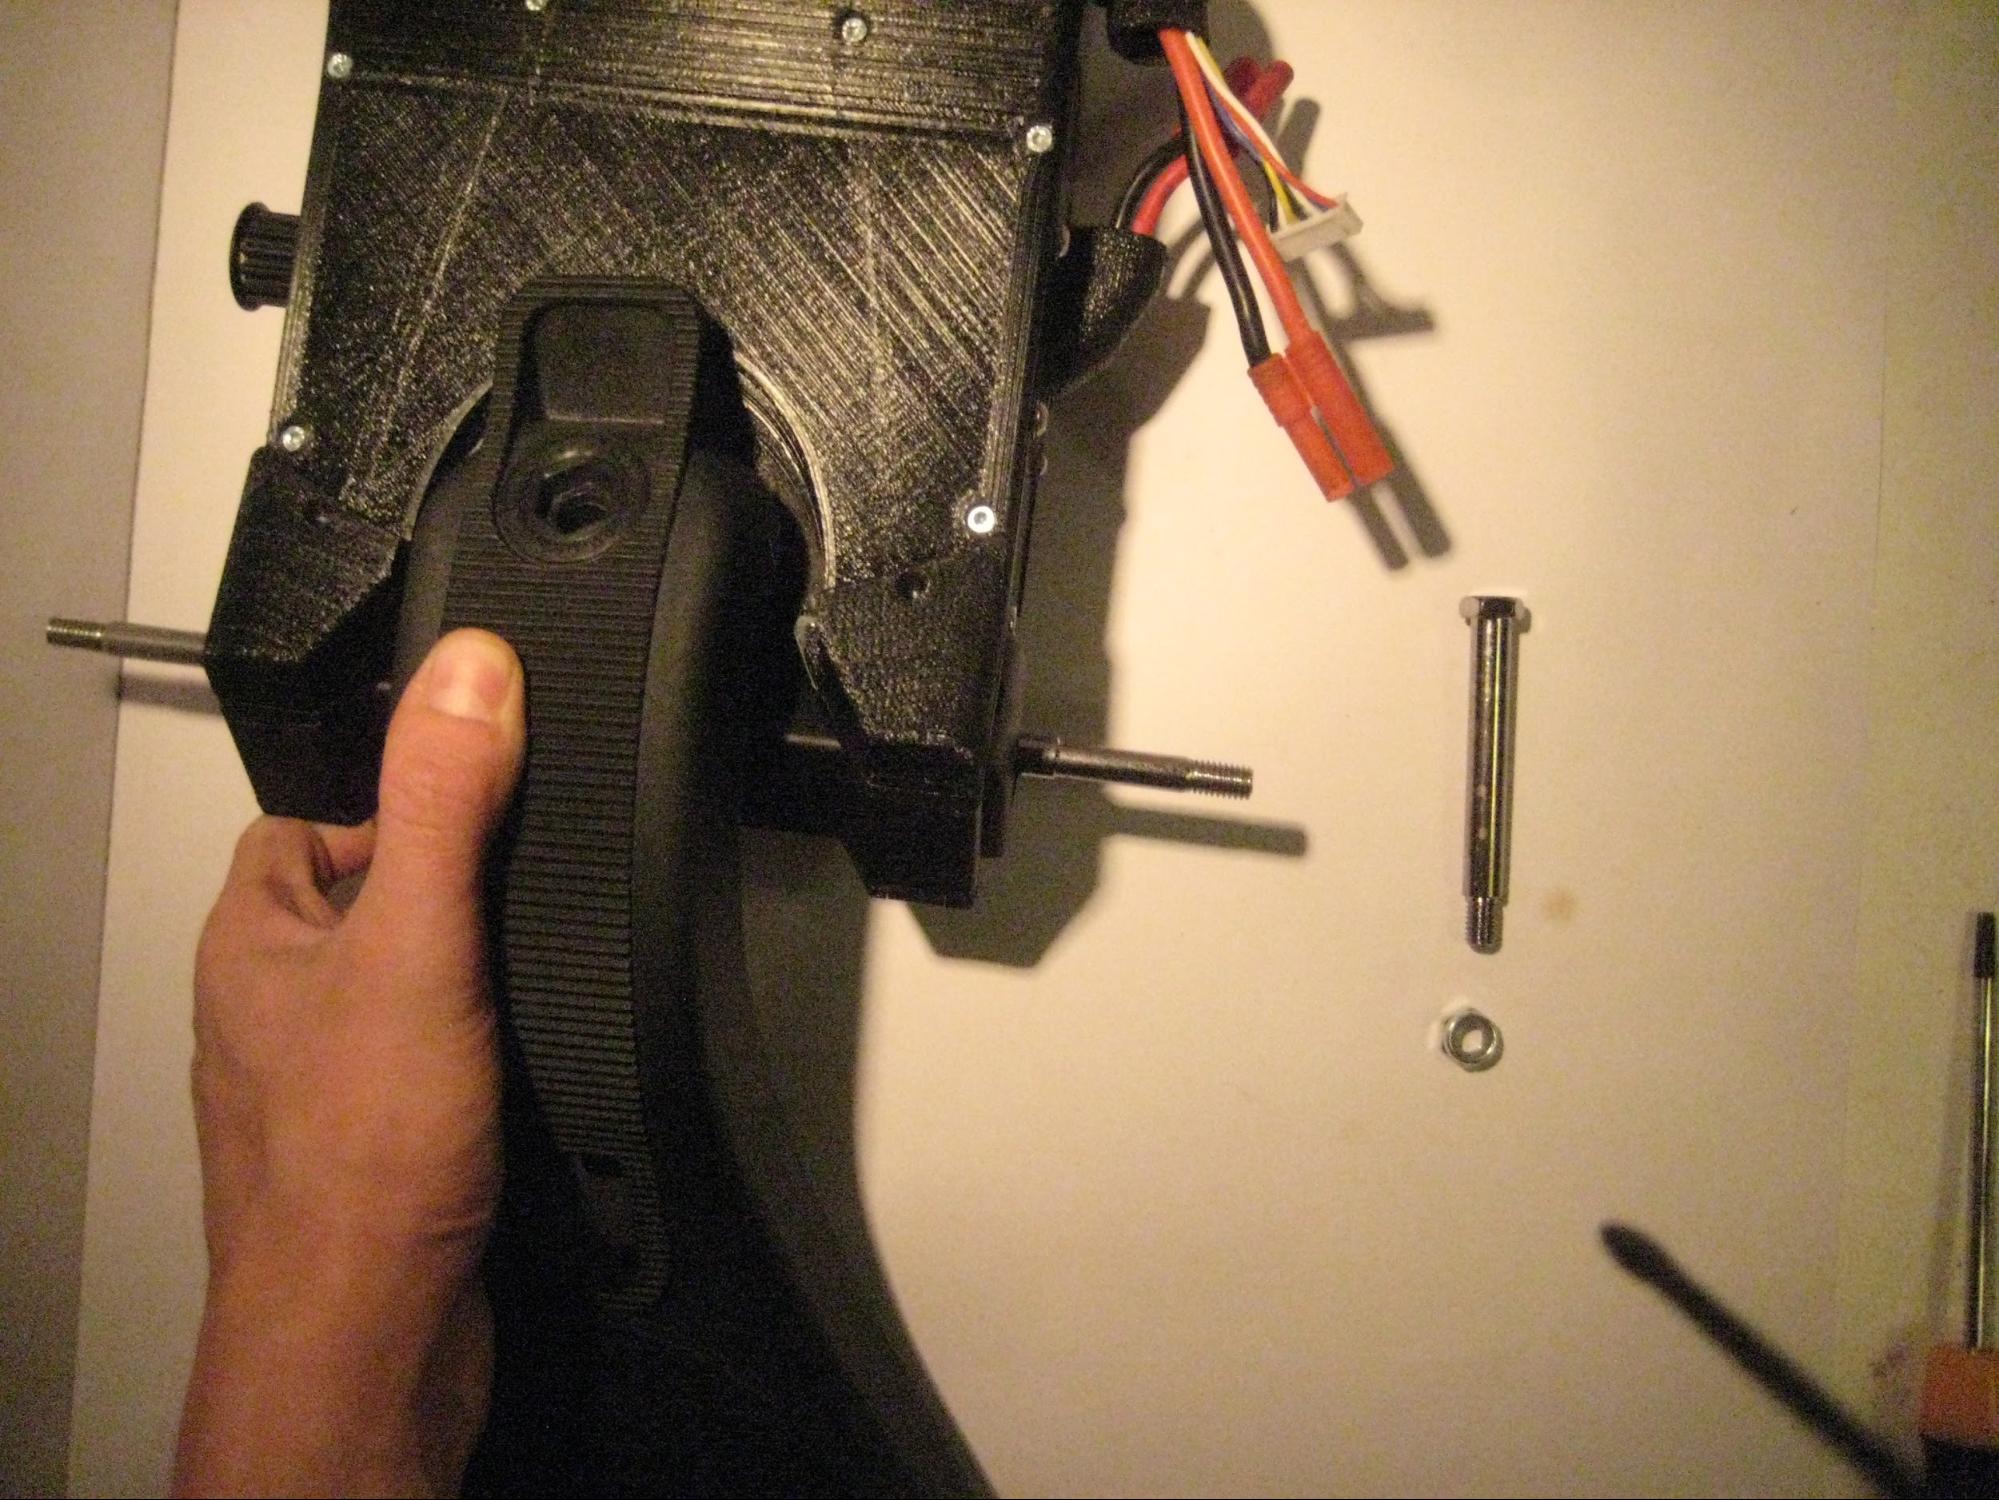
Mount the Spine box onto the deck (picture 2.3) and use the XL bolt together with the large nut to fixate the box onto the deck (picture 2.4).
Step 3 - Mount the Gear Wheel and the Belt
Picture 3.1
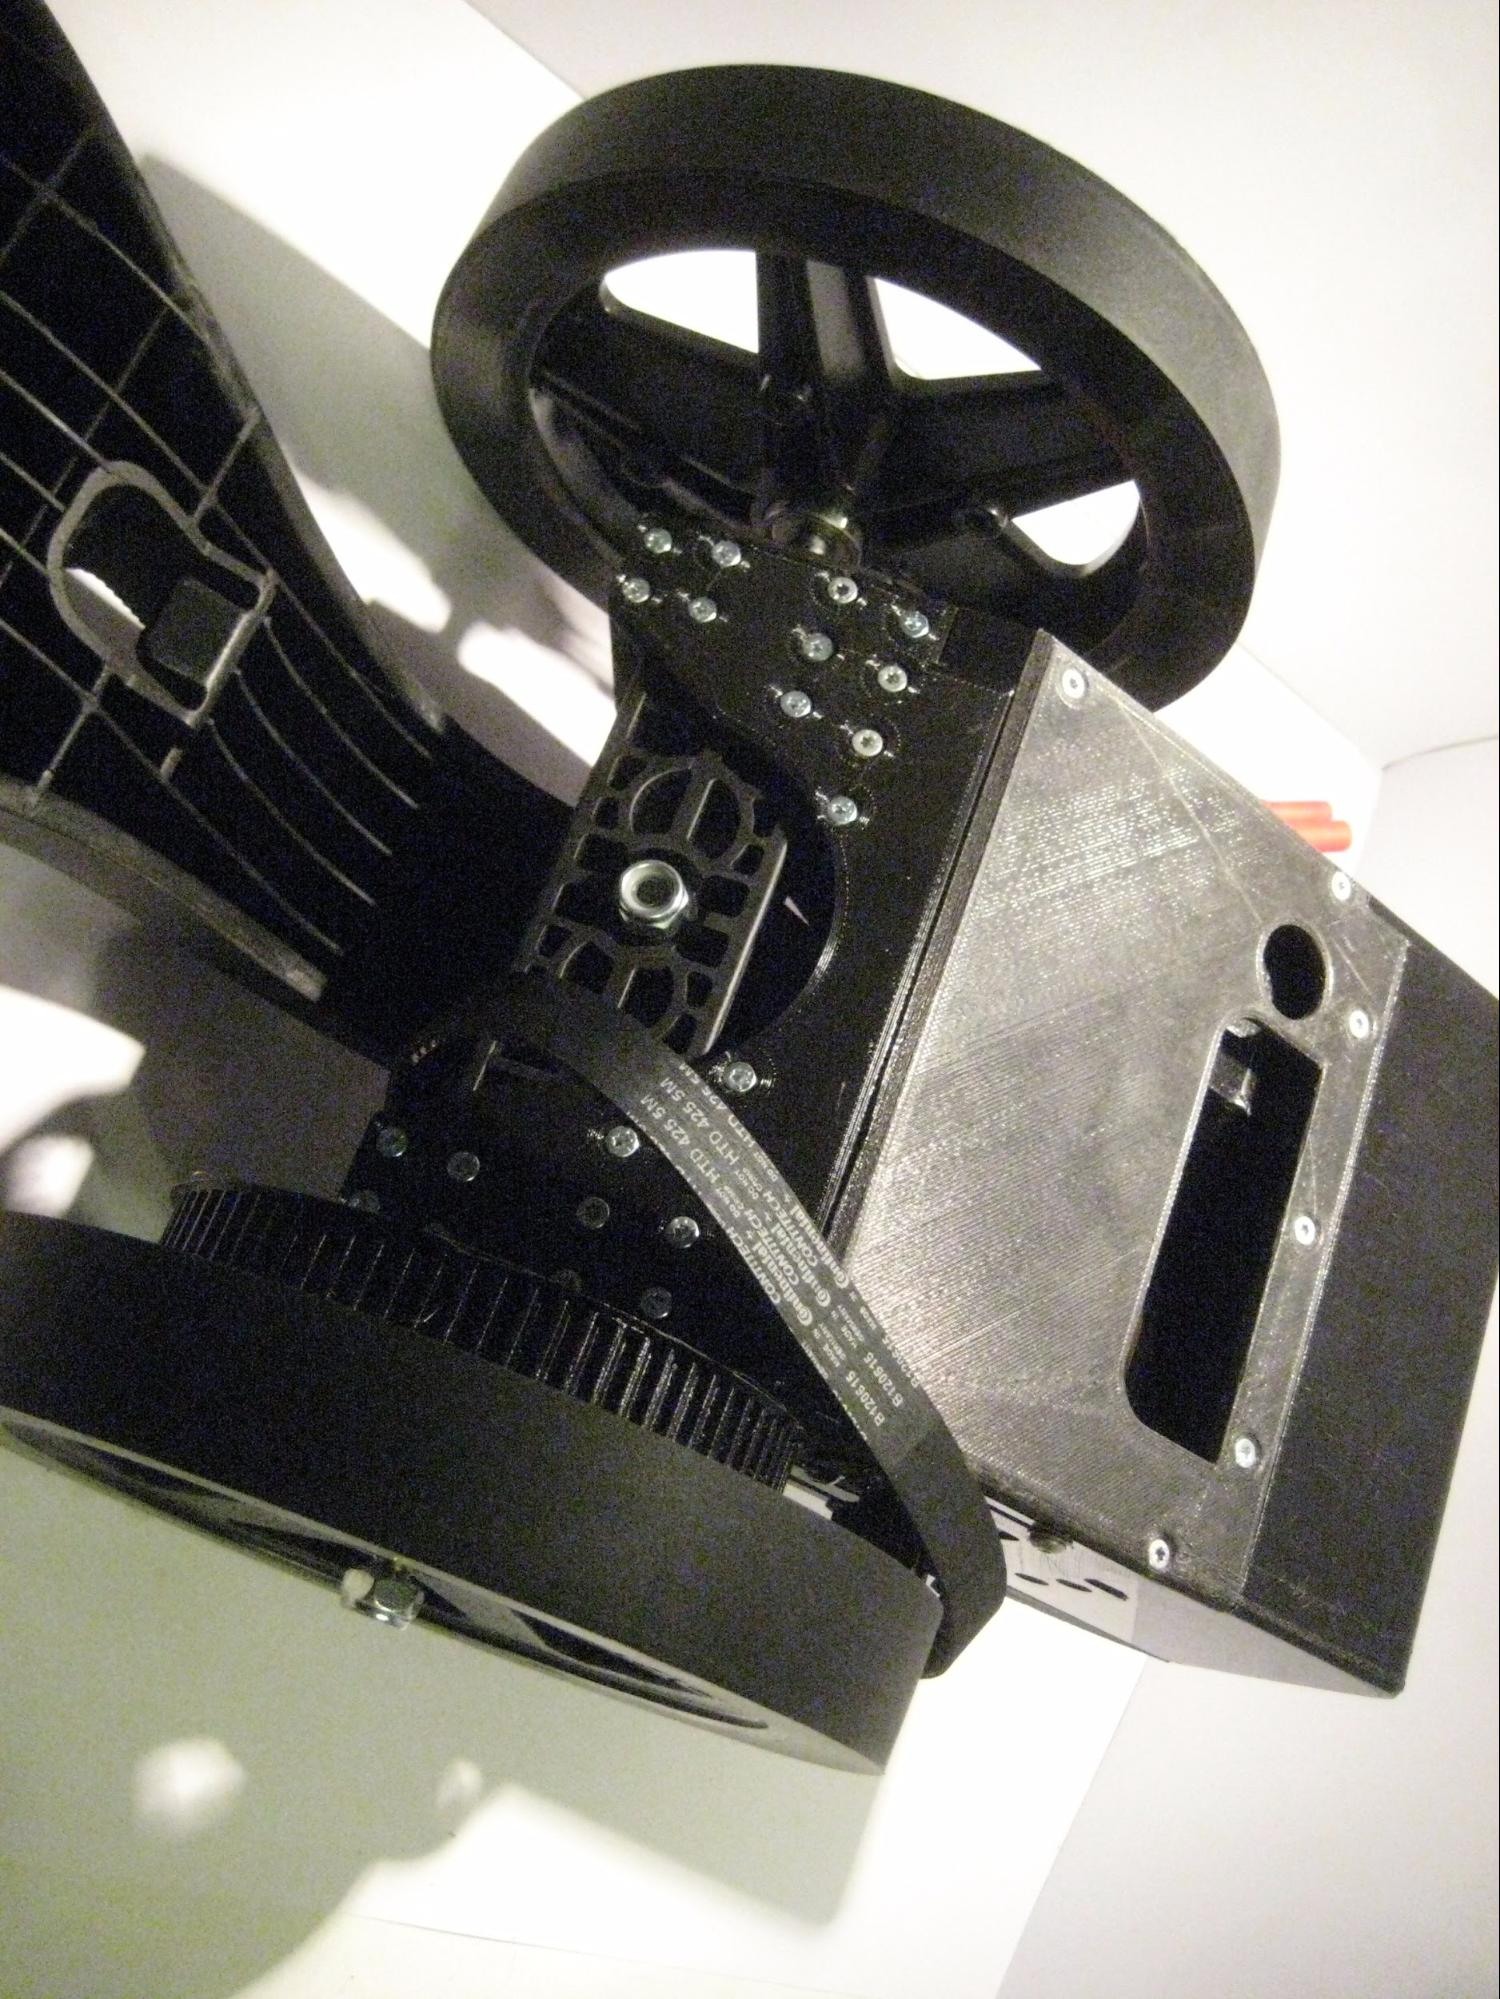
NOTE: When preliminary mounting the gear wheel pay attention to the alignment of the plastic gear and the motor pulley. If you find them to be misaligned make use of the spacer that we have sent you. Mount the spacer between the wheel and the axle.
First put the belt around the rear axle of the deck and then mount the wheel (picture 3.1). Loosely screw the nut of the wheel.
Picture 3.2
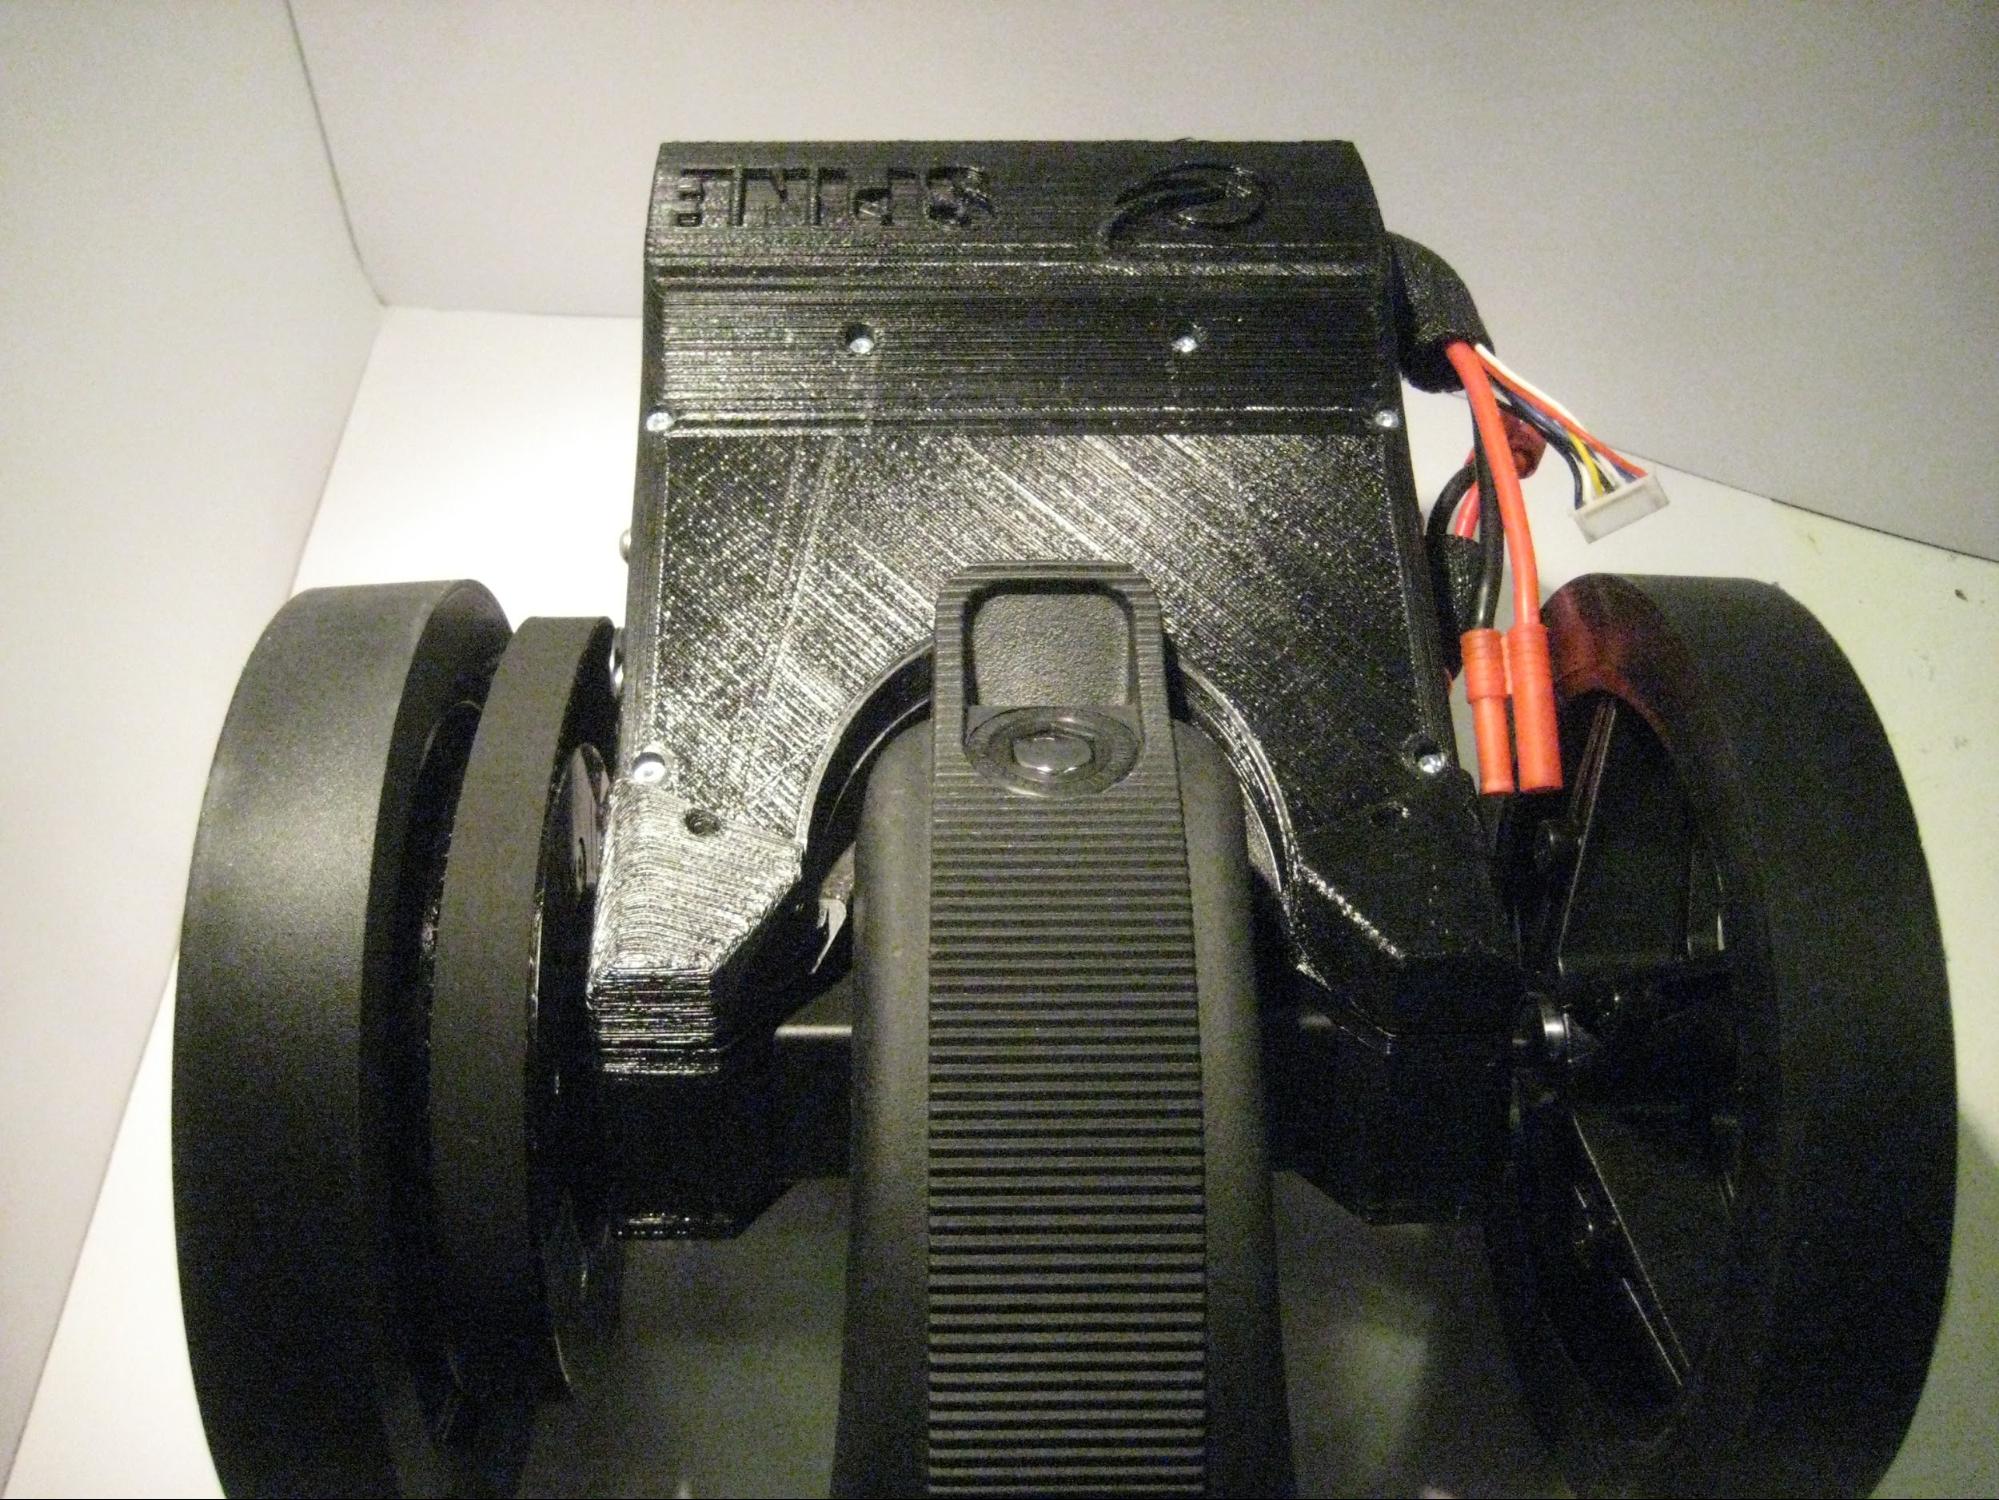
Now just like you would do it on a bike tighten the belt connecting the motor pulley and the wheel gear (picture 3.2).
NOTE
- If the belt is jumping teeth when braking you need to tighten the belt
- In the case your over tighten the belt you risk to damage the motor because of the tension
- While you cannot easily push the belt with your finger, it means that your belt is well tightened
Picture 3.3
Step 4 - Mount the Front Axle & Remaining Wheels
Just like you have mounted the back axle in Step 3 of this stage you can mount the front axle of the deck.
Picture 4.1
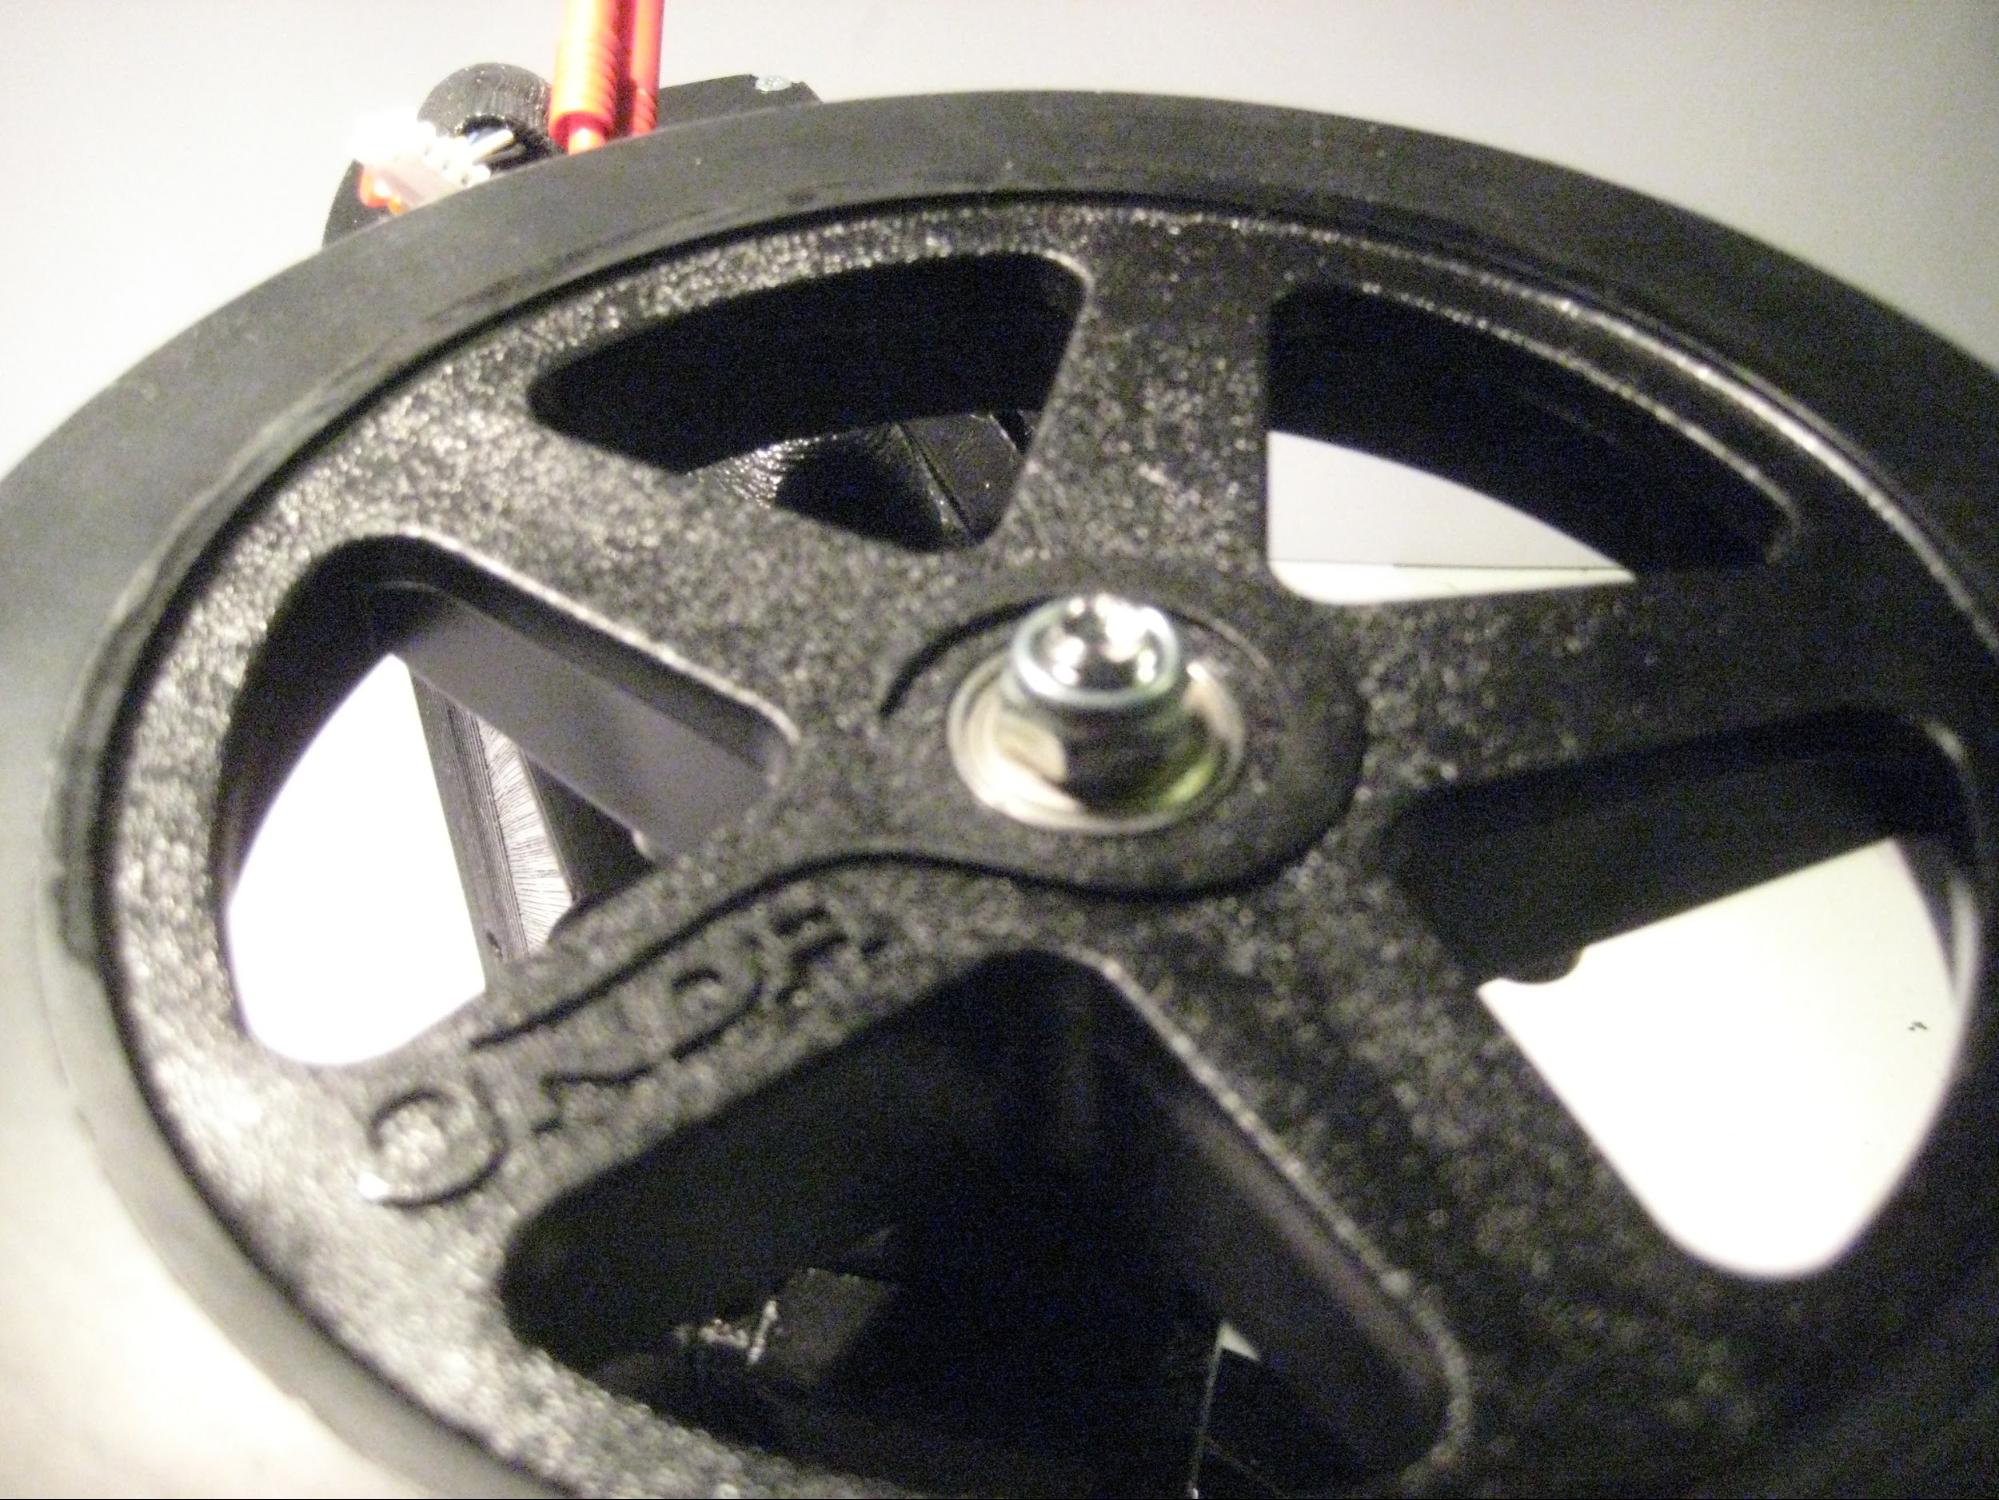
Now mount the remaining 3 wheels. Make sure that the wheel knots are not too tight as that could damage the inner side of the wheel.
Just make sure the knot is tight enough not to let the wheel wiggle from side to side.
Step 5 - Tighten all the bolts, nuts and screws and get moving
After you have ensured yourself that all the parts are firmly mounted, plug the battery into the motor controller and use your mobile phone or nunchuck to connect to the board. Do a test turn of the wheel. Before you attempt to drive it please refer to the First Ride Check List .
Updated less than a minute ago
